
VestaCP (Vesta Control Panel) is a Free Open Source Control panel for server systems. It can help ease the burden of common system administration tasks such as website creation, database deployment, management, etc. You can manage multiple websites, create and manage email accounts, manage FTP accounts and be on top of DNS records (to name a few).
If you ever find yourself locked out of your VestaCP installation due to a forgotten root password, check out our guide on how to reset the forgotten root password on CentOS for step-by-step instructions.
VestaCP is an alternate control panel used instead of cPanel and with the control panel. In this guide, we will go through installing VestaCP on your CentOS VPS (or dedicated server).
In summary, this is how you install VestaCP on your CentOS 7 server:
- Connect to your server via SSH
- Download the installation script
curl -O http://vestacp.com/pub/vst-install.sh
- Run the installation script
bash vst-install.sh
Let’s get started with the details:
Prerequisites
- A clean CentOS 7 installation
- Access to a root user account
- A server with 512 MB RAM (minimum)
- A server with at least 20 GB (minimum)
- A CPU with 1 GHz (minimum)
- Basic understanding of Linux commands
How to install VestaCP?
Connect to your server. If you’re a Windows user, open PuTTY to log in to the server, and if you have access to the server directly, open the terminal. For a smooth setup process, ensure you have the LAMP stack installed on your CentOS 7 server. If you need guidance on this, check out our comprehensive guide on installing the LAMP stack on CentOS 7.
Step 1: update the system.
Once you are logged into your system as the root user, enter the following command to check if the server is updated.
yum check-update
If your system is not updated, update the server:
yum update
Step 2: Remove Apache2/httpd
For a proper installation of VestaCP without coming across any problems, it is recommended to remove Apache2/httpd.
service httpd stop
yum remove httpd –y
Now run the following command:
yum clean all
If you see an output similar to the one below, you can go ahead to the next step of the installation process:
Loaded plugins: fastestmirror
Resolving Dependencies
--> Running transaction check
---> Package httpd.x86_64 0:2.4.6-80.el7.centos.1 will be erased
--> Finished Dependency Resolution
Dependencies Resolved
================================================================================
 Package      Arch          Version                       Repository       Size
================================================================================
Removing:
 httpd        x86_64        2.4.6-80.el7.centos.1         @updates        9.4 M
Transaction Summary
================================================================================
Remove  1 Package
Installed size: 9.4 M
Downloading packages:
Running transaction check
Running transaction test
Transaction test succeeded
Running transaction
  Erasing    : httpd-2.4.6-80.el7.centos.1.x86_64                           1/1
  Verifying  : httpd-2.4.6-80.el7.centos.1.x86_64                           1/1
Removed:
  httpd.x86_64 0:2.4.6-80.el7.centos.1
Complete!
Step 3: Install VestaCP
Before we start the installation, we will need to download the VestaCP installation script to our server. Enter the below command to download the installation script.
curl -O http://vestacp.com/pub/vst-install.sh
Now run the VestaCP installation script:
chmod +x vst-install.sh
bash vst-install.sh
If, for some reason, the bash command does not work, you can try to enter the following command:
bash vst-install-rhel.sh --force
The installation process can take some time, depending on the speed of your network connection, so be patient. During installation, you will be prompted to enter an admin email address and FQDN hostname.
In the respective places, enter your email address and domain name to complete the installation. At the end of the installation, you should see the URL, the username and the password for logging into the panel written to STDOUT.
Congratulations, you have just successfully installed Vesta Control Panel
https://your_ip:8083
username: admin
password: CpFWu3GBja
We hope that you enjoy your installation of Vesta. Please feel free to contact us anytime if you have any questions.
Thank you.
--
Sincerely yours
vestacp.com team
Save the login URL and user credentials to log in to VestaCP web UI.
Step 4: Connecting to VestaCP web UI
Enter the following URL on your favourite web browser.
https://your_ip:8083
When you enter the URL for the first time, you will be prompted with an insecure website page. This is because the page you’re requesting uses a self-signed SSL certificate. Ignore the warning message and proceed to the site.

Now you will be prompted with the login screen of VestaCP.
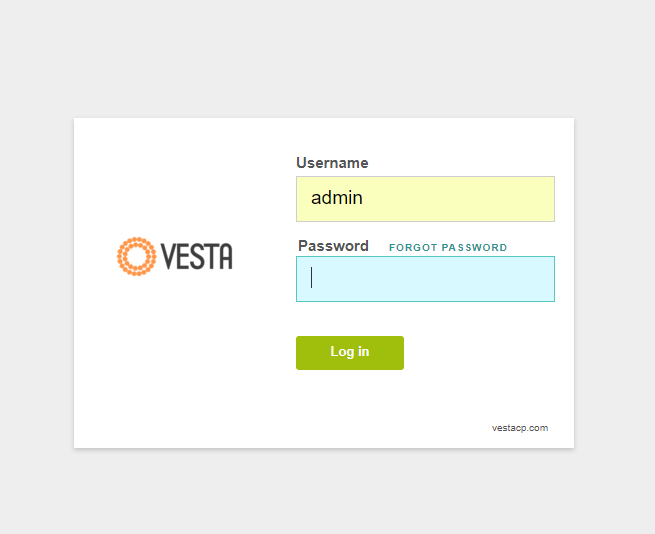
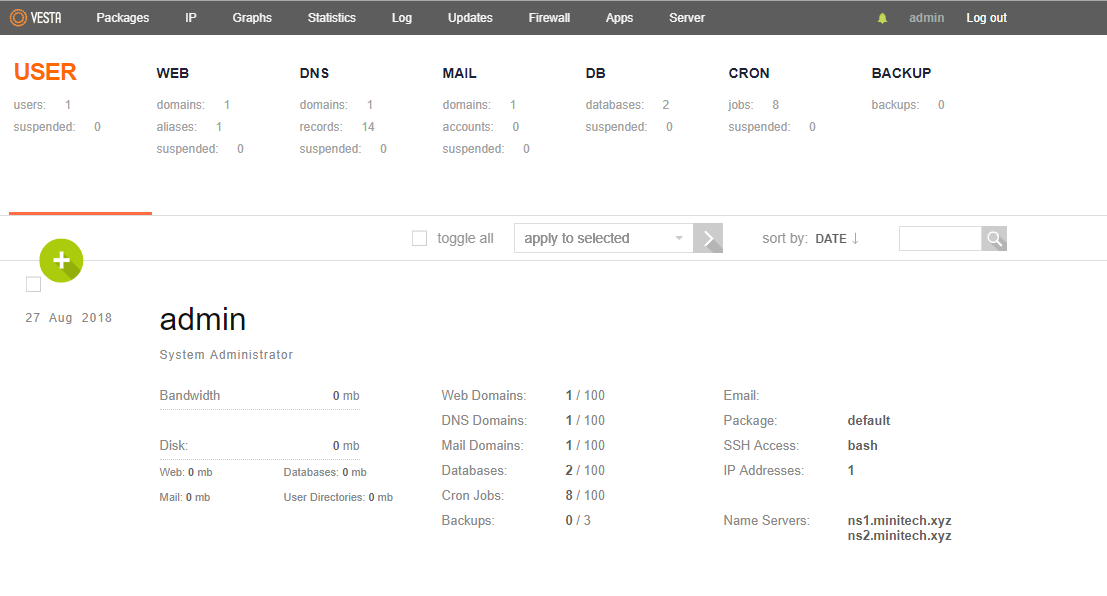
Once you enter the username and password, you will be greeted with the VestaCP dashboard.
For optimal performance and enhanced security, consider installing the IonCube Loader on your CentOS server; learn how to do this by visiting our guide on installing IonCube Loader on CentOS.
Wrapping up
We hope you liked this article on setting up VestaCP on CentOS 7. With VestaCP, you will have more control over your CentOS server and websites, making server management more efficient. If you encounter any issues during the installation, please let us know in the comments below. We are always waiting for your feedback and are here to help with any CentOS server queries you may have.
For those looking to enhance their remote desktop experience, consider checking out our guide on how to install XRDP on CentOS, which provides step-by-step instructions to set up remote access to your server seamlessly.
People also read:

Leave A Comment