
xRDP is an open-source remote desktop protocol application that allows remote sessions of Linux Server through Windows remote desktop connection. It can accept remote connections from rdesktop, freerdp and other remote desktop clients.
This article will show you how to install the xrdp server on CentOS 7. Note that the following tutorial is suitable for CentOS 8 machines as well. Before we get started:
If you're unsure which version of CentOS you're running, check out our guide on How to Check CentOS Version to ensure compatibility with this tutorial.
Prerequisites
- A root user account or a user account with root privileges
- A CentOS 7 machine or server (can be switched with CentOS 8)
- Basic understanding of Linux commands
Step 1: Update the system.
We will install xRDP on your CentOS 7 server. But before we get to the installation, it's better to update all your existing packages installed on the system:
yum -y update
Step 2: Install the EPEL repository.
Once the system is updated, we will need to install the EPEL repository as the xrdp package is readily available through this repository:
yum install epel-release
Don't forget to press y when prompted to continue.
Step 3: Install xrdp on CentOS 7
Now we're all set to install xRDP on your system. Enter the following command:
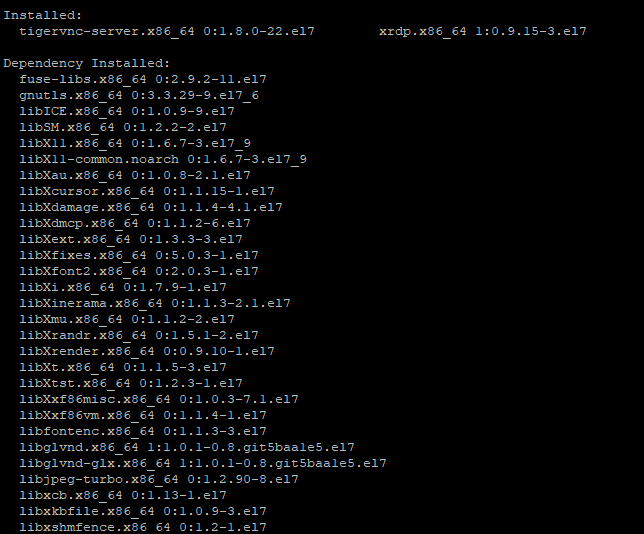
yum install tigervnc-server xrdp
Once the installation is completed, you will see an output similar to the one below.
Step 4: Start and Enable xrdp.
Once the desktop environment and the xrdp service are installed on your system, it's time to start the server using systemctl commands. The enable command makes it possible for xrdp to run during system startup.
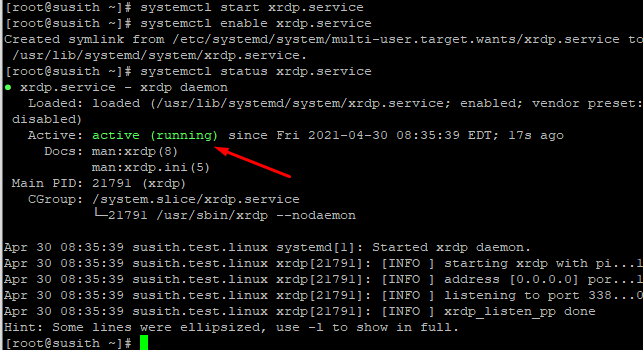
systemctl start xrdp.service
systemctl enable xrdp.service
systemctl status xrdp.service
You should see an output similar to this one.
Step 5: check the xrdp connection.
Now xrdp service should be listening on port 3389 by default. To confirm this, enter the following command:
netstat -antup | grep xrdp

Step 6: Install a desktop environment.
If it is not already installed, you will need a desktop environment on your server. We recommend installing GNOME GUI for CentOS 7.
Check the link above for a more in-depth installation guide. Here is the summary of installing GNOME GUI on CentOS 7.
- Install GNOME GUI
yum groupinstall "GNOME Desktop" –y
- Start the GUI on default
systemctl set-default graphical.target
- Reboot the system
reboot
Step 7: Firewall configurations
You can check the status of your firewall using the following command:
systemctl status firewalld.service
If it is not active, remember to activate and enable the firewall on your system.
systemctl enable firewalld.service
systemctl start firewalld.service
By default, the firewall blocks remote RDP connections from external machines. We will add the following code to add an exception in the firewall to accept traffic from the RDP port 3389.
firewall-cmd --permanent --add-port=3389/tcp
Restart the firewall to activate the settings.
firewall-cmd --reload
Reloading the firewall should work, but sometimes, the configurations will not come into effect. To avoid any error messages, we recommend restarting your system.
reboot
Step 8: Connect to the Linux server through a remote desktop connection.
The moment of truth is finally here. Log in to your Windows machine and open up Remote Desktop Connection.
- Click on start and type "remote desktop connection."
- Select the application
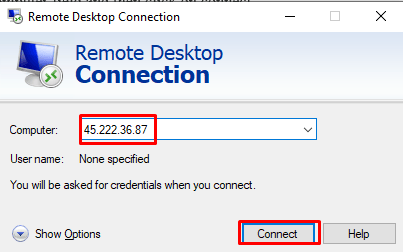
- Enter the Linux server IP address
- Click Connect
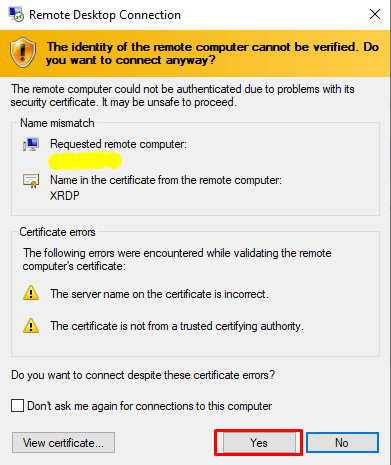
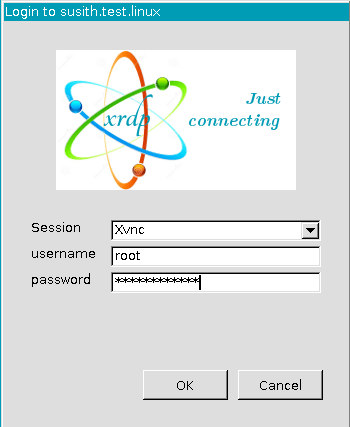
During the connection, you will be prompted with a warning. Disregard this message and continue.
Now select the Xvnc session and enter the username and password. You can use the root user account or any other user account on the system.
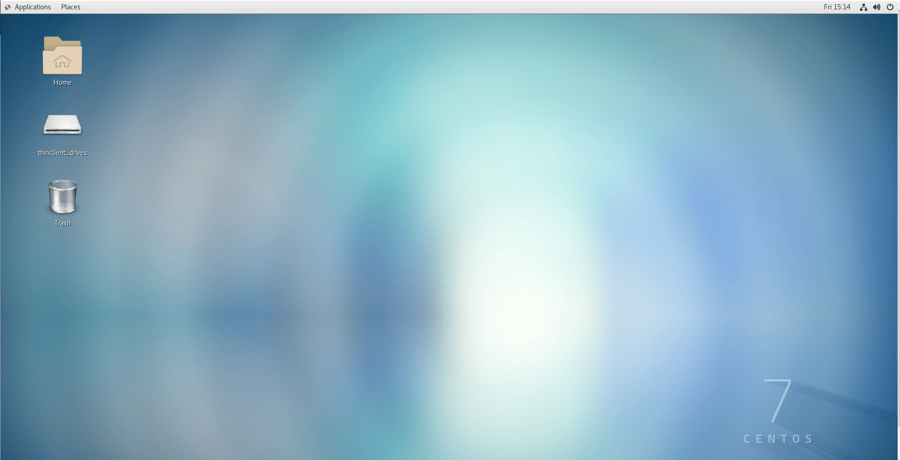
Once connected, you will be connected to your CentOS 7 server through the remote desktop connection.
Final words
In this short tutorial, we went through the process of installing xRDP on the CentOS 7 server so that we could connect remotely to it through a Windows remote desktop connection. With just eight steps, we managed to get it up and running. If you're using CentOS for server setups, this guide will help you quickly enable remote desktop functionality with minimal effort.
For those interested in further configuring network tools on CentOS, you may also want to check out our guide on how to install fping on CentOS 7. This tool can be useful for network diagnostics and monitoring.
We hope you can connect to your CentOS (Linux) server through the Windows RDP client. Your feedback is important to us, so don't forget to add a comment in the section below. Also, one of our suggestions is to visit the buy rdp online page.
If you're looking for more options to access your Linux server, check out our List of Best RDP Clients for Linux, where we highlight some of the top RDP clients compatible with Linux systems.
People also read:
Leave A Comment