Webuzo is in short can be described as a single-user hosting control panel suitable for both Dedicated and Virtual Private Servers (VPS). Webuzo can also be used in cloud-based environments. Webuzo has an easy-to-use interface, making it one of the most popular open-source control panels.
Webuzo is a solitary client control board/Application Director which permits clients to convey mainstream web applications like WordPress, Joomla and Drupal and so forth with a single click. No System Administrator level skills are required to introduce such applications.
Before installing Webuzo on your CentOS 7 server, it's essential to ensure you're running the correct version; you can find detailed instructions on how to do this in our guide on how to check CentOS version.
Webuzo installation includes the needed LAMP stack plus a ready-to-enable LEMP/LNMP (Nginx) stack. Webuzo saves you time and most importantly, the hassle of setting up the server, thanks to its advanced technology. Webuzo is a mixed blend of all the web server software such as Apache, PHP, MySQL, Apache Tomcat, PERL, MongoDB, Python, etc.
It also has administering tools like phpMyAdmin, RockMongo, etc. Webuzo serves as a complete solution to server management. In this tutorial, we will go through the steps to install Webuzo on your CentOS 7 VPS.
For those looking to further enhance their server management capabilities, consider exploring our guide on installing Webmin on CentOS, which offers additional features and flexibility.
Prerequisites
- A newly installed CentOS 7 (or higher) server
- Access to a root user account or an account with sudo privileges
- Basic understanding of Linux commands
- No PHP, Apache, or MySQL pre-installed
- Minimum of 1GB RAM (2GB recommended)
- Minimum of 5 GB disk space (10 GB recommended)
Install Webuzo on CentOS 7
As good practice, we will first update our system with the following command:
yum -y update
Now that the system is up to date, we will go ahead and download the Webuzo installer to our server:
wget -N http://files.webuzo.com/install.sh
Once the download is completed, we will change the permissions of the installer file to be executable on the server:
chmod 755 install.sh
Now we can go ahead and install Webuzo on our server. During the installation process, the LAMP stack, DNS server and FTP server will be installed along with Webuzo.
./install.sh
The installation will start and install all the necessary components on your server. Follow the instructions on the screen when prompted to continue by pressing y to all.
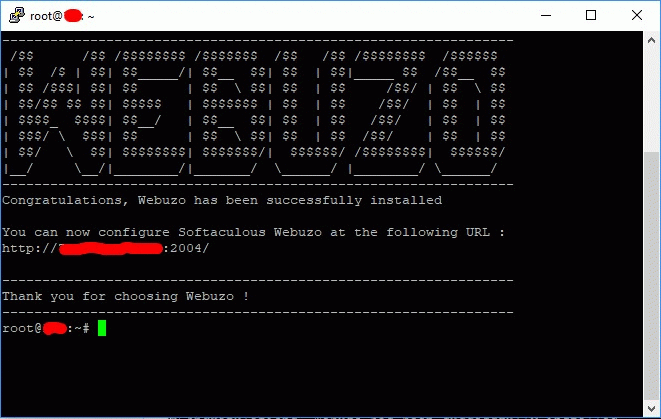
This will set up the required Web Server and other important configurations. Congratulations, you have successfully set up Webuzo on your CentOS server.
Accessing Webuzo from a browser
Once the Webuzo has been successfully installed on the server, we can access the web-based control panel from any browser. Webuzo has two separate sections:
- Admin panel
http://server-ip-address:2004/
https:// server-ip-address:2005/
- Enduser panel
http://server-ip-address:2002/
https:// server-ip-address:2003/
When you enter the URL, you will be greeted with the following window. This is the initial configurations page which will request the following information from you:
- Username
- Email address
- Password
- Valid domain name
- Primary and secondary Nameserver
For a more comprehensive setup of your server, consider checking out our guide on installing the LAMP stack on CentOS 7, which provides essential components for web hosting.
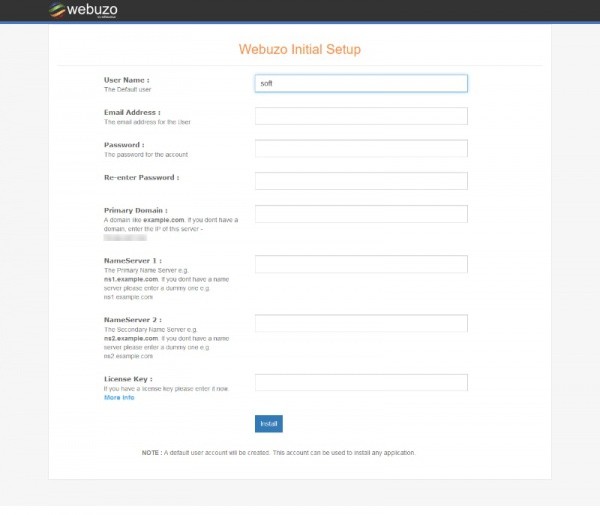
After you have filled in all details, please submit the form. Webuzo will start configuring the server immediately. Depending on your server's speed, this may take 3-4 minutes.
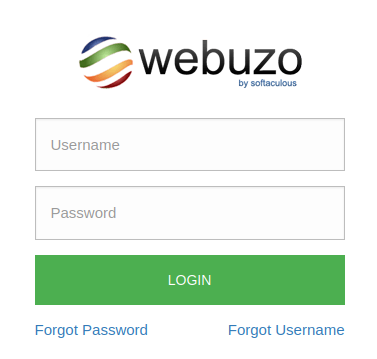
Once finished, you can use one of the URLs above and log in to your Webuzo web client.
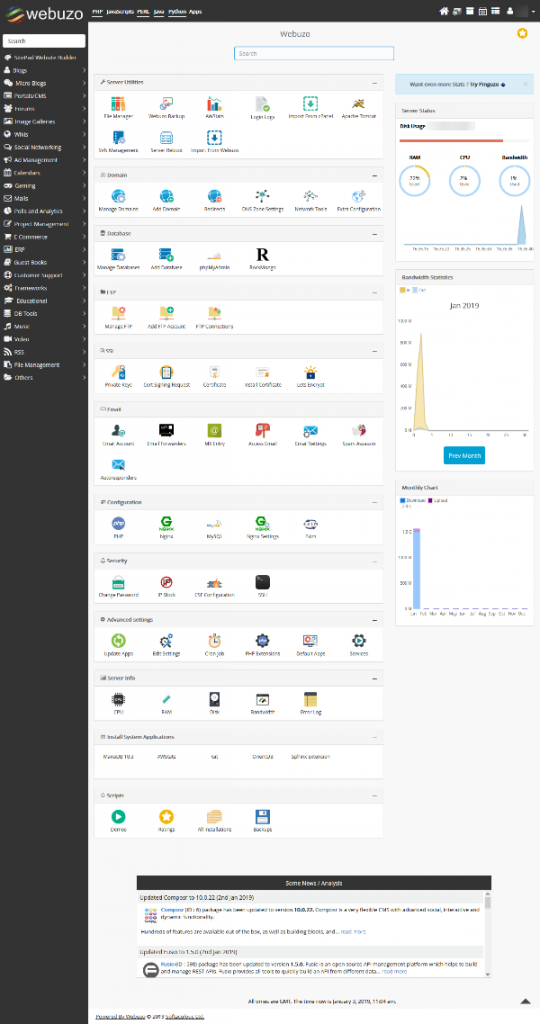
If you see the Webuzo dashboard below, you have successfully set up Webuzo on your CentOS server.
If you’re looking to enhance your server's capabilities further, consider installing Apache on CentOS to host websites seamlessly alongside Webuzo.
Conclusions
This tutorial covered the steps to install Webuzo on CentOS server running CentOS 7. Webuzo will make your server management much easier, offering a high level of customization right at your fingertips. We hope you found this article helpful, and if you encounter any issues or have questions, feel free to reach out through the comment section below.
For those looking to explore additional control panel options, check out our guide on how to install cPanel on CentOS 7 for another user-friendly experience.
People also read:






![Debian vs CentOS: Differences You Should Know [Comparison] Debian vs CentOS: Differences You Should Know [Comparison]](https://1gbits.com/cdn-cgi/image//https://s3.1gbits.com/blog/2021/02/debian-vs-centos-comparison993-750xAuto.jpg)


