
OpenLiteSpeed is an open-source HTTP server developed by LiteSpeed Technologies. OpenLiteSpeed is a high-performance, lightweight HTTP server with a Web GUI administration interface.
OpenLiteSpeed can handle more than a hundred thousand concurrent connections while using lower resources (CPU and RAM). OpenLiteSpeed supports many operating systems like Linux, Mac OS, FreeBSD, and SunOS and can be used to run website scripts written in PHP, Ruby Perl, and java.
Before installing OpenLiteSpeed on CentOS, it’s important to ensure you are using the correct version of CentOS for compatibility. You can find detailed instructions on how to check your CentOS version here.
Apache and Nginx usually spotlight open-source web servers, but OpenLiteSpeed is a viable solution. Some of the most notable features of OpenLiteSpeed are:
- An intuitive web-based admin GUI that displays real-time statistics.
- Event-drive architecture with low resource overheads (RAM & CPU).
- Efficient page caching.
- Remarkable scalability thanks to worker processes.
- Ability to handle thousands of concurrent connections without yielding load spikes.
- Support for third-party modules and much more.
This tutorial will take you through the installation process of OpenLiteSpeed on CentOS 8. Let’s go!
Prerequisites
- A server running with CentOS 8
- Access to a root user account or an account with sudo privileges
- A basic understanding of Linux commands
- 2 GB RAM (recommended)
- 25 GB free disk space (recommended)
Step 1: Add the OpenLiteSpeed repository
The first step before we go with the installation is to add the OpenLiteSpeed repository to your CentOS 8 server, as it is not available by default. To do this, enter the following command:
sudo rpm -Uvh http://rpms.litespeedtech.com/centos/litespeed-repo-1.1-1.el8.noarch.rpm
Now, update the system package list by using this command:
sudo dnf update
You can enter the following command to check the available repositories on your system. You will see the OpenLiteSpeed repository on the list.
dnf repolist
After ensuring that the OpenLiteSpeed repository is set up correctly, you might find it beneficial to manage your server using Webmin. For detailed instructions on installation, check out our guide on How To Install Webmin on CentOS 7.
Step 2: Install OpenLiteSpeed
You can install the OpenLiteSpeed package using the DNF command below:
sudo dnf install -y openlitespeed
When prompted to continue, don’t forget to press y. Once the installation is completed, you can check the web server's status.
sudo systemctl status lsws
If the webserver is not active and running, you can start it by running the command:
sudo systemctl start lsws
Something to note is that the web server will be listening through ports 8088 and 7080. Port 8088 is for demo purposes, while port 7080 gives you access to the administrative UI.
You can confirm the ports that the web server is listening on using the netstat command as shown:
sudo netstat –pnltu
You should consider opening the respective ports for optimum working conditions if your firewall is running. Enter the following commands consecutively:
sudo firewall-cmd --zone=public --permanent --add-port=8088/tcp
sudo firewall-cmd --zone=public --permanent --add-port=7080/tcp
sudo firewall-cmd –reload
Step 3: Install PHP
We will install PHP 7.4 using the OpenLiteSpeed repository, colloquially referred to as LSPHP. However, some components will be taken from the EPEL repository and if you don’t have it, here’s the command to have it set up on your system:
sudo dnf install -y epel-release
Now that we have everything ready, let’s go ahead and install PHP and all the necessary components:
sudo dnf install -y lsphp74 lsphp74-mysqlnd lsphp74-process lsphp74-mbstring lsphp74-mcrypt lsphp74-gd lsphp74-opcache lsphp74-bcmath lsphp74-pdo lsphp74-common lsphp74-xml
Once all the PHP packages are installed, we can move forward to set up the MariaDB database server.
Additionally, for those looking to enhance their web application framework, consider checking out our guide on how to install Django on CentOS 7, which offers a step-by-step approach to setting up Django seamlessly.
Step 4: Install MariaDB
We made a previous article on how to set up a MariaDB server on CentOS. You can check it out for a more in-depth explanation. Here’s the fast version of setting up MariaDB on CentOS 8 as part of the OpenLiteSpeed web server.
Run the following command to install MariaDB:
sudo dnf install -y mariadb mariadb-server
Once the installation is complete, start the MariaDB service and add it to the boot time.
sudo systemctl start mariadb
sudo systemctl enable mariadb
You can run the systemctl command to check the status of the MariaDB service:
sudo systemctl status mariadb
Now we will make some basic configurations by running the mysql_secure_installation. Enter the command below:
sudo mysql_secure_installation
Enter Y and continue the installation process by providing the relevant information for all the installation procedures.
Now we will move on to the next part of the installation process:
Step 5: Change the default Administrator password
OpenLiteSpeed, by default, sets the Admin’s password like ‘123456’; for obvious reasons, we need to change this password and set a very robust password. We will specify a different username from the default ‘admin’ username.
sudo /usr/local/lsws/admin/misc/admpass.sh
Now, you can specify a different username and password.
Step 6: Access OpenLiteSpeed webserver
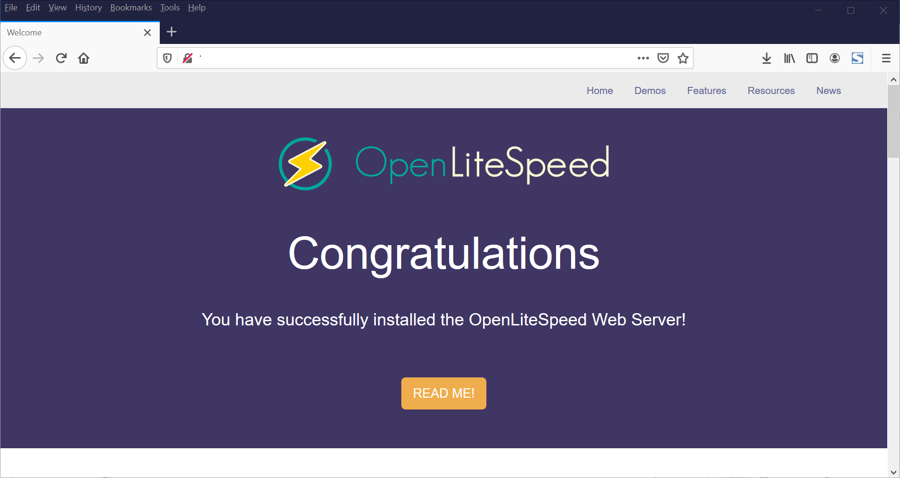
Everything is set in place, and now we can go ahead and access the OpenLiteSpeed dashboard from the web browser. To view the demo page, enter the following URL on your browser and press Enter.
http://server-ip:8088
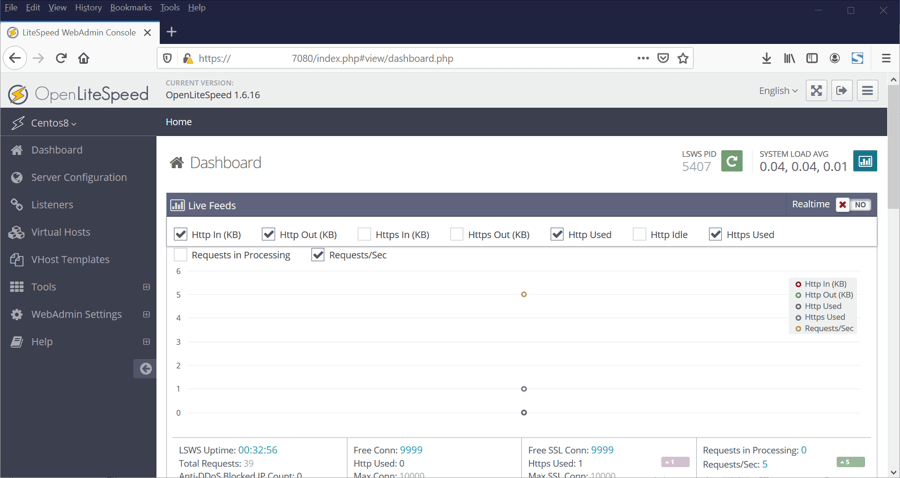
You will need to change the URL slightly to access the administrative section. Enter the following to access the administrative dashboard:
https://server-ip:7080
You will be prompted to enter the newly created username and password to Login into the server. Once you provide the credentials, you can enter the OpenLiteSpeed dashboard, as shown below.
For those looking to further enhance their server management capabilities, consider exploring our guide on how to install DirectAdmin on CentOS 7 for a user-friendly control panel experience.
Congratulations, you have successfully set up OpenLiteSpeed on your CentOS 8 server. If you're looking to enhance your server's graphical interface, consider checking out our guide on installing the GNOME GUI on CentOS 7.
Conclusions
We have set up and made all the necessary configurations to use the OpenLiteSpeed web server. The six steps mentioned above will help you have a properly functioning web server running on your CentOS server, ensuring stability and optimal performance.
With the OpenLiteSpeed web dashboard, you will have the ability to configure virtual hosts, change the default port to another one, and explore many other features to customize your server. If you encounter any issues or have feedback, feel free to let us know in the comment section below. We're here to help with any CentOS server-related queries.
To enhance your server's capabilities, consider installing PostgreSQL on CentOS 7, which can be found in our detailed guide on installing PostgreSQL on CentOS 7.
People also read:
Leave A Comment