
Have trouble installing LEMP on your system? Don’t worry; we got you covered. This tutorial will go through the steps needed to set up LEMP on your CentOS server.
LEMP combines software to serve dynamic web pages and web applications. LEMP is an acronym for:
- A Linux operating system
- Nginx (Engine X) webserver
- MySQL database
- PHP
In this guide, we’ll get a LEMP stack with PHP 7.4 installed on a CentOS 7 server, using MariaDB as the database management system. MariaDB works as a drop-in replacement for the original MySQL server, which means you can switch to MariaDB without making any configuration or code changes in your application.
The backend will be stored in the MySQL database, and the dynamic processing will be handled through PHP. This tutorial will follow the steps to set it up on CentOS 7.
The backend will be stored in the MySQL database, and the dynamic processing will be handled through PHP. This tutorial will follow the steps to set it up on CentOS 7. For a deeper understanding of the operating system we’re using, check out our comprehensive guide on What is CentOS.
Note: The following steps will be exactly the same if you want to set it up on CentOS 8.
Prerequisites
Before we go ahead with the tutorial, you will need to have the following:
- A regular non-root user account with Sudo privileges
- A basic understanding of bash programming commands
- An CentOS 7 system (or CentOS 8)
Now that we have already acquired the needed things let’s go ahead and start setting LEMP on your system.
Step 1: Install Nginx
We will use the Nginx webserver to deliver and display web pages to our visitors. We will install the EPEL repository to get the latest version of Nginx.
sudo yum install epel-release
Once the EPEL repository is set up on your server, we can go ahead and install the Nginx package using the following command:
sudo yum install nginx
Don’t forget to press y to continue with the installation. Once Nginx is installed, we will start the service using the systemctl command.
sudo systemctl start nginx
sudo systemctl enable nginx
The second command (enable) will make Nginx start during boot up.
Now that we have the server up and running, you can run a quick test by entering the following URL on your favourite web browser.
http://server_domain_name_or_IP/
If you see the following on your display, you have successfully installed the first layer of the LEMP stack: Nginx.
Step 2: Install MariaDB
MariaDB is an open-source database management system that is a backwards-compatible replacement for MySQL. It is a multi-threaded relational database management system. You can check our article using the link for the complete MariaDB installation with all the details.
To enhance your understanding of MariaDB and ensure a seamless setup, refer to our detailed guide on how to install MariaDB on CentOS, which provides step-by-step instructions tailored for your CentOS 7 environment.
To install MariaDB, enter the following yum command:
sudo yum install mariadb-server mariadb
Don’t forget to press y when prompted to continue!
Once the installation is completed, enter the command below to start the service:
sudo systemctl start mariadb
MariaDB comes with a secure installation script that should be run to have the proper configurations. You can run the secure installation script by:
sudo mysql_secure_installation
During the setup, you will be prompted to
- Change the root password
- Remove anonymous users
- Disallow root logins remotely
- Remove the test database and access to it
- Reload privilege tables
Each step will be explained in detail, and we recommend answering with y to all questions mentioned.
Once the secure script is run, we will enable MariaDB to start up during bootup:
sudo systemctl enable mariadb.service
Step 3: Install PHP
PHP is the last part of the LAMP stack. PHP processes the code for showing dynamic content, and once connected with the MySQL database, it will process and be displayed through the Nginx webserver.
The PHP version available by default within CentOS 7 servers is outdated, so we’ll need to install a third-party package repository to obtain PHP 7+. Therefore, we will use the Remi repository to install PHP 7.2.
sudo yum install http://rpms.remirepo.net/enterprise/remi-release-7.rpm
Now that we have the Remi repository added to our system, we will run the following command to enable the Remi package to get PHP 7.4 installed:
sudo yum-config-manager --enable remi-php74
We will also install the yum-utils package:
sudo yum install yum-utils
Now we can use the yum command to install PHP and several most common PHP modules.
sudo yum install php-fpm php-opcache php-cli php-gd php-curl php-mysql
The installation will prompt you to continue, and when it does, press y and proceed with the installation.
The default PHP FPM settings are to run as an apache user on port 9000, but we will change the user to Nginx and switch from TCP socket to Unix socket. It sounds a bit complicated, but all of this can be done within one configuration folder.
To make the following changes, we will use the nano text editor to open the www.conf configurations file:
sudo nano /etc/php-fpm.d/www.conf
In the opened window, be sure to change the data according to the following below:
...
user = nginx
...
group = nginx
...
listen = /run/php-fpm/www.sock
...
listen.owner = nginx
listen.group = nginx
Save the file and exit the nano text editor.
Now we will provide the necessary permissions for the var/lib/php directory.
chown -R root:nginx /var/lib/php
As the final step, we will start the PHP service and enable it to work during boot-up using the following commands.
sudo systemctl enable php-fpm
sudo systemctl start php-fpm
Step 4: Configuring Nginx to process PHP pages
We have all the needed components of the LEMP stack installed and set up on our CentOS 7 server. We will need a slight configuration to tell Nginx to use our PHP processor for dynamic content. Nginx has a dedicated directory where we can define each hosted website as a separate configuration file using a server block.
The default installation does not have any files in this directory; therefore, we will create a new file to serve as the default PHP website on this server.
sudo nano /etc/nginx/conf.d/default.conf
Copy the following PHP server definition block to your configuration file, and don’t forget to replace the server_name directive so that it points to your server’s domain name or IP address:
server {
    listen       80;
    server_name  server_domain_or_IP;
    root   /usr/share/nginx/html;
    index index.php index.html index.htm;
    location / {
        try_files $uri $uri/ =404;
    }
    error_page 404 /404.html;
    error_page 500 502 503 504 /50x.html;
    location = /50x.html {
        root /usr/share/nginx/html;
    }
    location ~ \.php$ {
        try_files $uri =404;
        fastcgi_pass unix:/var/run/php-fpm/php-fpm.sock;
        fastcgi_index index.php;
        fastcgi_param SCRIPT_FILENAME $document_root$fastcgi_script_name;
        include fastcgi_params;
    }
}
Save and close this file. Now restart the Nginx web server so that the changes will be effective.
sudo systemctl restart nginx
Your web server is set up perfectly, and the next step is testing the PHP integration.
Final Step: Test the PHP integration
Now that your web server is set up, we can create a test PHP script to ensure Nginx is correctly handling .php scripts with the help of php-fpm.
Using the nano command, we will create a test PHP page:
nano /usr/share/nginx/html/info.php
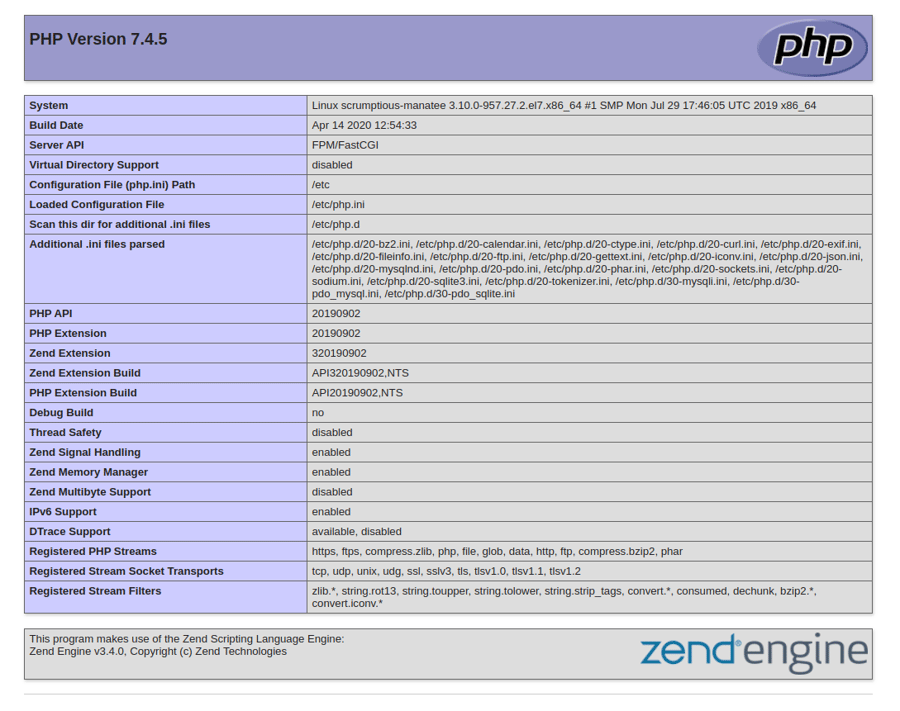
Now copy and paste the following content. It will show display the information about the current PHP environment running on the server.
<?php
phpinfo();
The PHP integration was successful if you see a similar page as shown below.
Conclusion
Congratulations on successfully installing the LEMP stack on your CentOS 7 server! We hope the installation process went smoothly by following the steps outlined in this guide. Now, with your LEMP stack up and running, you’re ready to explore all the powerful features and capabilities it has to offer, from serving dynamic web applications to optimizing performance for your users.
If you're interested in verifying your CentOS version to ensure compatibility with future updates or software, check out our guide on how to check the CentOS version.
Should you encounter any issues or have questions along the way, feel free to reach out to us through the comment section below. We're here to help!
Stay tuned for more tips on managing and optimizing your CentOS server to make the most out of your LEMP stack!
People also read:
Leave A Comment