
OpenLiteSpeed is a high-performance, lightweight, open-source HTTP server developed and copyrighted by LiteSpeed Technologies, Inc. Users are free to download, use, distribute, and modify OpenLiteSpeed and its source code by the precepts of the GPL version 3 license.
LiteSpeed Web Server is the company's core product, a lightweight proprietary web server which can read Apache configurations directly. The software is commonly used with web hosting control panels, replacing Apache as the webserver.
It is one of the fastest web servers around the globe and supports thousands of concurrent connections. It offers many useful features that make it a solid choice for many installations. If you're managing an Ubuntu server, you may also want to learn how to change the password in Ubuntu to enhance security.
Some of the OpenLiteSpeed Features are:
- Event-driven architecture: Fewer processes, less overhead, and enormous scalability
- Apache-compatible rewrite rules: Rewrite engine understands Apache rewrite rule syntax
- Built-in web-based interface: Builtin WebAdmin GUI, CyberPanel, or DirectAdmin control panel
- HTTP/3 & HTTP/2 Support: Serves your site with the latest internet protocols
- Multi-Thread Module: The fastest web service platform using a custom MT module
- Built for Speed and Security: Anti-DDoS features, bandwidth throttling, WAF support, and more
- Support multiple PHP versions.
- WAF, Anti-DDoS Bandwidth throttling and more.
This tutorial shows you how to install OpenLiteSpeed on your Ubuntu 20.04 server.
Requirements
- A server running with Ubuntu 20.04
- Access to a root user account or an account with sudo privileges
- A basic understanding of Linux commands
Step 1: Add the LiteSpeed repository
Before we install OpenLiteSpeed, we will need to add the repository to our system because it is unavailable in the default repository. To do this, enter the following command:
wget -O - http://rpms.litespeedtech.com/debian/enable_lst_debian_repo.sh | sudo bash
Step 2: Install OpenLiteSpeed
Once the repository is added, install the OpenLiteSpeed with the following command:
apt-get install openlitespeed –y
Step 3: Enable PHP on your server
PHP is default unavailable in OpenLiteSpeed, and we will need to activate it on our server. The following command you will see below will install PHP 7.4 with all the needed packages for the functionality of OpenLiteSpeed. The following PHP will be enough to support the most commonly used web application.
apt-get install lsphp74 –y
Once the service is installed successfully, you will need to create a symbolic link to the installed package:
ln -sf /usr/local/lsws/lsphp74/bin/lsphp /usr/local/lsws/fcgi-bin/lsphp5
Now you can start the OpenLiteSpeed service with the following command:
/usr/local/lsws/bin/lswsctrl start
Step 4: Set Administrative password
You must provide an administrative password to access the OpenLiteSpeed control panel. To do this, OpenLightSpeed comes with an easy-to-use script where you will be able to set the password.
Simply run the command below and fill in the details when prompted.
/usr/local/lsws/admin/misc/admpass.sh
Please specify the user name of administrator.
This is the user name required to login the administration Web interface.
User name [admin]: openadmin
Please specify the administrator's password.
This is the password required to login the administration Web interface.
Password: <ENTER-PASSWORD>
Retype password: <RETYPE-PASSWORD>
Administrator's username/password is updated successfully!
Something to note is that when requested to enter a username if you press ENTER without choosing a username, the username will be sent to admin. However, you must provide a properly secure password when requested to enter a password.
Step 5: Access the OpenLiteSpeed control panel
Now that the server is up and running open the web browser and enter the following on your URL. Don’t forget to enter your server IP in the “enter_your_IP”.
https:// enter_your_IP:7080
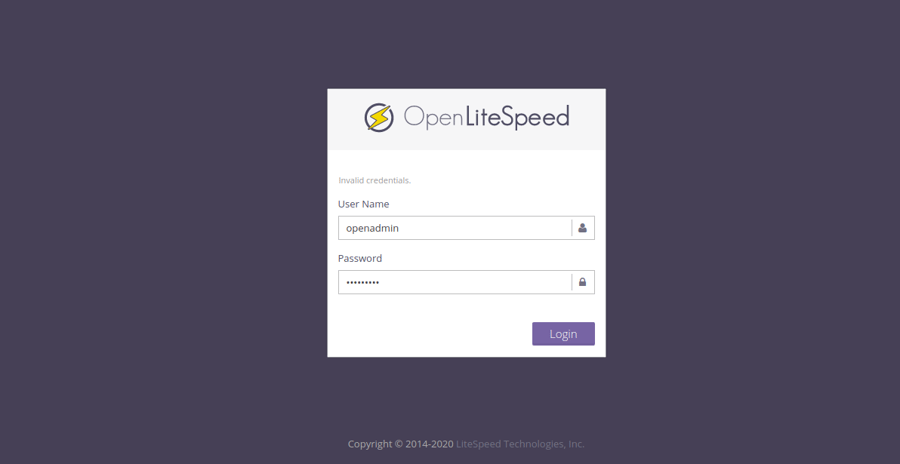
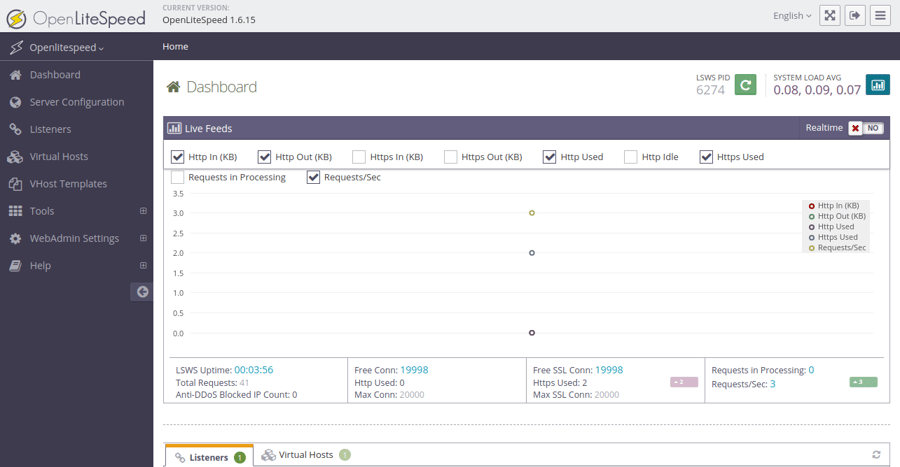
Enter the Username and Password in the window and click on Login. Once you enter the correct credentials, you will be greeted with the OpenLiteSpeed default dashboard.
Step 6: Change to port 80
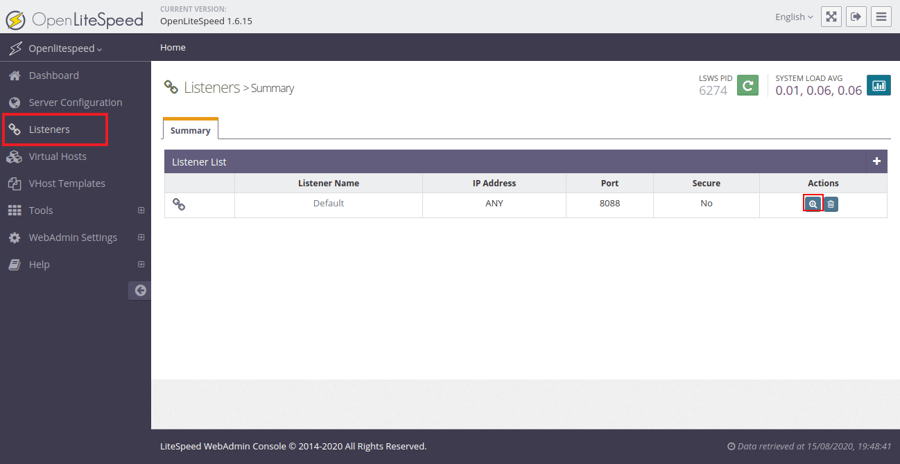
By default, OpenLiteSpeed listens on port 8088 for any incoming and outgoing HTTP traffic. However, it is recommended to change the port to port 80. To do this, head over to Listeners on the left-hand side panel.
Now click the View button, and you will come across the following page.
When you get to this page, click on Edit, and you can change the port number to 80.
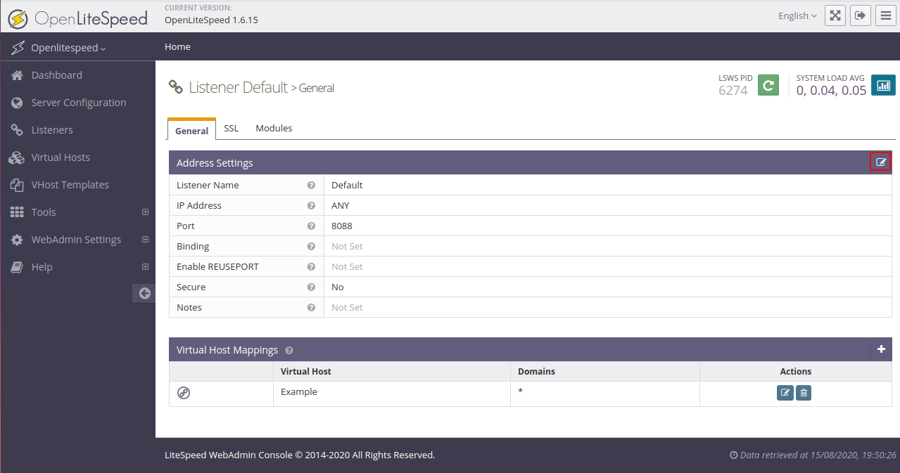
Once the port is changed, click Save and restart OpenLiteSpeed to apply the changes.
Once done, you can go to your web browser and access the OpenLiteSpeed default website using the following URL.
http://your-server-ip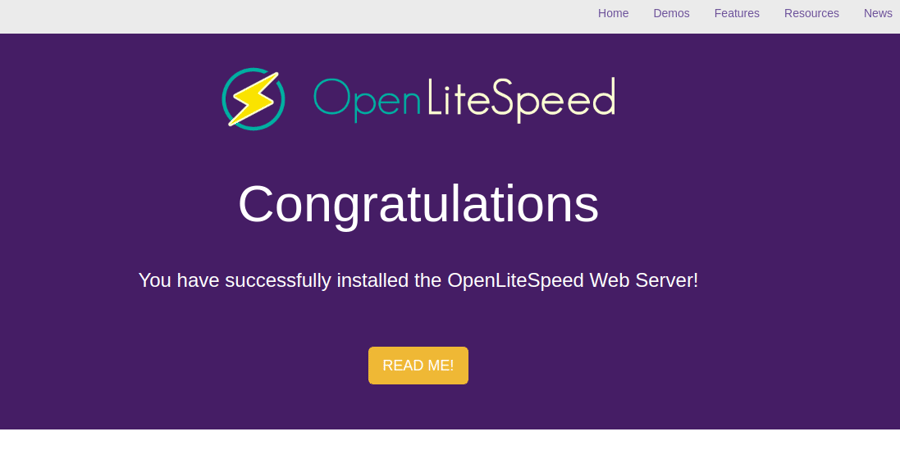
Conclusions
In the above guide, you have learned how to install OpenLiteSpeed on Ubuntu 20.04 server. You also have learned how to enable PHP 7.4 support and change the HTTP default port. With OpenLiteSpeed's web-based control panel, creating and managing a new website becomes straightforward, allowing you to quickly deploy your online presence.
This setup is particularly powerful when used on an Ubuntu VPS server, giving you the flexibility to scale your resources as needed. Additionally, if you need remote access to your server for management or development purposes, setting up an RDP server on Ubuntu can provide a seamless and secure way to connect to your server environment from anywhere. By leveraging these tools, you can maximize the potential of your Ubuntu server, whether you're hosting a single website or multiple applications.
People also read:
Leave A Comment