
GNOME is a free and open-source desktop environment built for Unix-like operating systems. This guide will go through installing and setting up the GNOME graphical user interface on CentOS 7. It is also a part of the GNU project and is being developed by the GNOME project.
The desktop environment is defaulted in most Linux distributions and is a favourite among the Linux community. It is the default desktop environment for CentOS, Debian, Fedora, Ubuntu and others. While the server side of Linux, the administrators mostly use the terminal to carry out their work.
However, sometimes there can be exceptions who prefer the graphical user interface. The default CentOS distribution comes with a minimal server installation that does not contain a GUI. This tutorial will add a graphical user interface on top of the minimal server.
To explore the concept and benefits of graphical user interfaces (GUIs) in more detail, you can refer to our article on What is GUI. This resource will help you understand how GUIs enhance user experience and simplify interactions with the operating system.
This quick guide will cover installing the GNOME 3 desktop on CentOS 7, providing a GUI for working with the Linux system. If you're interested in exploring more about virtual private servers and how they can enhance your Linux experience, check out our article on Linux VPS. This resource will help you understand the benefits and applications of using a VPS in your development or hosting projects.
Step 1: Installing GUI in CentOS
While there are many different graphical user interfaces for Linux, we will use GNOME. Let’s go ahead and install the Gnome desktop package group using the following command.
Note: this might take some time as it comes together with hundreds of more packages. When we installed the GUI, it downloaded almost 1GB of data.
yum groupinstall "GNOME Desktop" –y
On RHEL 7:
yum groupinstall "Server with GUI"
Step 2: Starting the GUI
Once the installation is finished, it will not automatically be loaded during startup. This means that even if you reboot your system, it will not load the GUI.
First, check for the default target by entering:
systemctl get-default

The output will be a multi-user.target. The target is similar to the old run levels; in this case, the multi-user.target is equivalent to run level 3. Instead, we set the default to the graphical.target, equivalent to run level 5.
To do that, enter the following command:
systemctl set-default graphical.target
Now let’s verify if the default target was changed by entering the following command:
systemctl get-default

You will see that the output will have a graphical.target.
Once this is done, reboot the system.
reboot
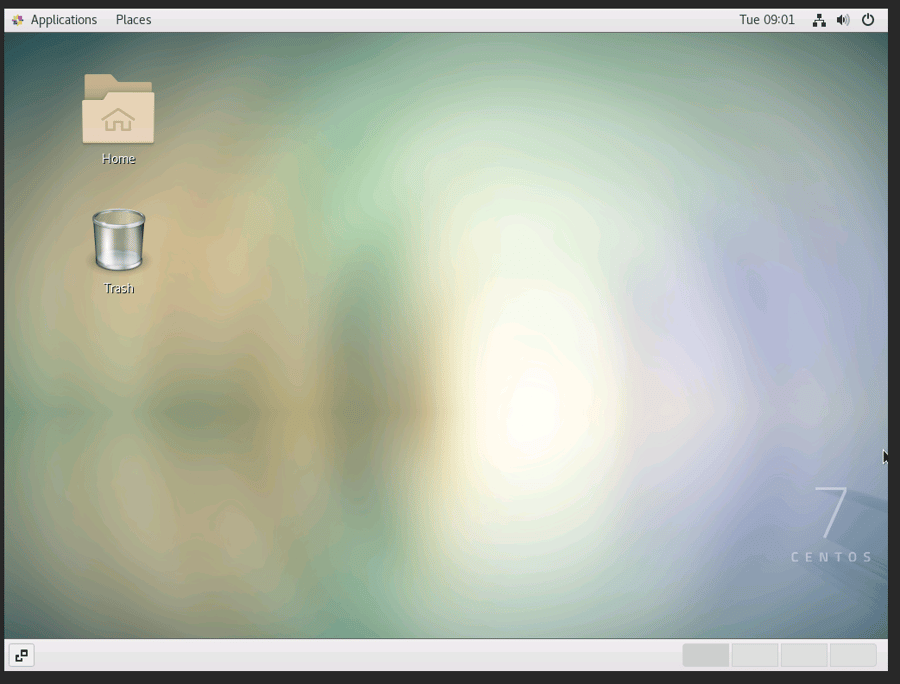
Once the reboot is done, all future boots will be booted to the graphical target by default.
A VNC client must be installed on both the server and the local computer to access the server's graphical user interface. With 1Gbits, you can access the VNC client through our dashboard. If you’re not using 1Gbits, we recommend setting up VNC to access the GNOME desktop environment.
Removing the GUI
If you’ve installed the GUI on your CentOS server, but now you want to remove it, it’s quite simple. With just one command, you can remove the GNOME GUI. However. Before removing the packages, ensure that the selected packages are okay to be removed.
Additionally, if you ever find yourself locked out of your system due to a forgotten root password, you can refer to our guide on how to reset the forgotten root password on CentOS for step-by-step instructions to regain access.
yum groupremove "GNOME Desktop"
Final Words
Throughout this short tutorial, we went through the process of adding the GNOME desktop environment to your CentOS server. We covered the installation process and then went through some basic configurations so that the desktop environment would be booted up during startup.
We also accepted the license agreement, so there won’t be any pop-ups afterwards. We hope this tutorial helped you, and if so, we’re waiting for your feedback in the dedicated comment section below.
If you're also interested in setting up a desktop environment on Ubuntu, check out our guide on How to Install a Desktop (GUI) on an Ubuntu Server for a comprehensive overview of the installation process and configuration tips.
People also read:
Leave A Comment