Lighttpd is an open-source web server that powers numerous websites in the world. Lighttpd focuses on providing increased performance and a light memory footprint. Lighttpd works with the popular MySQL database server (MariaDB) and the PHP server-side dynamic scripting language.
Thanks to the low hardware requirements, it manages high data traffic even on poorly performing systems. It is a strong alternative to the more resource-intensive LAMP stack but otherwise very powerful.
This tutorial will show you how to install Lighttpd on Ubuntu 18.04 server.
Prerequisites
Before we get started, you will need the following.
- An Ubuntu 18.04 server
- Access to the root user account or an account with Sudo Privileges
- Basic understanding of Linux commands
We assume you have already connected to your server via an SSH connection. Good! Let's start.
Step 1: Installing Lighttpd
We will update our repository to ensure the latest version of Lighttpd is on our system. To do that, enter the command below.
sudo apt-get update
apt-get upgrade
Now run the following command to install Lighttpd directly from the Ubuntu repository.
sudo apt install lighttpd
Once the installation is completed, you are ready to start the service. However, before we start the service, we should make some configuration changes. Open the lighttpd.conf file using the nano text editor.
nano /etc/lighttpd/lighttpd.conf
It is necessary to enable Lighttpd to listen to IPv4 addresses. To do this, scroll down to the section which shows ‘bind to a specific IP’ and add the following:
##
## bind to a specific IP
##
#
server.bind = "localhost"
$SERVER["socket"] == "0.0.0.0" { }
Save the file and exit the text editor. Ctrl + x > y > Enter
Now we have everything ready to activate Lighttpd on the server. Enter the following command to start the service:
sudo systemctl start lighttpd
We will also enter the below command so that the service will also start automatically during a system startup:
sudo systemctl enable lighttpd
To check the status of the service, run the following command:
systemctl status lighttpd
Lighttpd is ready to be used. Before that, you should make some configurations on your firewall.
Once your firewall is configured, it's a good idea to test your server setup. If you're unsure how to capture a screenshot of your Ubuntu system for documentation or troubleshooting, check out our guide on how to take a screenshot in Ubuntu for quick steps!
Step 2: Firewall configuration
In the case of the firewall on your system, it is usually set to not accept HTTP and HTTPS traffic. This will be a problem since Lighttpd works using these protocols. Therefore, to allow HTTP (port 80) and HTTPS (port 443) traffic to your server, you need to allow the respective ports from your firewall:
sudo ufw allow 80
sudo ufw allow 443
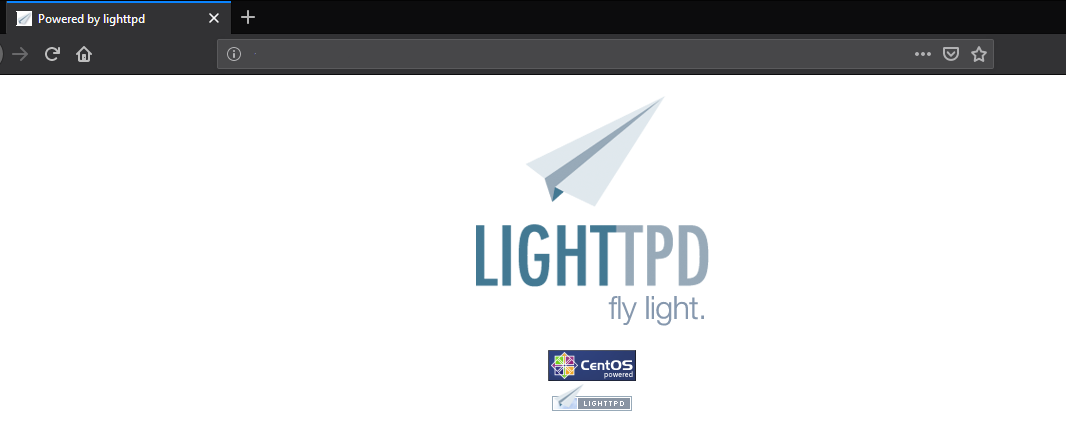
Once this is done, you can test the operation of the server by visiting your browser and entering the following command.
http: //server_ip_address
If you see an output similar to this, you have successfully made the configurations for Lighttpd.

Step 3: Installing MariaDB
Usually, Lighttpd works together with the MariaDB database, which is the MySQL replacement for CentOS. You can install the database server using the following command:
sudo apt-get install mariadb-server
Once the installation is completed, we will need to start the service as it doesn’t start automatically once the installation completes. Enter the following commands to start the service on your server and enable it to start on server boot up:
sudo systemctl start mariadb
sudo systemctl enable mariadb
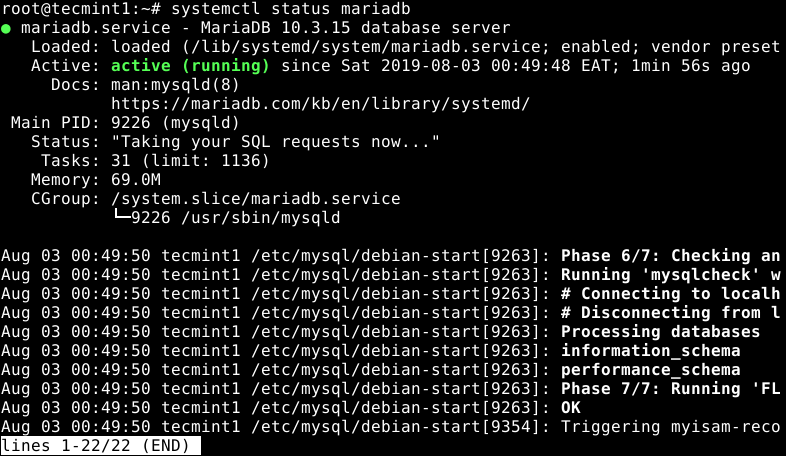
If everything was set up correctly, you could enter the following command to get the status of the MariaDB server.
sudo systemctl status mariadb
You should get the following output. For a more in-depth view of the installation, check out our MariaDB installation guide for CentOS.
For users looking to explore more options, check out our guide on the best Ubuntu-based distros for a seamless experience with Lighttpd and other web servers.

Step 4: Install PHP and PHP extensions
Now we will install PHP and all the necessary PHP extensions. To do this, run the following command on your terminal:
sudo apt-get install php7.2 php7.2-fpm php7.2-mysql php7.2-cli php7.2-curl php7.2-xml php7.2-mbstring php7.2-gd
Once PHP 7.2 has been installed, we need to enable PHP-FPM and FastCGI for Lighttpd. We will open the configuration file using the nano text editor:
sudo nano /etc/php/7.2/fpm/pool.d/www.conf
Scroll down in the configuration file and locate this section:
listen = /run/php/php7.2-fpm.sock
Now replace this part with the following:
listen = 127.0.0.1:9000
All is set in the PHP-FPM files. Save the file and exit the nano text editor by pressing Ctrl + x > y > Enter.
Now we will edit the configuration file of FastCGI using the below command:
nano /etc/lighttpd/conf-available/15-fastcgi-php.conf
Find the following lines:
"bin-path" => "/usr/bin/php-cgi",
"socket" => "/var/run/lighttpd/php.socket",
Then replace those values with
"host" => "127.0.0.1",
"port" => "9000",
All is set in the FastCGI config files. Save the file and exit the nano text editor by pressing Ctrl + x > y > Enter.
Now we will go ahead and enable both FastCGI and FastCGI-PHP modules:
sudo lighty-enable-mod fastcgi
sudo lighty-enable-mod fastcgi-php
Restart Lighttpd and PHP7.2-FPM to apply all the configuration changes:
sudo service lighttpd force-reload
sudo systemctl restart php7.2-fpm
That’s all there is to it – in this tutorial, we learned how to install Lighttpd on an Ubuntu 18.04 Cloud VPS and enable MariaDB, PHP and PHP-FPM with FastCGI support in Lighttpd.
Conclusion
We hope you enjoyed this tutorial on installing Lighttpd on the Ubuntu server. If you're looking to host your own Ubuntu VPS for more control and flexibility, or if you need to set up an Ubuntu RDP server to manage your server remotely with a graphical interface, we have guides available to help. Should you encounter any issues during the installation process or need assistance with additional configurations, don’t hesitate to contact us in the comment section below. We're here to assist!
People also read:


