
Python is one of the most popular and used programming languages in the world. In this short tutorial, we will go through installing Python 3 on CentOS 7 using three different methods. Python is the core of many websites and programs existing in today’s times – YouTube, Instagram, Netflix, Uber, and even YUM on CentOS.
All of them rely on Python’s reliability and performance to fulfill their needs. Python is designed as a general-purpose, object-oriented programming language to cater to almost all problems. It is a favorite among beginners and experts alike.
If you’re also managing web hosting on CentOS, consider checking out our guide on How to Install Kloxo-MR on CentOS, a powerful web hosting control panel that complements CentOS systems.
Since it is a universal programming language, you can use it to do almost anything you want. CentOS 7 comes preloaded with Python 2; however, it reached its EOL on the 1st of January 2020. While some programs require Python 2, you can always upgrade it to be compatible with Python 3, and for new projects, it’s better to start it with Python 3.
Before we start with the installation process, let’s look at some of the usages of Python.
Python usage in the real world
- Web development
- Game development
- Scientific and Numeric Applications
- Artificial Intelligence
- Machine learning
- Desktop GUI (Like VNC)
- Cybersecurity
- Software development
- Enterprise-level business applications
- Education and training programs
- Programming language development
- Operating system production
- Web scraping applications
- Image processing and graphic design application
- Internet of Things
- Finance, and more.
Now that we got a brief introduction to the world of Python let’s go ahead and set it up on our CentOS VPS.
Prerequisites
- A CentOS system
- Root access or an account with sudo privileges
- Basic knowledge of using Bash commands
Method 1: YUM installation
In CentOS 7 releases before 7.7, it was necessary to make Python 3 available using third-party repositories as the CentOS base repository did not provide the Python 3 package. However, since CentOS 7.7, Python 3 is available directly from the base repository.
- Update the system environment
yum update –y
- Once the system is updated, we can go ahead with the Python 3 installation.
- Run the following command.
yum install –y python3
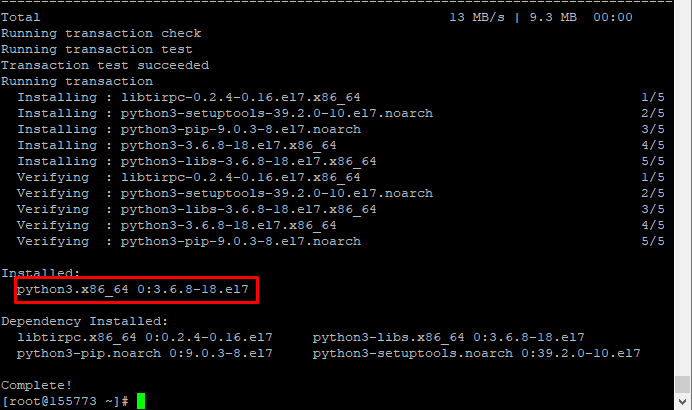
You have successfully installed Python 3 on your system, simple as that. During the installation, the Python package manager (PIP) is also installed, so you won’t need to install it as an additional step.
- To check if Python 3 installation was a success, enter the following code:
- You will get an output similar to the one shown in the picture below.
python3 --version

Method 2: Source installation
The easiest and most straightforward way of installing Python 3 is by using the yum repository. However, sometimes you will need to get it directly from the Python source.
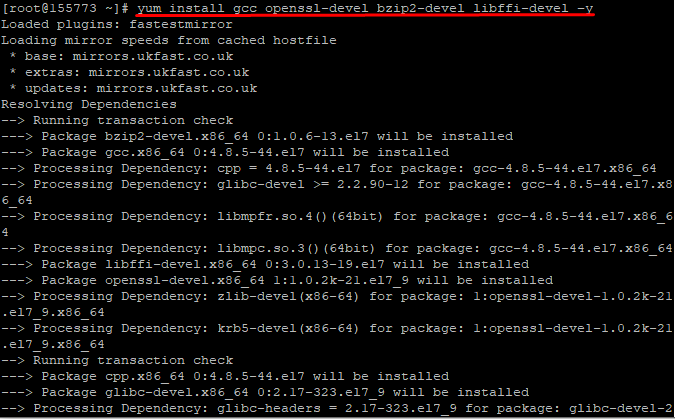
- Before installing Python, we will need to set some prerequisite packages on our system. To do that, enter the following command:
yum install gcc openssl-devel bzip2-devel libffi-devel –y
Now we can select the Python version we would like to install. For this section, we will be choosing Python version 3.8.1. You can check for the Python version from the official website:
curl -O https://www.python.org/ftp/python/3.8.1/Python-3.8.1.tgz

- Now to extract the file:
tar -xzf Python-3.8.1.tgz
- Now we should go inside the directory
cd Python-3.8.1/

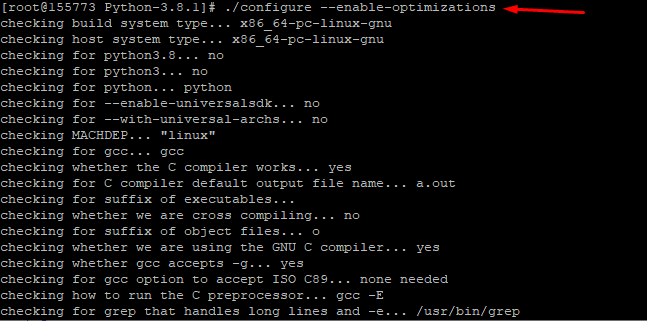
- Compile Python from the source (this might take a bit of time)
./configure --enable-optimizations
- Use the following command to finish the installation. This will run the installation without replacing the default Python system. (This will take some time)
make altinstall
- Once the installation is finished, enter the following command to check if the installation was a success.
python3.8

PS: Are you new to Linux and having trouble with the commands? Worry not; we got you covered. Check out our complete tutorial on the basic Linux Commands.
Method 3: Install Python from SCL
Software Collection or SCL is a community project that allows you to build, install and use multiple software versions on the same system without affecting system default packages. By enabling SCL you will gain access to newer versions of programming languages that are not available in the core repositories.
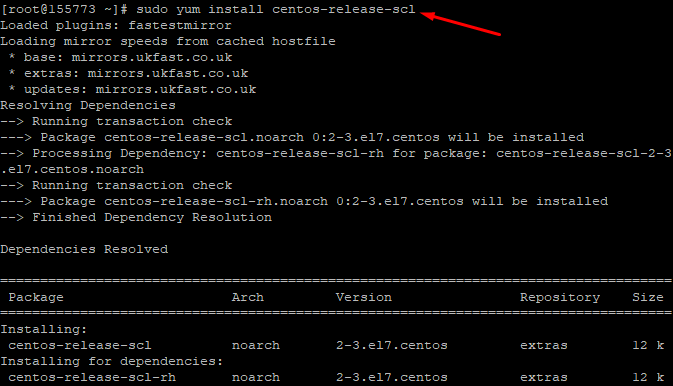
- To enable SCL, you will need to install the CentOS SCL release file. Enter the following command:
Press y, when prompted with, Is this ok [y/d/N]:
sudo yum install centos-release-scl
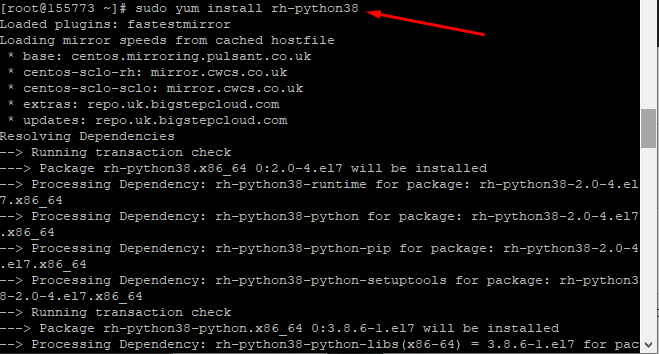
- Now you can install any Python 3.x version you need. In this tutorial, we will be installing Python 3.9, which is the latest stable version, when writing this article.
sudo yum install rh-python38
- Install the python development tools which are required for building Python modules:
sudo yum groupinstall ‘Development Tools’
- Check for the python version by entering
python --version

As you see here, the output shows the default Python version. To access the newly installed version, you will need to change some shell variables. To do that, enter the following command:
scl enable rh-python38 bash
Now check the version, and you will see the right python version
python --version

Conclusion
Throughout this article, we went through three different methods to install Python 3 on CentOS 7. Now you can start developing your Python 3 projects with ease on your CentOS server. We hope that you enjoyed this step-by-step tutorial on installing Python on your CentOS 7 system. Let us know in the comments below if you come across any errors during the installation process. Your feedback is valuable, and we're here to help you troubleshoot any issues you might encounter!
Before getting started with any major updates or installations, it’s always a good idea to verify the version of CentOS you're running. For detailed instructions, refer to our guide on How to Check CentOS Version.
People also read:
Leave A Comment