This article explains how to install OpenVAS on Kali Linux. OpenVAS (GVM) is an open-source vulnerability scanner that performs network vulnerability tests in Linux. This scanner plays a vital role in penetration testing. You can handle more than one target host at a time using OpenVAS.
OpenVAS, or Open Vulnerability Assessment System, is a pen-testing framework that uses a database to scan and test systems for vulnerabilities. The database is constantly updated and comprises a collection of known exploits and vulnerabilities.
OpenVAS consists of:
- A database comprised of results and configurations
- A Scanner that runs various Network Vulnerability Tests
- A Collection of Network Vulnerability tests
- A Greenbone Security Assistant: a web interface that allows you to run and manage scans in the browser
We recommend that if you want to install OpenVAS, use Kali Linux instead of CentOS or any other Linux-based distributions. The process is much smoother when installed on Kali compared to other distributions.
System resources
When using Kali Linus for any OpenVAS scanning, you should pay close attention to resource usage. Whether using a virtual machine or a bare metal, you should have the minimum CPU and memory requirements.
To further secure your system, you may also want to ensure that all user passwords are strong and updated regularly. Learn how to change passwords in Linux to enhance security measures when working with OpenVAS on Kali Linux.
- Minimum CPU: 4 cores
- Minimum memory: 8 GB
You will need more resources if you plan to run multiple scans parallel to each other.
Installing OpenVAS on Kali Linux
Before installing OpenVAS, you should update your system (You can skip this step if you have an updated system).
apt-get update
apt-get dist-upgrade
Now that the system is up to date, we can start the installation process for OpenVAS (Choose only one).
apt-get install openvas
Now that OpenVAS is installed, you will get access to the setup script. It would be best if you launched it to configure the OpenVAS for first-time use. This script will configure OpenVAS with the needed services, user accounts and the latest NVT updated from the Greenbone Community Feed.
openvas-setup
This setup is completely automated, and you will get working and up-to-date OpenVAS installation once the installation is completed. You can take a small coffee break because this takes a bit of time to install.
During the configuration process, you will be given a password. Note it as it will be needed to access the Greenbone Security Assistant web interface.
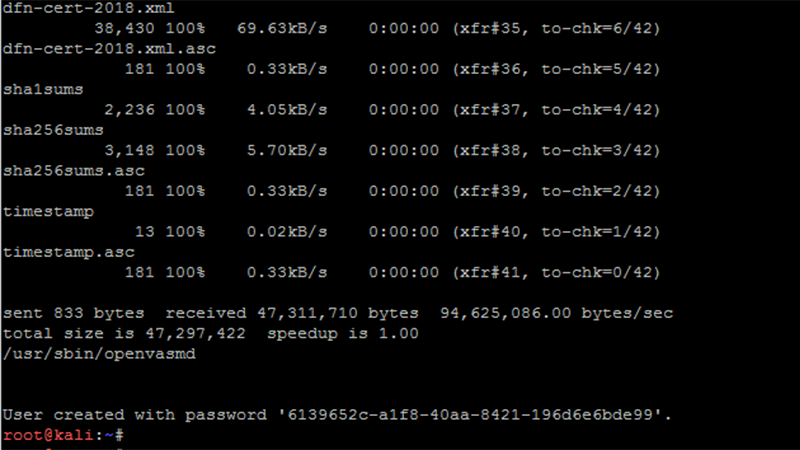
Now start the OpenVAS service.
openvas-start
Once the service is running, you may also want to enhance your Kali Linux experience by learning how to install additional packages; check out our guide on how to install packages in Linux for more information.
An alternative method for installing OpenVAS
The main difference between this method and the above-mentioned one is the switch from ‘openvas’ to ‘gvm’ rebranding. This is the method you should use for some versions of Kali Linux. Once you have the Kali Linux system up and running, first, let’s go ahead and update the system:
apt-get update
apt-get upgrade
Install OpenVAS using the following command:
apt-get install gvm*
Now run the setup program.
gvm-setup
Don’t forget to note down the password that will be generated. This will be needed to access the web interface.

If you are using the OpenVAS system as a server on a remote server, you need to allow remote access to the service. To do that, make the following configurations on your Firewall. This step can be avoided if you use it on your local workstation!
apt-get install ufw
ufw enable
ufw allow 80
ufw allow 9392
Now everything is set. Start the OpenVAS service by entering:
gvm-start
Common Errors: solutions
You might encounter some errors when installing OpenVAS on older versions of Kali or other Debian-based distros. Depending on your system configurations, you might need to install the SQLite database or the PostgreSQL database.
To install PostgreSQL:
apt-get install postgresql
service postgresql start
To install SQLite3 database:
apt-get install sqlite3
service sqlite3 start
Using OpenVAS via the web interface (Green Security Assistant)
Greenbone web client can be accessed via your browser, a feature with OpenVAS. Using a graphical user interface, you can log in using the user credentials and perform scans within minutes.
Before we get to the browser, let’s have a look if gsad is running and listening:
netstat -apn | grep LISTEN
We can continue the process if your output is similar to this one.
tcp 0 0  127.0.0.1:9390  0.0.0.0:*  LISTEN 128108/openvasmd
tcp 0 0  127.0.0.1:80    0.0.0.0:*  LISTEN 128112/gsad
tcp 0 0  127.0.0.1:9392  0.0.0.0:*  LISTEN 128106/gsad
Open your browser and type https://127.0.0.1:9392 in the address bar. This will give a self-signed SSL certificate. You should accept thins and continue to the window where you should enter the Username and Password.
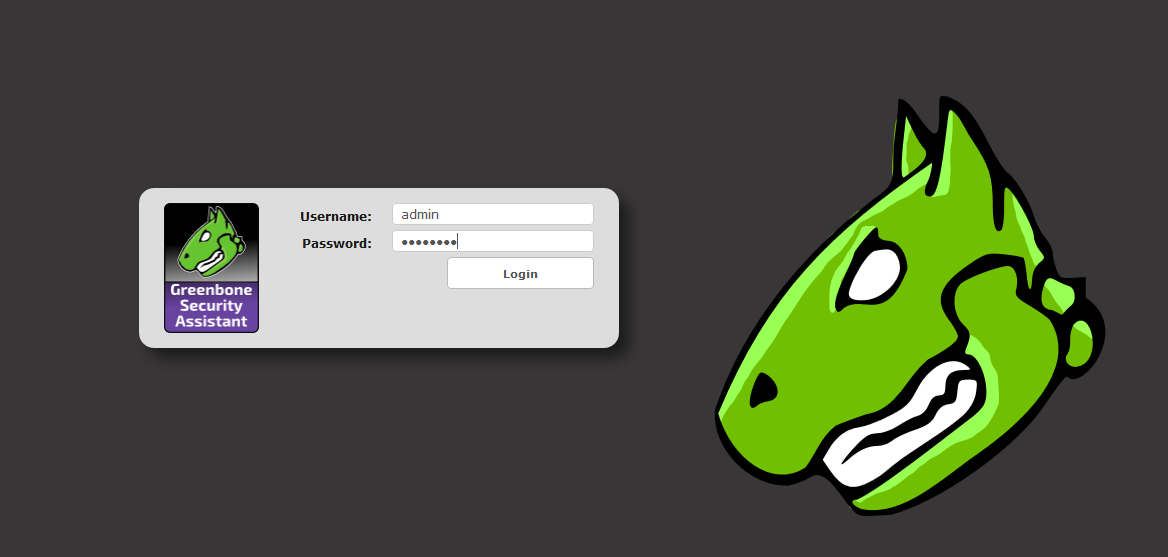
Login to your dashboard using admin as the username, and as the password, use the password from the script run in the earlier step.
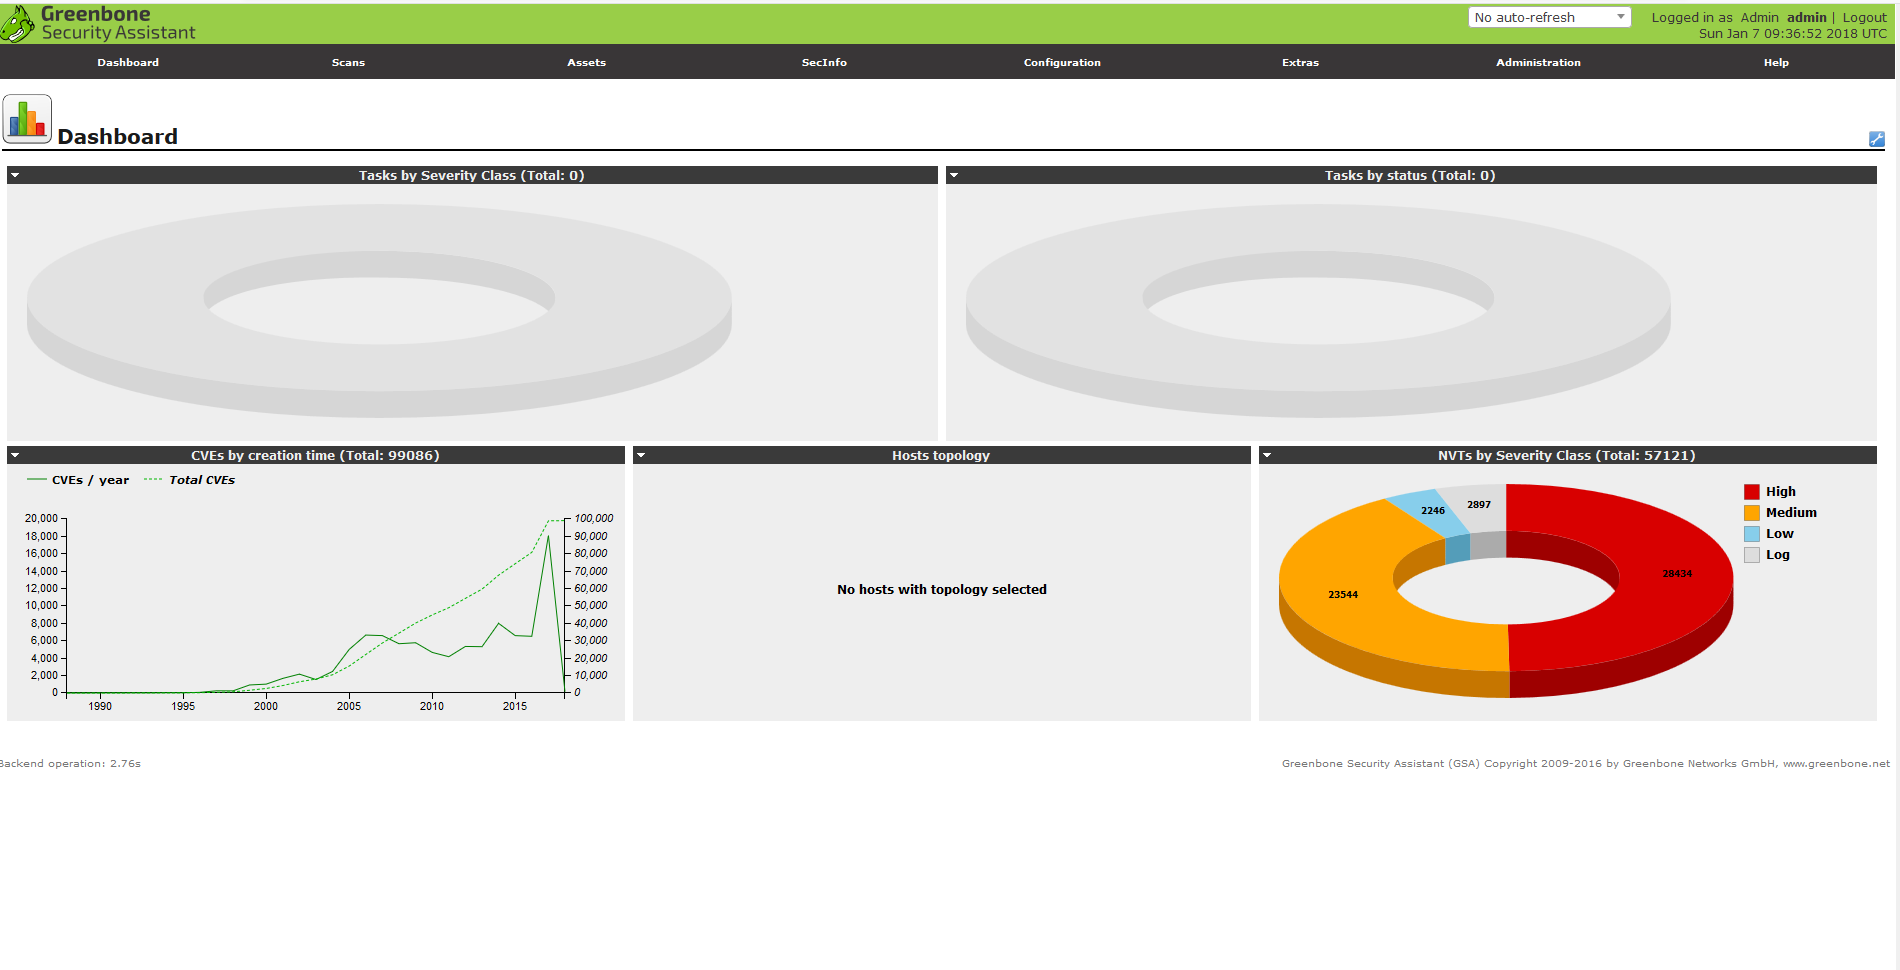
How to create a scan in OpenVAS?
Now that we have access to the OpenVAS web UI, let’s go ahead and initiate a scan task. A task in OpenVAS defines the target(s) you want to be scanned and the required scanning parameters. For the sake of simplicity, we will use the default scan options.
You can navigate the Scans menu and click on the Tasks submenu to launch a new scan.
That will launch a window allowing you to provide all relevant information for a scanning task.
- Task name
- Scan target
- Schedule
Use the default settings and click on Create.
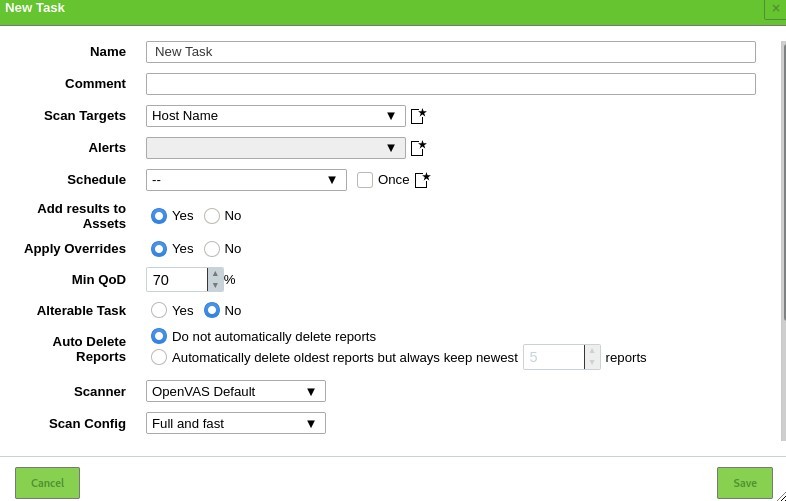
To run the task, click the play button on the bottom left of the task list.

How to add a target in OpenVAS?
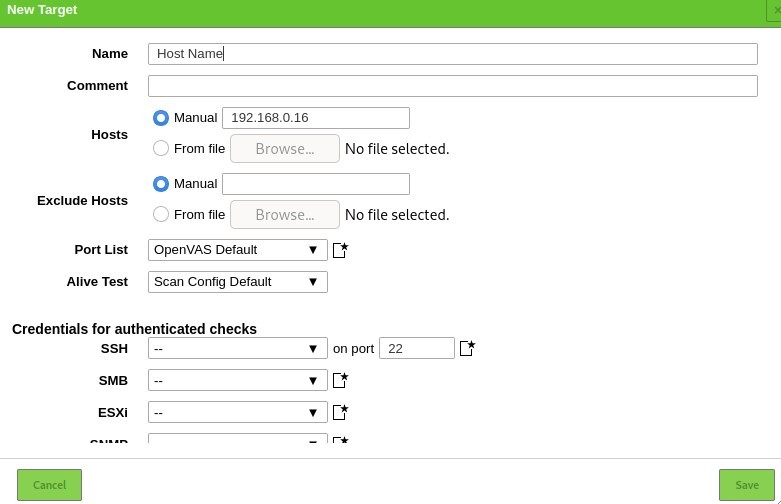
To add new targets, navigate to the configuration menu and select targets.
Select the blue icon on the top left corner to start adding targets. Doing that will launch a dialogue window that allows you to add information about the target, such as:
- Target Name
- The IP address
Once you add all the relevant information about the target, you should see it listed in the targets section.
How do I add new users to OpenVAS?
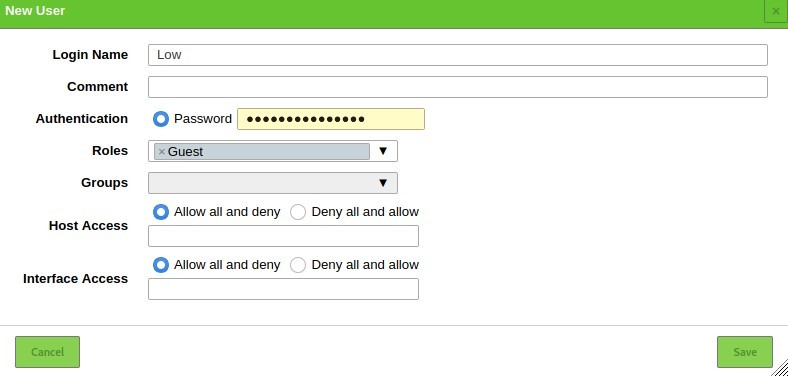
You can add new users to OpenVAS and assign them various roles. To add a user or a role, you should go to the Administration section and click on users. Select New and add the user information:
Conclusions
Congratulations on making it to this article's end and successfully installing OpenVAS. We covered the installation steps of OpenVAS on Kali Linux and how to access it via the browser. OpenVAS is a powerful tool that brings the power of cybersecurity research into your hands. You can use it to monitor devices in your network and websites on remote servers.
For those interested in further exploring the foundation of this powerful operating system, check out our article on What is Linux? to enhance your understanding of the environment in which OpenVAS operates.
If you're interested in running Kali Linux on a VPS, it can offer you enhanced flexibility and scalability for your security assessments. A VPS allows you to configure your Kali Linux environment according to your specific needs, ensuring you have the resources and control necessary to effectively utilize tools like OpenVAS. Whether you're performing penetration testing, vulnerability scanning, or any other security-related tasks, having Kali Linux on a VPS can significantly streamline your workflow and provide a robust platform for your cybersecurity efforts.
When you buy linux server, it is important to consider factors such as the level of technical support provided, the security measures in place, and the cost of the hosting plan. we provide the best in the market.
If you are facing any problems with the installation, feel free to contact us through the comment section here. We will reach out to you and help.
People also read:
- How to Install SearchSploit on Kali Linux?
- How to create users in Linux?
- mkdir Command in Linux with Examples
- What Are The Easiest Ways to Create Files in Linux?
- How to Rename File in Linux?


