
Switching to the root user in Linux is a vital skill for anyone managing a Linux-based system, whether you're a beginner or an experienced sysadmin. If you've ever asked, "how to switch to root user Linux," or you're specifically looking to switch to root user Ubuntu 20.04, this guide will walk you through all the best methods on how to switch to root user in Linux terminal, use cases, and security practices.
What Is the Root User in Linux?
In Linux systems, the root user is the administrative superuser who has permission to perform all actions—delete files, install or remove packages, change ownerships and permissions, access restricted directories, and more. It's similar to the Administrator role on Windows but with even more system-level power.
By default, Ubuntu-based systems disable the root account to prevent users from logging in directly as root. Instead, they rely on the sudo command to grant temporary root access in a more controlled and secure manner. This approach is designed to protect your system from accidental misconfigurations and security breaches.
Before diving into how to switch to root user Linux, it’s important to recognize that any command run as root can alter or damage the system. Proceed with caution.
Why You May Need to Switch to Root User Linux
In Linux, many system-level tasks require elevated privileges that are restricted to the root user. While most Linux distributions like Ubuntu encourage using sudo for security reasons, there are still several legitimate scenarios where accessing the root user becomes not just helpful, but essential.
Here are common situations where change to root user Ubuntu can make your workflow smoother:
-
Installing or removing software packages:
Whether you're adding new tools via apt install or removing outdated programs, package management often requires administrative rights. -
Managing system services:
Starting, stopping, or restarting services like nginx, apache2, or mysql requires elevated permissions. -
Editing configuration files in restricted directories like /etc:
The /etc directory holds configuration files for your entire system. -
Changing file permissions or ownerships:
Modifying permissions using chmod or changing ownership with chown can’t be done on protected files without root access. -
Mounting disks or drives:
Mounting and unmounting storage devices, especially external drives or network shares, often requires administrative privileges. -
Managing user accounts:
Adding new users, changing passwords, assigning group memberships, or modifying login shells can only be performed with root privileges.
Method 1: Use sudo – The Most Secure and Recommended Approach
If you're using Ubuntu 20.04 or any modern Linux distribution, sudo is the safest way to perform administrative tasks without logging in directly as root. Here’s how to switch to root user in Ubuntu terminal:
Option A: Gain a Full Root Shell Temporarily
sudo -i
This command gives you a persistent shell session with root privileges. Once entered, every command you run will act as if you're the root user.
This is particularly useful when you're performing a series of administrative tasks and don’t want to type sudo before each command.
Option B: Run a Single Root Command
sudo apt update
This option is perfect for executing a one-time command with root privileges without switching to the root user entirely.
Using sudo keeps your system logs clean and allows admins to audit actions later.
Method 2: Use sudo su – Fast, Simple, and Effective
The sudo su command is one of the quickest ways to switch to the root user in Linux—especially if you're coming from a UNIX or CentOS background and prefer a more traditional method of gaining full system control.
Here’s how it works:
sudo su
This command tells the system to run the su (substitute user) command using elevated sudo privileges. By default, su switches the shell to another user—when no user is specified, it switches to root. Since most modern Ubuntu systems have the root account disabled, sudo is required to give su permission to execute.
Once the command is run successfully, you’re dropped into a root shell, where all commands are executed with administrative rights. You won’t need to prefix each command with sudo anymore during that session, which is handy when you're performing a chain of configuration tasks or debugging system issues.
Method 3: Enable the Root Account in Ubuntu (Not Recommended for Beginners)
By default, the root account is disabled in Ubuntu. However, advanced users may choose to enable root login for specific tasks or automated systems.
To enable and switch to root user Linux and Ubuntu-style:
Step 1: Set a Password for the Root Account
sudo passwd root
You’ll be prompted to enter a new password for the root user. Once the password is set, the root account becomes active.
Step 2: Log In as Root
su -
This command opens a root shell using the password you just created.
⚠️ Warning: Avoid using this method in a production environment. It's more difficult to track commands and more prone to accidental errors.
Once your task is complete, you can disable the root account again for safety:
sudo passwd -l root
Related: Read our article on how to disable root login in Linux to learn how to lock down your server after finishing sensitive tasks.
Method 4: Ubuntu Switch to Root User Linux Without Password (for Dev Environments Only)
Sometimes, in development environments or automated systems, entering the root password repeatedly can be inefficient. Here’s how to switch to root user in Linux without password:
Step 1: Open the sudoers File Safely
sudo visudo
Step 2: Add a Passwordless Rule for Your User
your_username ALL=(ALL) NOPASSWD:ALL
Save and exit the file. You can now use sudo commands without entering a password.
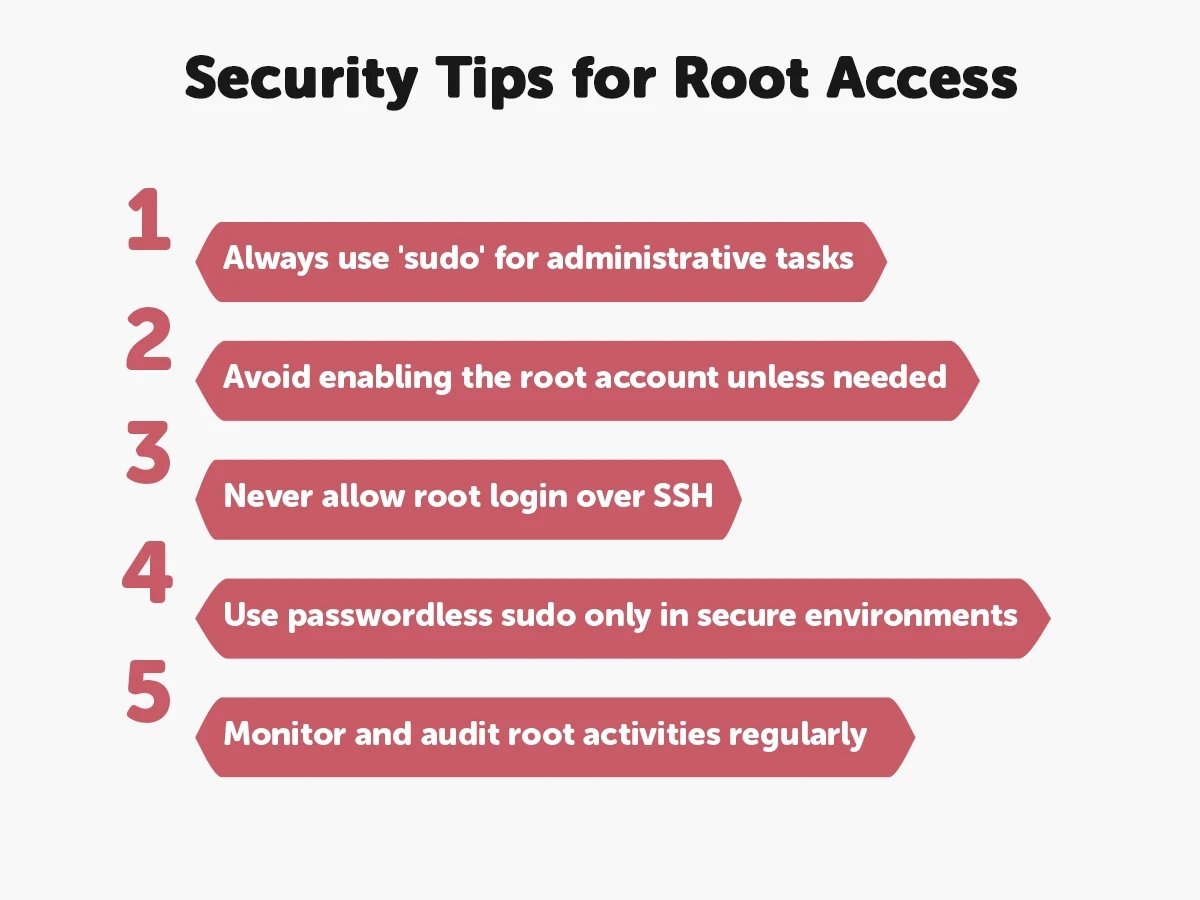
🔐 Security Tip: Only use this configuration on secure internal systems or virtual machines, never on public-facing servers.
If you’re hosting a website or app on a server, check our guide on Linux VPS Hosting options to learn about secure server configurations.
Method 5: Switch to Root on Remote Servers (via SSH)
On many Linux servers, especially Ubuntu VPS or cloud environments, root login is disabled for remote connections.
Here’s how to switch to root user in Kali Linux securely:
Step 1: SSH as Your User
ssh your_user@your_server_ip
Step 2: Gain Root Access
sudo -i
This is the preferred and safest method for managing remote Linux servers. However, if absolutely necessary, you can allow root login via SSH by editing the SSH config file:
sudo nano /etc/ssh/sshd_config
Then change:
PermitRootLogin yes
Restart SSH for changes to take effect:
sudo systemctl restart sshd
⚠️ Direct root login over SSH is discouraged. Use only in tightly controlled environments.
Troubleshooting: Common Errors When Switching to Root
Even experienced users can encounter errors when attempting to switch to root user Linux, especially if they're working with a freshly installed system or a cloud-based VPS with strict security defaults. Below are the most common issues you might face and how to resolve them:
“Permission Denied” or “User Not in the Sudoers File”
This message appears when your user account doesn’t have sudo privileges. In this case, you won’t be able to perform any root-level tasks unless another admin updates your permissions.
To resolve this, log in as a user with sudo rights and run:
sudo usermod -aG sudo your_username
This command adds your user to the sudo group, granting administrative privileges. After running it, you’ll need to either log out and back in or use:
newgrp sudo
to refresh your group memberships in the current session. Once done, you should be able to execute sudo commands without any issue.
“su: Authentication Failure”
This error usually indicates one of two things:
-
The root account is disabled.
-
The root account doesn't have a password set.
By default, on distributions like Ubuntu, the root account is locked for safety. To enable it temporarily or for specific use cases, you’ll need to assign a password:
sudo passwd root
You’ll be prompted to create and confirm a new password. Once completed, you can switch to the root account using:
su -
🛑 Important: Don’t forget to disable the root account when you're done by running:
sudo passwd -l root
This locks the root account and helps prevent unauthorized logins, especially if your system is publicly accessible.
Bonus: Switch Back from Root to Normal User
When you're done with administrative tasks, exit the root shell by typing:
bash
CopyEdit
exit
This command drops you back to your normal user session, reducing the risk of accidental changes.
Final Thoughts: Which Method Should You Use?
|
Method |
Command(s) |
Requires Password |
Persistent Root Shell |
Recommended Use Case |
|
sudo (single command) |
sudo <command> |
Yes |
No |
Running a single administrative command |
|
sudo -i |
sudo -i |
Yes |
Yes |
Multiple administrative tasks in one session |
|
sudo su |
sudo su |
Yes |
Yes |
Traditional root shell access |
|
Enable root account |
sudo passwd root |
Yes |
Yes |
Advanced users needing direct root login |
|
Passwordless sudo |
sudo visudo |
No |
Yes/No |
Development environments (not recommended) |
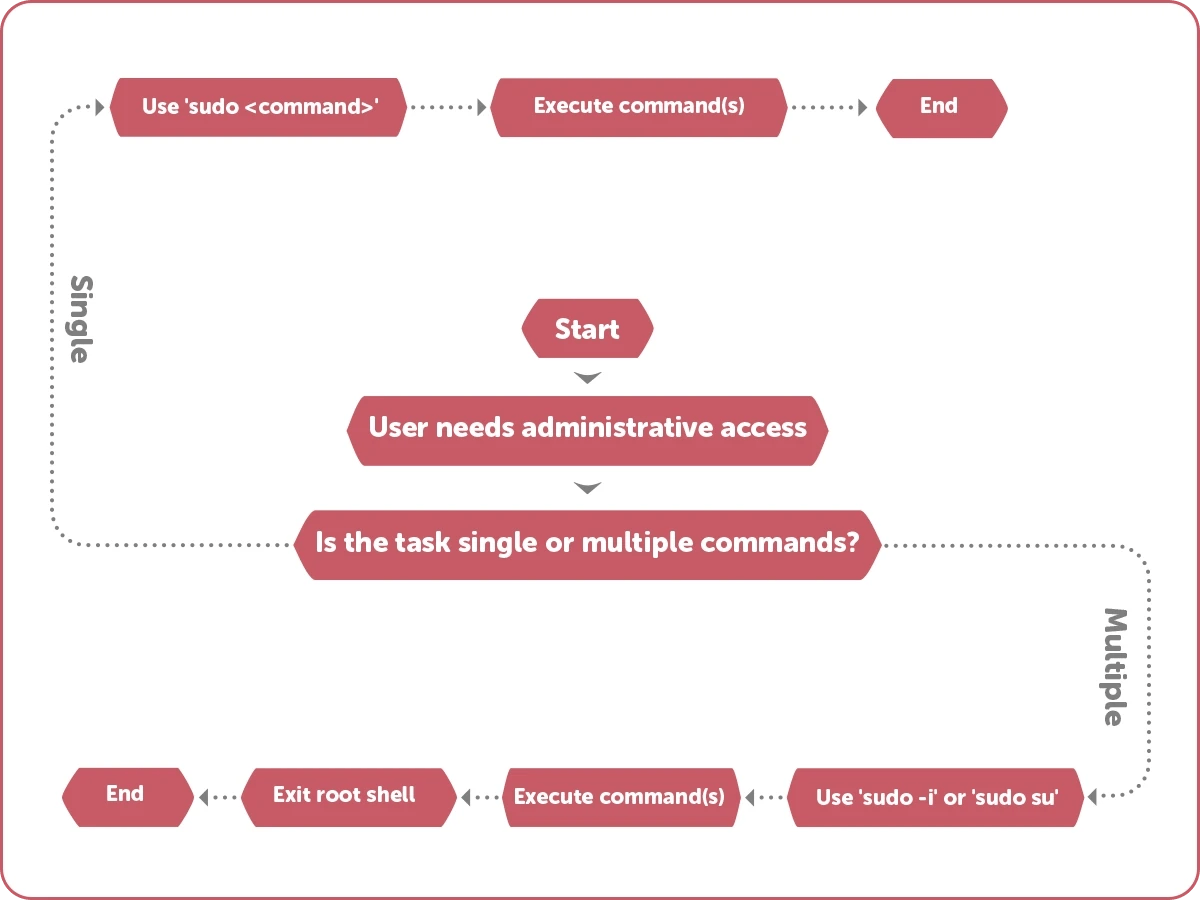
If you're wondering which method is best to switch to root user Linux, here’s a quick recommendation:
-
Use sudo for safety, audit logs, and general use.
-
Use sudo su or sudo -i for multiple administrative commands in one session.
-
Enable root only when necessary and disable it afterward.
-
Avoid direct root login over SSH unless you know exactly what you're doing.
Knowing how to switch to root user Linux Ubuntu 20.04 style not only boosts your Linux skills but ensures you're managing your system responsibly.
People also read:
