
While you may be hosting live events with live content, or holding VOD libraries for a specific application, or allowing users to access their own media platform, setting up a video streaming server involves considering performance, scalability, and cost down to the very last detail.
Do not restrict yourself to third-party services; set up a server with the required hardware specifications, streaming protocols (RTMP, HLS, SRT, or WebRTC), and software modules (NGINX RTMP or Ant Media) for a smooth and uninterrupted streaming experience. This guide is your thorough walkthrough for video streaming server setup in detail, along with comparisons of the best tools and integration of CDN and scaling strategies for 2025 logic scenarios.
📺 What is a Video Streaming Server?
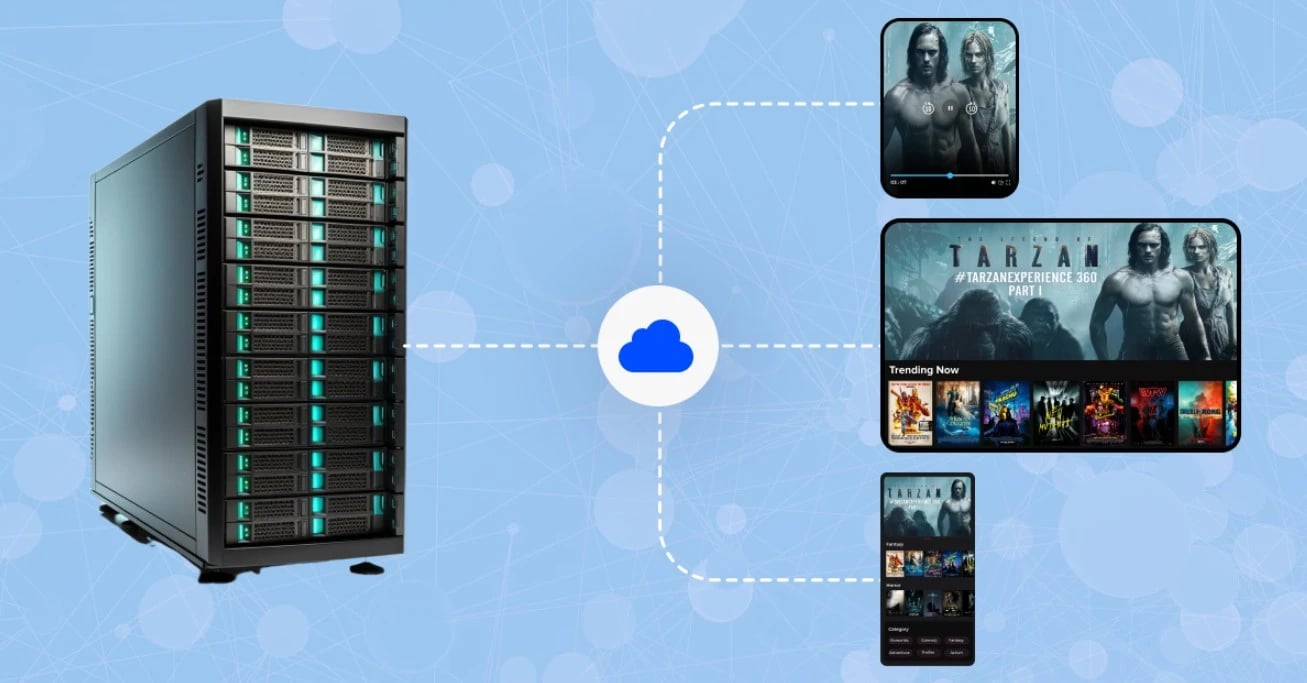
A video streaming server describes an arrangement developed for providing timely video content and presenting the same for the viewers over the internet. An internet streaming server ensures that the user need not download an entire file before viewing, as it divides the video into chunks and transmits them one after another in streaming mode, even rendering it as soon as the transmission of the first chunk begins.
Protocols of streaming like RTMP, HLS, SRT, and WebRTC will take care of the content transfer, buffering, and content visualization on various devices.
Stock acts like regular web servers with text or static media, whereas a video streaming server setup is designed for very high bandwidth use, very low latency, and seamless playback. Here, it caters to use cases of broadcast of live events, e-learning platforms, or the OK media library. Depending on your requirements, you could go for open-source servers like NGINX RTMP or commercial platforms like Ant Media and Nimble Streamer, giving you flexibility on performance, scalability, and budget.
🔧 Why Build Your Own Streaming Server?
Build video streaming server gives you control, flexibility, and long-term cost savings compared to relying on third-party platforms. It ensures that your content is delivered according to your rules, with customization options that fit your audience and scale.
-
Full control over content: Decide how, where, and to whom your videos are streamed.
-
Customization: Choose the right streaming protocols (RTMP, HLS, SRT, WebRTC) and software (NGINX RTMP, Ant Media, Jellyfin) to fit your needs.
-
Scalability: Adjust server power, bandwidth, and storage as your viewership grows.
-
Cost efficiency: Reduce ongoing platform subscription fees by investing in your own infrastructure.
-
Enhanced security: Safeguard video assets with encryption and access control measures.
By managing how to set up a video streaming server, you’re not just streaming videos; you’re building a platform that can grow with your project. This approach offers independence, stability, and the ability to deliver a unique viewing experience.
🖥️ Hardware & Software Requirements
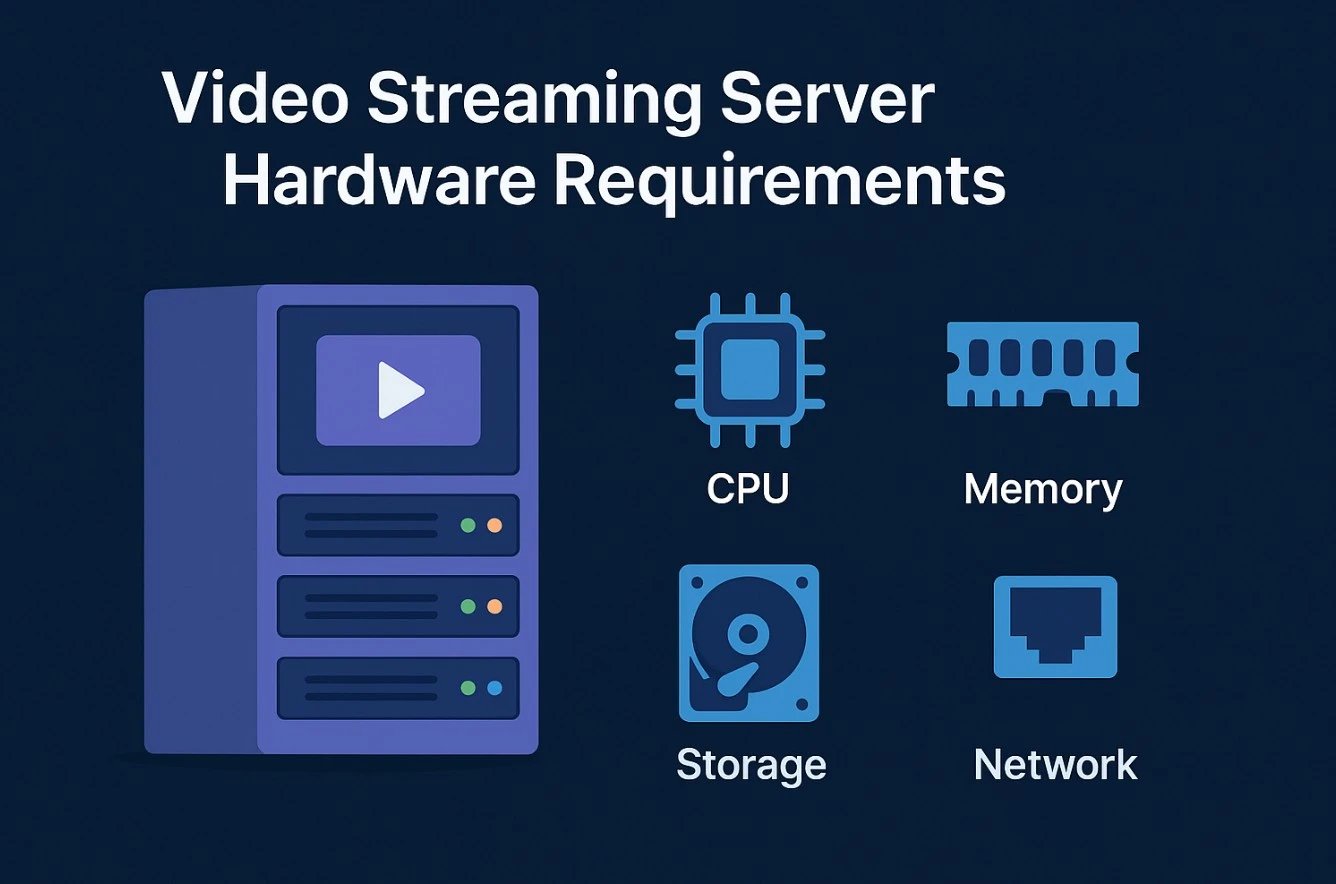
Before starting a video streaming server setup, you need to ensure that both your hardware and software can handle the demands of continuous video delivery. Hardware directly impacts stream quality and stability, while software determines protocol support, latency, and scalability.
Hardware Checklist
Below, we’ll see the essential hardware components you need to consider for both small-scale and enterprise streaming setups.
|
Requirement |
Minimum Specs (Small-Scale) |
Recommended Specs (Enterprise) |
Notes |
|
CPU |
Quad-Core (Intel i5/Ryzen 5) |
8–16 Cores (Xeon / Ryzen 9) |
Handles encoding & concurrent streams |
|
RAM |
8 GB |
32–64 GB |
More viewers & higher quality = more RAM |
|
Storage |
250 GB SSD |
NVMe SSDs + RAID storage (1 TB+) |
SSD for speed, HDD for large VOD libraries |
|
Bandwidth |
20–50 Mbps upload |
1 Gbps+ dedicated connection |
Critical for stable streaming |
|
GPU (optional) |
Not required for RTMP only |
NVIDIA GPU (NVENC support) |
Useful for hardware-accelerated encoding |
|
Operating System |
Ubuntu 20.04+ / CentOS |
Ubuntu 22.04 LTS / Debian 12 |
Linux is preferred for stability |
|
Server Software |
NGINX RTMP, Node Media |
Ant Media, Nimble Streamer, OvenMediaEngine |
Chosen based on latency & scale |
|
Protocols Supported |
RTMP, HLS |
RTMP, HLS, SRT, WebRTC |
Protocol choice depends on the use case |
For a deeper dive into hardware resources, you can also check out our detailed guide on streaming server bandwidth and storage.
🌐 Streaming Protocols Explained
When building a video streaming server, protocols define how video data is transmitted, buffered, and displayed across different devices. Each protocol has a unique role in ensuring stable and efficient delivery, from live broadcasts to real-time communication.
RTMP (Real-Time Messaging Protocol)
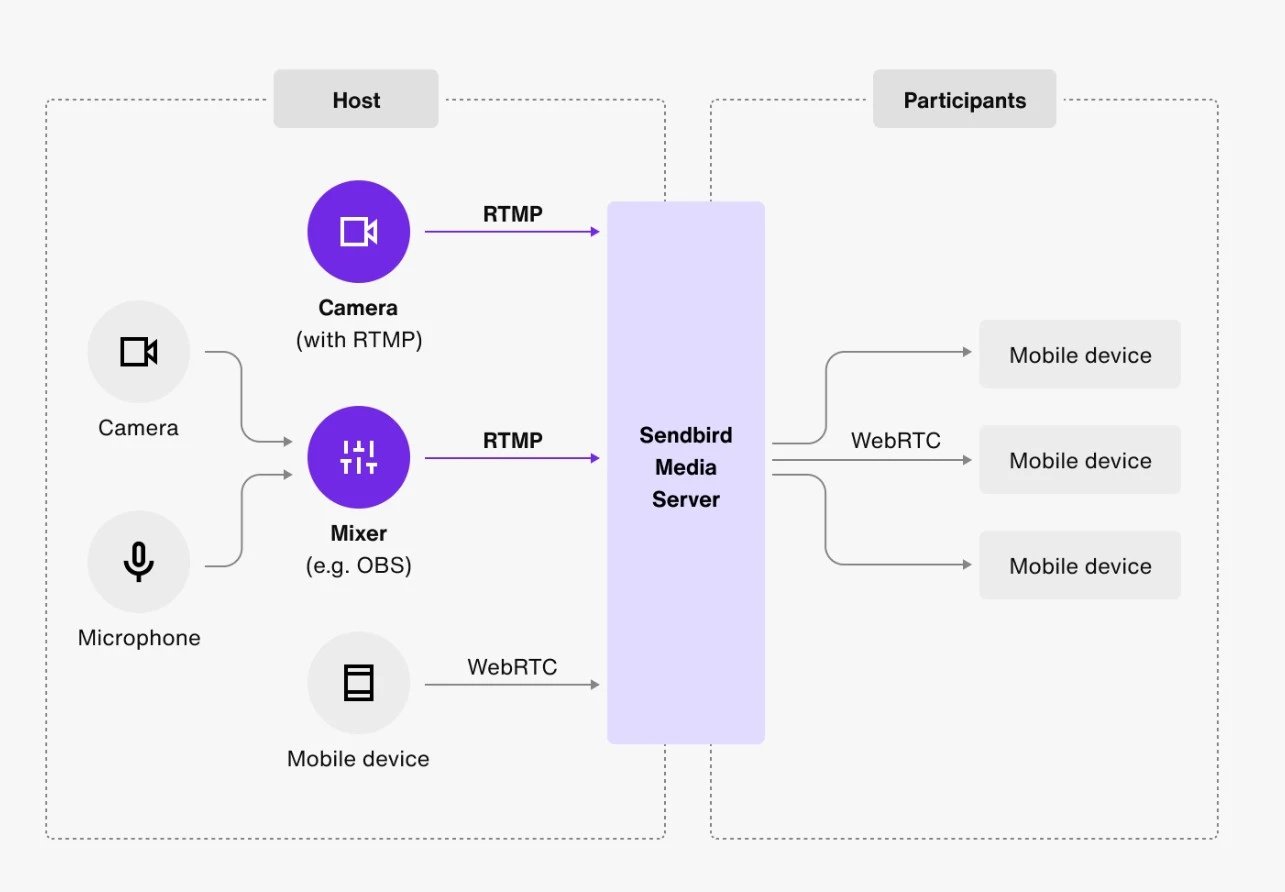
Originally developed by Adobe, RTMP remains one of the most widely used protocols for ingesting streams from broadcasting software (like OBS Studio) into a server. It provides stable low-latency transmission, making it ideal for sending live video to a streaming server setup before being transcoded into more playback-friendly formats such as HLS.
HLS (HTTP Live Streaming)
Created by Apple, HLS is the most common playback protocol, supported by virtually all browsers and mobile devices. Its strength lies in adaptive bitrate streaming, which automatically adjusts video quality based on the viewer’s internet connection.
SRT (Secure Reliable Transport)
Designed for professional broadcasting, SRT ensures reliable delivery over unpredictable networks by using error correction and strong encryption. It’s particularly valuable for organizations that need secure, low-latency streaming at scale.
WebRTC (Web Real-Time Communication)
Built for interactive use cases, WebRTC enables sub-second latency streaming directly in browsers without extra plugins. It’s commonly used in video conferencing, webinars, and real-time gaming streams where immediate interaction is critical.
By understanding these protocols, you can mix and match them for your video streaming server setup, using RTMP for ingest, HLS for broad playback support, and SRT or WebRTC when low-latency performance is a priority.
|
Protocol |
Best Use Case |
Strengths |
Limitations |
|
RTMP |
Ingest to streaming servers |
Low latency, widely supported by encoders |
Not natively supported in browsers |
|
HLS |
Browser & mobile playback |
Adaptive bitrate, highly compatible with devices |
Higher latency (15–30s typical) |
|
SRT |
Secure low-latency delivery |
Strong error correction, encryption, stable over poor networks |
Requires more setup & newer adoption |
|
WebRTC |
Real-time interactive streams |
Ultra-low latency (sub-second), peer-to-peer support |
Scaling is complex, resource-intensive |
By combining these protocols strategically, you can strike a balance between compatibility, performance, and reliability tailored to your specific streaming needs. The right mix ensures a smooth viewing experience for your audience, whether they prioritize reach, security, or ultra-low latency.
⚙️ Step-by-Step Setup
One of the most popular methods for a video streaming server setup is using NGINX with the RTMP module on Ubuntu. This approach is lightweight, reliable, and well-suited for small to medium-scale streaming projects.
-
Update your server: Run sudo apt update && sudo apt upgrade to ensure your system is up to date.
-
Install NGINX and dependencies: Use sudo apt install nginx libnginx-mod-rtmp to add the RTMP module.
-
Configure RTMP module: Edit the nginx.conf file to define RTMP blocks, streaming applications, and playback endpoints.
-
Restart NGINX: Apply the new configuration using sudo systemctl restart nginx.
-
Stream from encoder: Set OBS Studio (or another encoder) to stream via RTMP to your server’s IP address.
-
Test playback: Access the stream with a player (e.g., VLC) or convert it to HLS for browser-based playback.
With these steps, you’ll have a basic NGINX RTMP streaming server setup running on Ubuntu.
For a deep step-by-step technical guide, you can also check our article on How to Create Linux Streaming Server.
💰 Cost & Scaling Considerations
When planning a video streaming server setup, understanding costs is just as important as choosing the right software and protocols. Expenses vary depending on hardware, bandwidth, storage, and whether you use your own infrastructure or rely on third-party streaming platforms.
-
Server costs vs. third-party platforms: Owning a dedicated server for streaming has higher upfront costs but eliminates recurring subscription fees, while SaaS platforms charge ongoing monthly or per-streaming-hour fees.
-
CDN pricing: Using a video streaming CDN integration setup ensures global reach and reduced latency, but costs increase based on data transfer volume.
-
Storage costs: Large VOD libraries require scalable storage solutions, SSD for performance or hybrid SSD/HDD setups for cost efficiency.
-
Bandwidth usage: Streaming is bandwidth-intensive, with costs scaling up sharply as viewer numbers and video quality (HD/4K) increase.
-
Scaling strategy (ScopeHosts insight): Small projects can run on VPS or dedicated servers, while enterprise-level streaming may need load balancing, multiple servers, and auto-scaling cloud infrastructure.
Balancing these costs helps you decide between building your own solution or outsourcing to third-party services. A smart scaling strategy ensures you can start small, manage expenses, and expand seamlessly as demand grows.
For a detailed breakdown, check out our guide on Choosing the Right Server for Streaming.
✅ Quick Setup Checklist
To make your video streaming server setup easier, here’s a condensed checklist covering the essential steps. This table helps you quickly review requirements and tasks before launching your server.
|
Step |
Task |
Purpose |
|
1 |
Choose server (VPS/Dedicated/Cloud) |
Base infrastructure for hosting streams |
|
2 |
Install OS (Ubuntu recommended) |
Stable environment for streaming software |
|
3 |
Install NGINX + RTMP module |
Core software to handle ingest and streaming |
|
4 |
Configure RTMP/HLS in nginx.conf |
Define how streams are processed and delivered |
|
5 |
Connect encoder (e.g., OBS Studio) |
Send live video input to the server |
|
6 |
Test stream (VLC or browser via HLS) |
Verify playback and latency |
|
7 |
Add CDN integration (optional) |
Scale streams to global audiences |
|
8 |
Monitor bandwidth, CPU, and storage |
Ensure server stability under load |
👉 For more details on infrastructure choices, you can explore our full guide on server for streaming.
Conclusions
Building a custom video streaming server allows an owner to control performance, scaling, and costs, granting him or her immense flexibility in choosing the right hardware and software mix with streaming protocols, such as RTMP, HLS, SRT, and WebRTC. Suppose you are streaming events live, running a VOD library, or providing a platform for interactivity, using a dedicated infrastructure.
In that case, you probably can guarantee a secure viewership experience with no buffering. Until it scales up, the server is going to serve the project with the right hardware design, protocol configuration, and scaling methodology.


 🚀")

 🔐")
![What Is Cold Data Storage? ❄️ [2026 Guide]](https://1gbits.com/cdn-cgi/image//https://s3.1gbits.com/blog/2026/02/what-is-cold-data-storage-750xAuto.webp "What Is Cold Data Storage? ❄️ [2026 Guide]")


