
This tutorial will explain how to install the Microsoft IIS server on Windows Server 2019, Windows Server 2016 and Windows Server 2012 R2.
Internet Information Services or IIS are unavailable on a default installation of Microsoft Server versions. Therefore you will need to set it up manually and activate the service. IIS on a Windows Server OS supports multiple programming languages like HTML, CSS, Asp.net and more.
If you're running a website or application that requires reliable and powerful server resources, Windows dedicated hosting with IIS can be an excellent choice. This hosting environment allows you to fully leverage the capabilities of IIS, ensuring optimal performance, scalability, and security for your web projects.
To use Microsoft IIS, you must install it on the server and configure it.
Note: In this tutorial, we will provide the screenshots from Windows Server 2019 operating system. However, the process would be exactly the same for Windows Server 2016 and Windows Server 2012 R2.
Installing IIS web server on Windows Server 2019, 2016 & 2012
Method 1: Server Manager
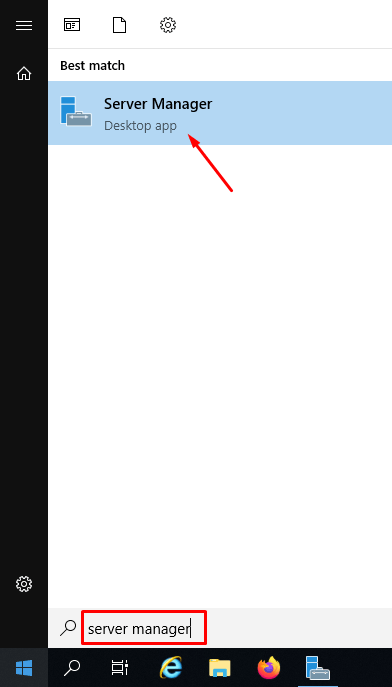
- Press Windows key
- Open Server Manager from the Start menu. You can do this by typing in “Server Manager”.
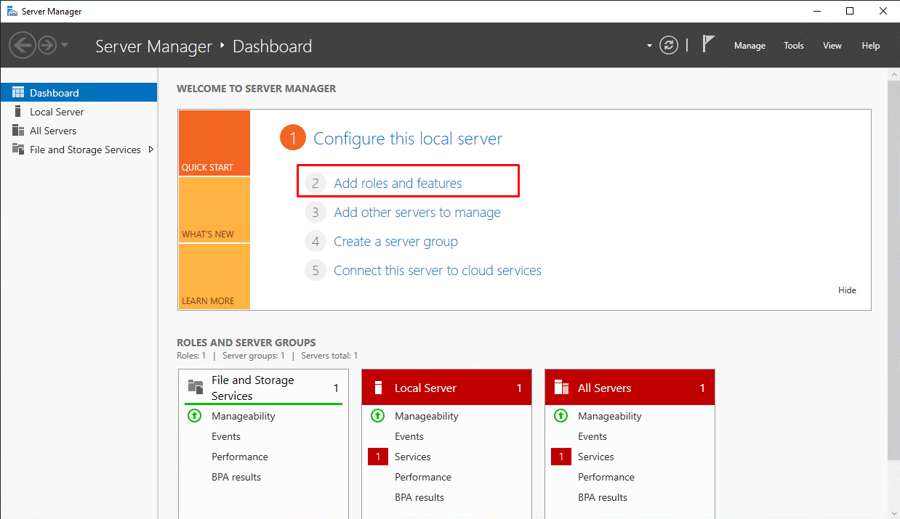
- In the opened window, select “Add roles and features”
- Click Next.

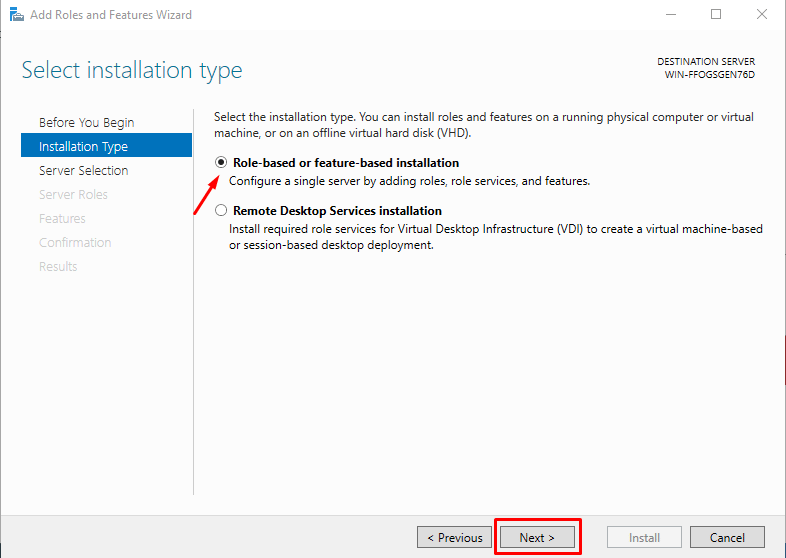
- Select Role-based or feature-based installation and click Next.
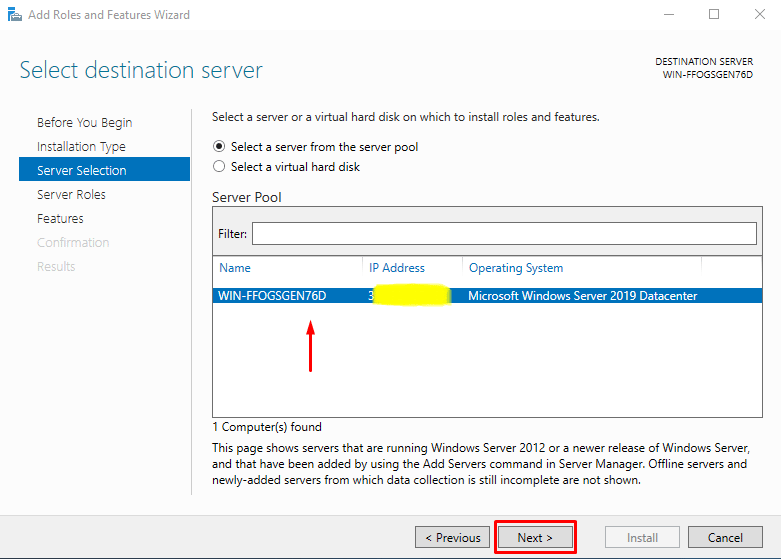
- Now select your server from the available servers and click Next.
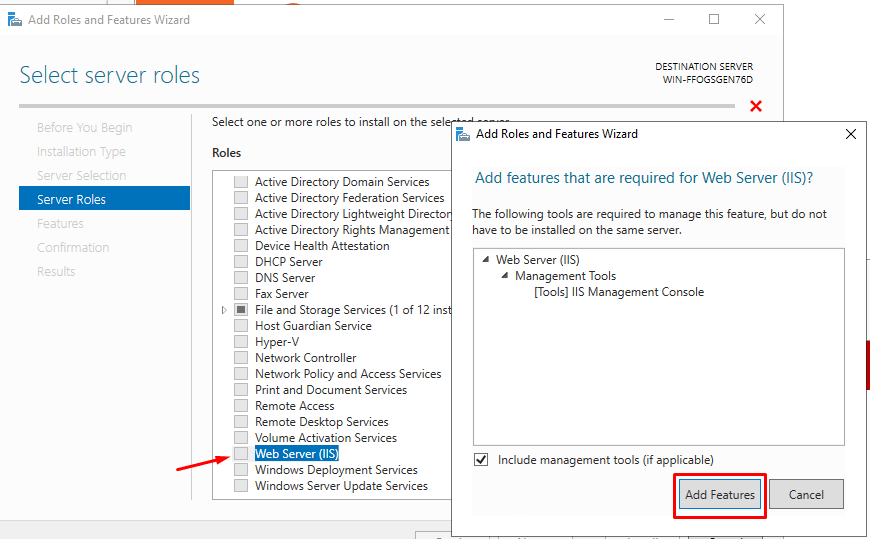
- Now in the following list, select Web Server (IIS).
- In the appeared window, click on Add Features.
- Click Next to continue.
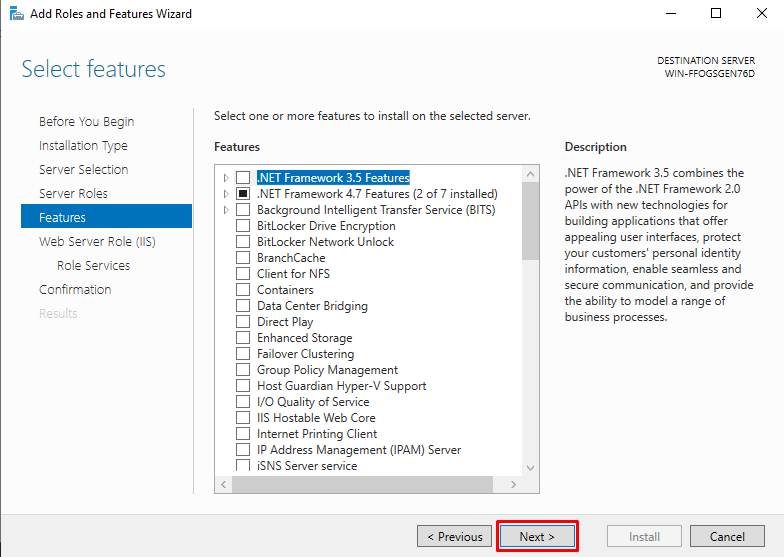
- In the Select features section, you can pick the ones you will need. If you don’t need any extra features, you can skip this step by clicking Next.
- In Web server Roles (IIS) read the information and click Next
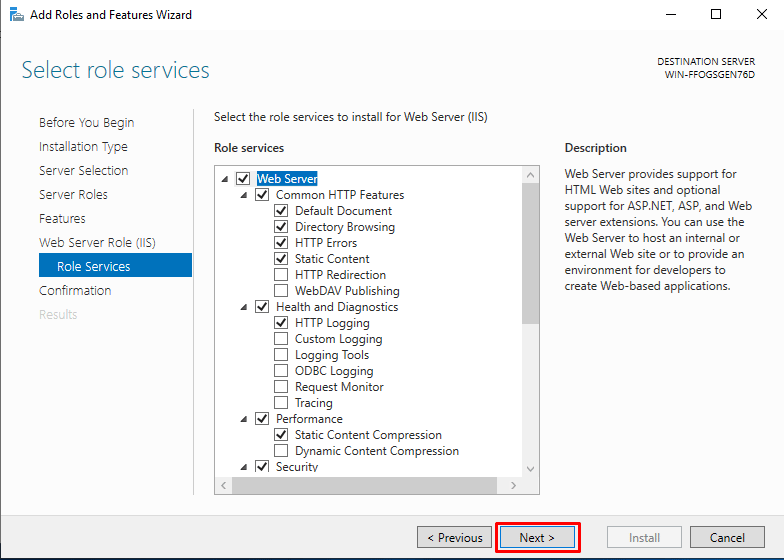
- Select the required Role services from the list and click Next
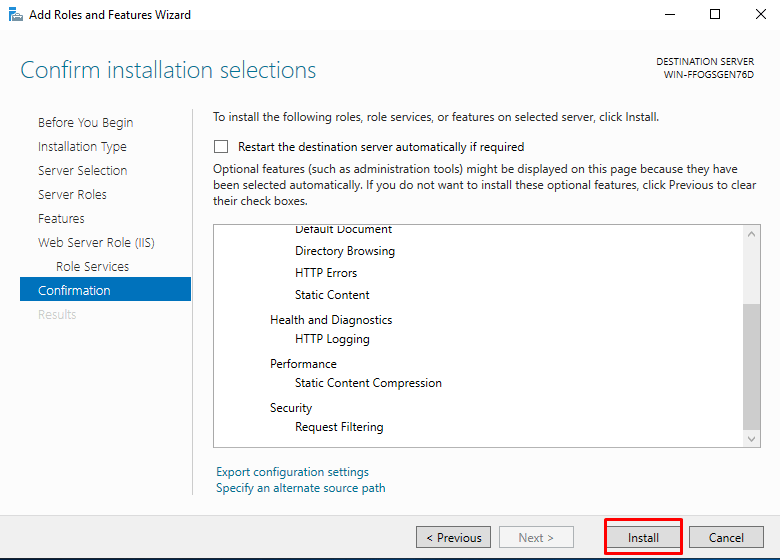
- To install the selected roles, role services, and features, click on Install
- Once the installation is completed close the window.
Method 2: Install IIS from PowerShell
- Go to the search bar and type in Powershell
- Open PowerShell
- Enter the following code in the terminal:
Install-WindowsFeature -name Web-Server -IncludeManagementTools
- Press Enter
How to launch IIS manager window
There are different ways to launch the IIS manager windows:
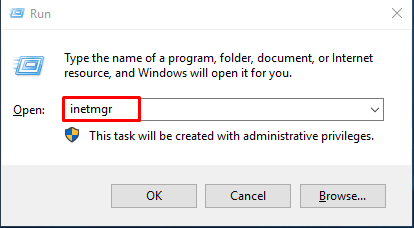
Method 1:
- Press Start + R to open the Run Window
- Type in inetmgr and press Enter
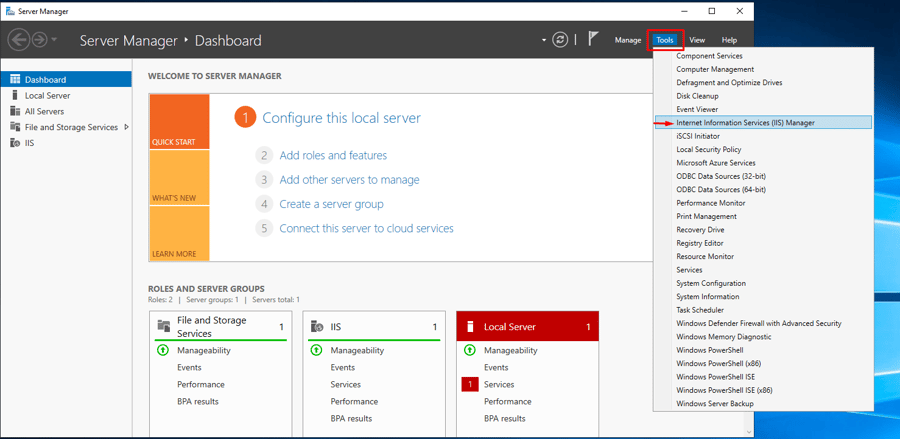
Method 2:
- Open Server Manager
- Select Internet Information Service from the Tools Menu
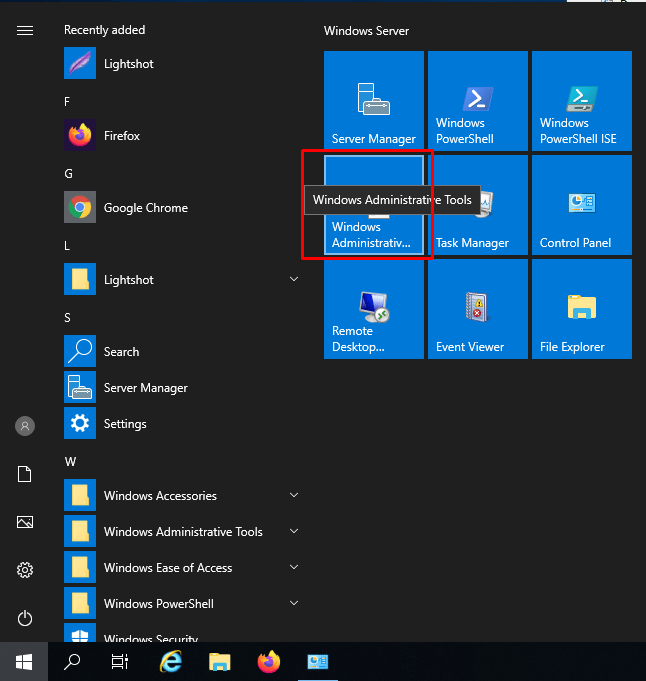
Method 3:
- Select Windows Administrative Tools
- From the list, double click on Internet Information Services (IIS) Manager
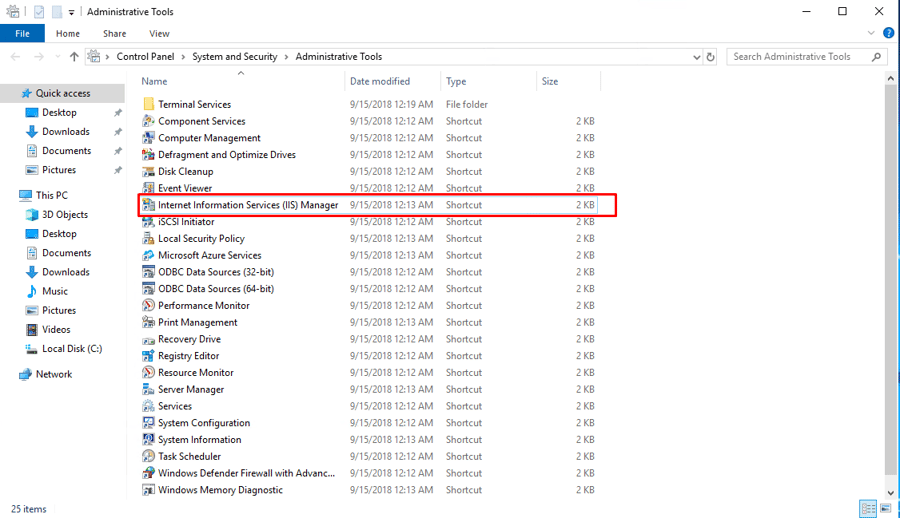
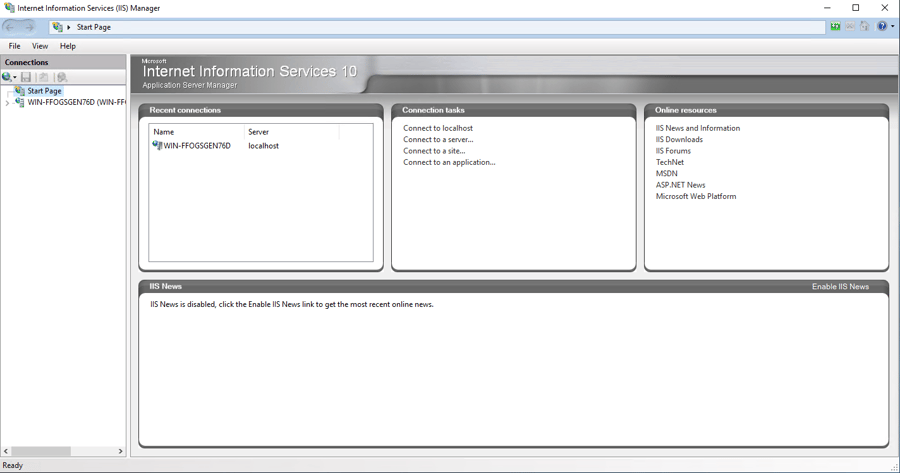
- The Windows IIS management Window will appear.
Conclusion
Congratulations on making it to the end of the tutorial. You have successfully installed and set up the IIS server on your Windows Server 2019. If you liked this article, share it with your friends, and if you encounter any errors, don’t hesitate to contact us through the comment section below.
People also read:
Leave A Comment