
The Windows PIN or a Personal Identification Number was introduced by Windows for their users to access the device. This PIN further helps you to use the applications or services. You may think, how is this a wonder or any different from a normal password? Well, to your surprise, the Hello PIN is endowed with a rich feature. It is bound to its device. More precisely, you can only use this PIN on the device you have set it upon.
A password can be accessed from any device, right? But, when we consider the PIN, it can not. If any hacker tries to steal your data, he just needs to hack your password, but here, he has to steal the device too! Now, what if you want to access different devices. Well, for that, you have to enable the PIN on every other device that you want to use.
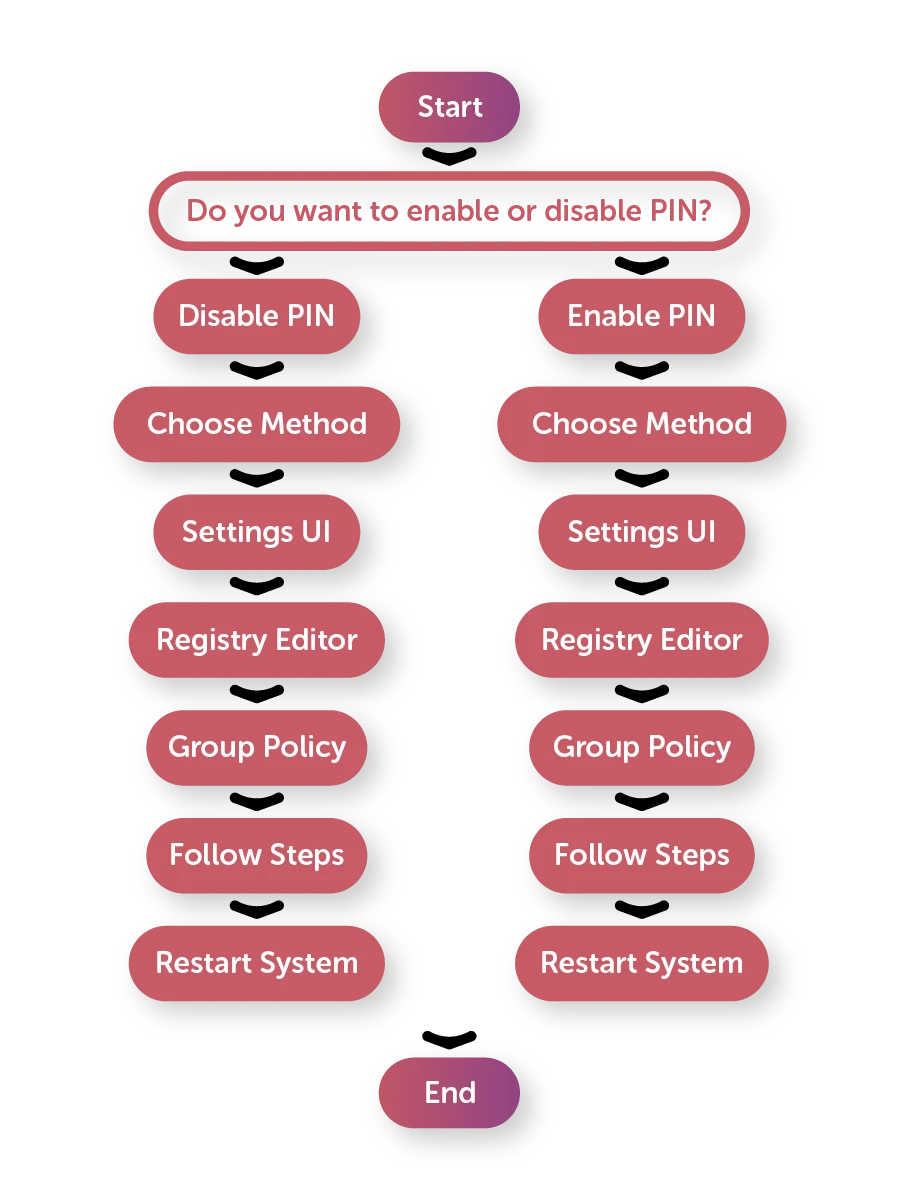
Let us quickly run you through the process to enable or disable a PIN. Additionally, we will cover two topics. Take a look:
- Enable or disable a PIN via Registry Tweak
- Enable or disable a PIN in group policy
But first, let us guide you to create a Windows PIN!
How to create a Windows PIN?
Follow the pointers step-by-step to accomplish the task.
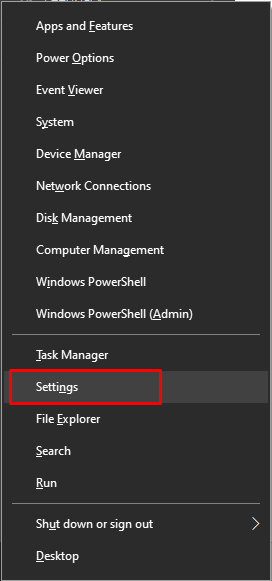
- Click on Windows key + X or Right-click on the Windows logo on the taskbar to open the power menu.
- Select Settings.
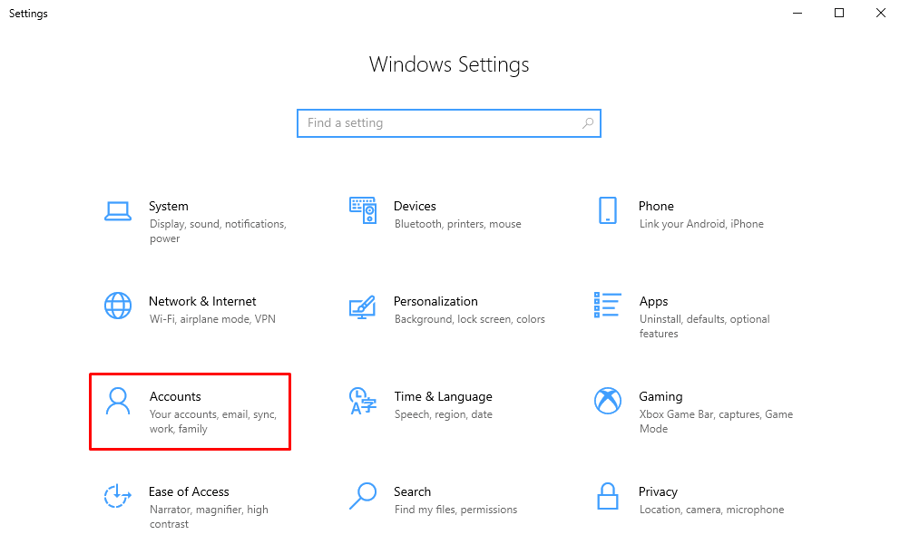
- Click on Accounts
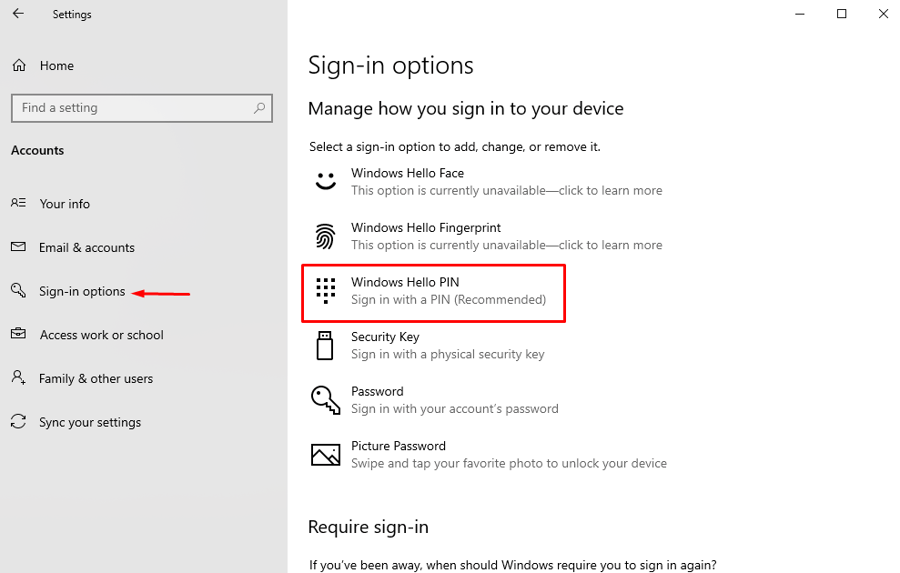
- Head over to Sign-in options
- Click on Windows Hello PIN and click on Add to add a new pin to your device.
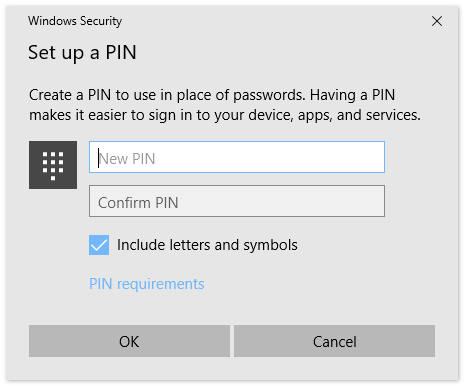
- Set your desired Pin in the textbox and then click on OK.
- Restart your device.
- When you will log in, Windows will ask you for the newly created PIN.
Congratulations on successfully setting up a Pin on your computer. Next, we will go through the process of removing the Pin if you would ever need to do it.
How to remove PIN in Windows 10?
- Click on Windows key + X or Right-click on the Windows logo on the taskbar to open the power menu.
- Select Settings.
- Click on Accounts
- Head over to Sign-in options
- Click on Windows Hello PIN and click on Add to add a new pin to your device.
- Click on Remove. You will be prompted to provide the password of the computer to proceed.
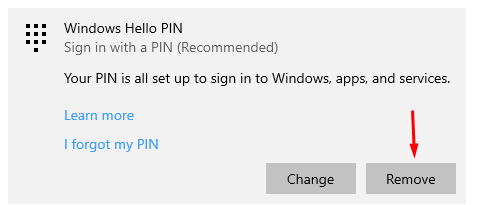
The PIN has now been removed. To confirm this, restart your system. Now when you will enter your system, Windows will no longer ask for the Pin. However, we highly recommend keeping the pin as a security measure.
The next section will focus on enabling and disabling pins from Windows.
How to enable or disable the PIN via a Registry Tweak?
Warning: Be aware while dealing with the Registry as any wrong step can be disastrous and may lead to an OS crash.
- Open the Search bar or select Windows + S.
- After that, type regedit in the textbox
- Select the Registry Editor option mentioned.
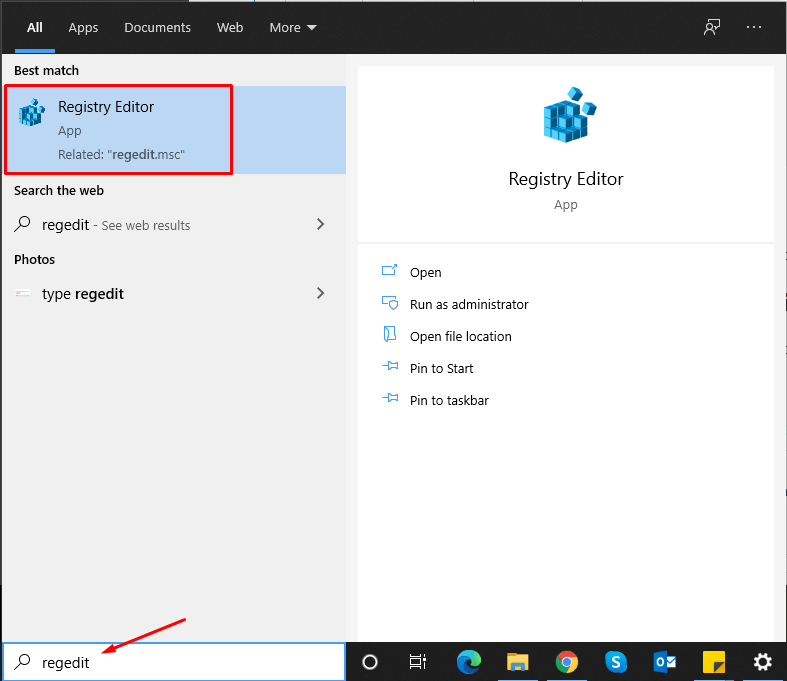
- You will see a User Account Control (UAC) window, click Yes and continue ahead.
- The Registry window pops up on the screen. Navigate through to this path.
HKEY_LOCAL_MACHINE\SOFTWARE\Microsoft\PolicyManager\default\Settings\ AllowSignInOptions
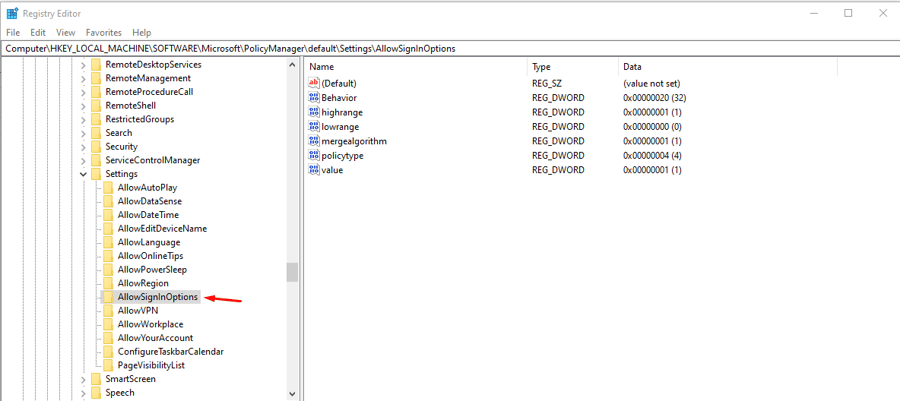
- Double-click on value.
- Under Value data, enter "0"
- Click OK
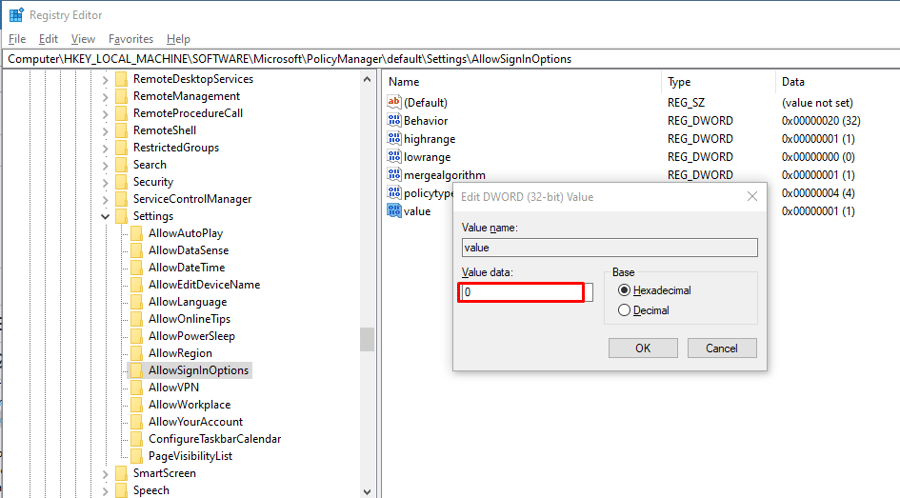
Restart the system to make enable the changes. Similarly, if you wish to enable the PIN, simply write 1 in the value box and you will be good to go.
Moving further, let us begin with the second method to enable and disable the pin in Windows.
How to enable or disable a PIN in Group Policy?
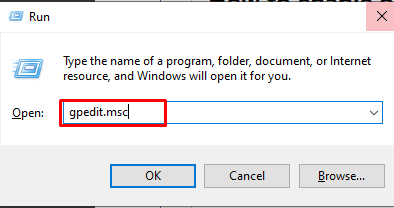
- Open the Run dialogue box by pressing the Windows+R key.
- Go to the textbox and type gpedit.msc, click OK.
- Now go to the following path:
Computer configuration > Administrative templates >System > Logon
- Double click on Turn on convenience PIN sign-in

- Select the Enable box and then press OK to proceed further.

- Now close the group policy editor window.
- Restart the system for the changes to be activated.
In order to disable the pin anytime in the future, you can do using the above-mentioned method. Instead of selecting Enabled, select Disabled.
Conclusion
|
Method |
Tool Used |
Access Level |
Risk Level |
Reversibility |
Recommended For |
|
Settings UI |
Settings App |
User |
Low |
Easy |
Beginners |
|
Registry Editor |
regedit |
Admin |
High |
Moderate |
Advanced Users |
|
Group Policy |
gpedit.msc |
Admin |
Medium |
Easy |
IT Professionals |
We hope that the article helped you to enable or disable the Windows PIN without any hassle. If you encounter any issues, don't hesitate to reach out to us through the comments below, and we will get back to you ASAP. Additionally, if you're managing a Windows dedicated server ensuring proper security measures like PIN management is crucial. Feel free to contact us for any assistance related to your server setup or maintenance needs.
People also read:

Leave A Comment