-on-an-ubuntu-server-1200xAuto.webp "How to Install a Desktop (GUI) on an Ubuntu Server")
Ubuntu Server, a version of the Ubuntu operating system, typically doesn't come with a graphical user interface (GUI) out of the box. Instead, it focuses on using a command-line terminal to efficiently manage server tasks. While this approach helps boost performance, there are times when using GUI-based tools can make managing the server easier and improve the user experience.
If you're looking to add a desktop environment to your Ubuntu Server, this guide is here to help. We'll walk you through how to install a desktop (GUI) on an Ubuntu server, step by step. By following these instructions, you'll be able to use GUI applications alongside the powerful features of Ubuntu Server, finding the right balance between functionality and resource usage.
But before we get started, make sure you have the following requirements:
-
A server running Ubuntu Linux Server
-
A user account with sudo or root privileges
-
Access to the apt package manager, which is included by default with Ubuntu Server.
Let's get started on enhancing your Ubuntu Server with a graphical interface!
Want to explore more about Ubuntu's features? Check out our comparison of Ubuntu vs Fedora to see how these two popular Linux distributions stack up against each other!
Ubuntu Server's Default Configuration
Before learning how to install a desktop (GUI) on an Ubuntu server, let’s briefly talk about the Ubuntu Server itself. Ubuntu Server, developed by Canonical, is a specialized edition of the Ubuntu operating system tailored for server usage. Unlike its desktop counterpart, Ubuntu Server does not include a graphical user interface (GUI) by default. This minimalist approach prioritizes resource efficiency and streamlined performance for server-specific tasks.
While a Command-Line Interface (CLI) may suffice for experienced administrators and developers, Ubuntu Server acknowledges the diverse preferences of its users by offering the flexibility to install a GUI desktop of choice. This allows users to customize their server environment according to their specific needs and workflow preferences effectively.
When to Consider Installing Ubuntu Server GUI
We said we’re going to teach you how to install a desktop (GUI) on an Ubuntu server, but when do you have to do it? When it comes to installing a desktop GUI on your Ubuntu Server, it brings several benefits, especially when you need things to be easy to use and manage:
1. Easier Server Management:
Using a graphical interface makes it easier, especially for those moving from desktop Linux to Ubuntu Server. It helps users get used to the system quickly, making it faster to handle multiple tasks.
2. Simple Access to Applications:
Many server management apps now have built-in support for graphical interfaces. This means you can navigate them more easily and interact with them intuitively. You don't have to rely solely on typing commands, as you can see and click options on the screen.
3. Convenient Remote Management:
In today's connected world, managing servers remotely is vital. Installing a GUI allows you to use remote access tools like VNC and RDP more seamlessly. This makes it easier to handle server tasks from anywhere, boosting efficiency.
Additionally, if you're looking for a comprehensive management solution for your Ubuntu server, consider installing Webmin. It's an easy-to-use web-based interface that simplifies server administration tasks.
🖥️ How to Install a GUI on Ubuntu Server 24.04
This guide covers GNOME, KDE Plasma, XFCE, and MATE.
🔹 Step 1: Update the System
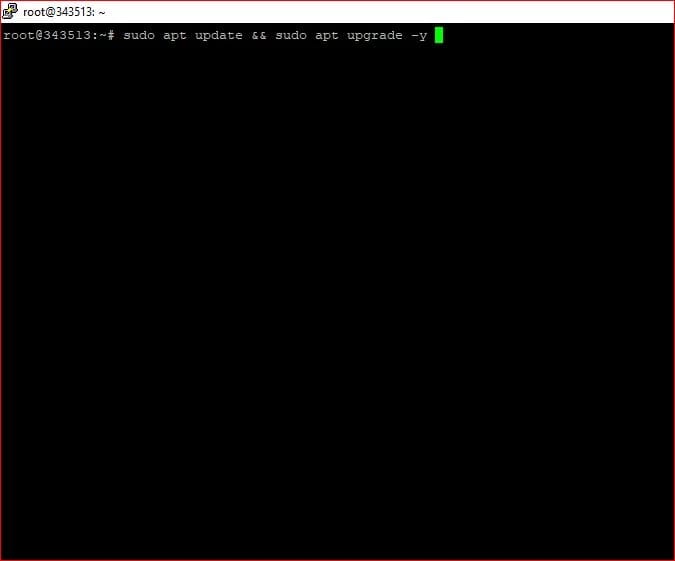
Before installing any GUI, make sure your system is up to date:
sudo apt update && sudo apt upgrade -y
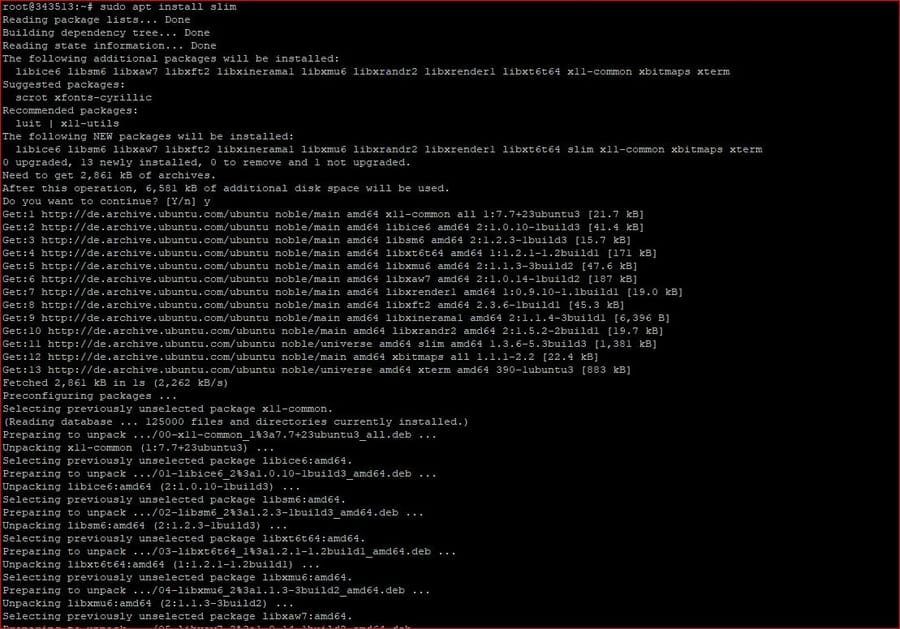
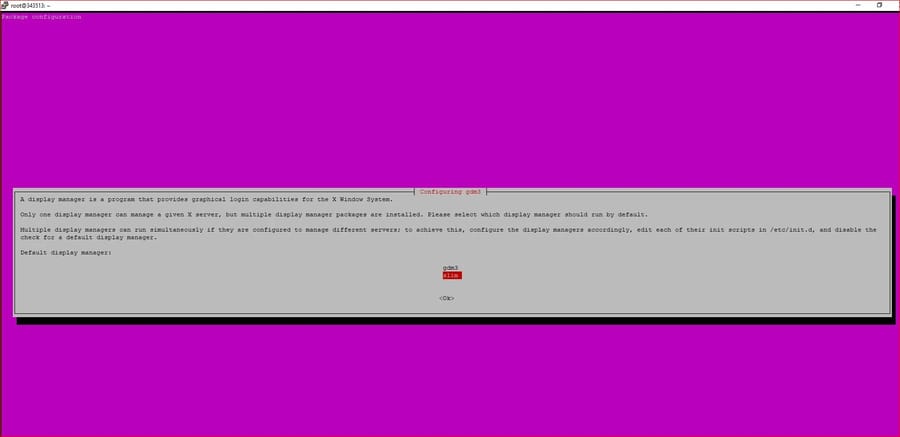
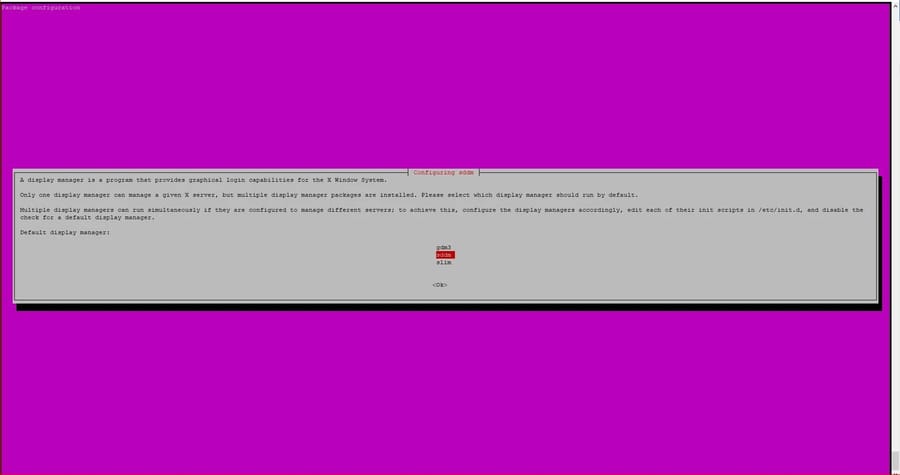
🔹 Step 2: Install a Display Manager
The Display Manager handles the login screen. You can install either SLiM, LightDM, or SDDM, depending on the desktop you choose.
Example (lightweight option):
sudo apt install slim
💡 KDE Plasma usually prefers sddm, and XFCE works well with lightdm.
🔹 Step 3: Install a Desktop Environment
Choose one of the following based on your preference and system resources:
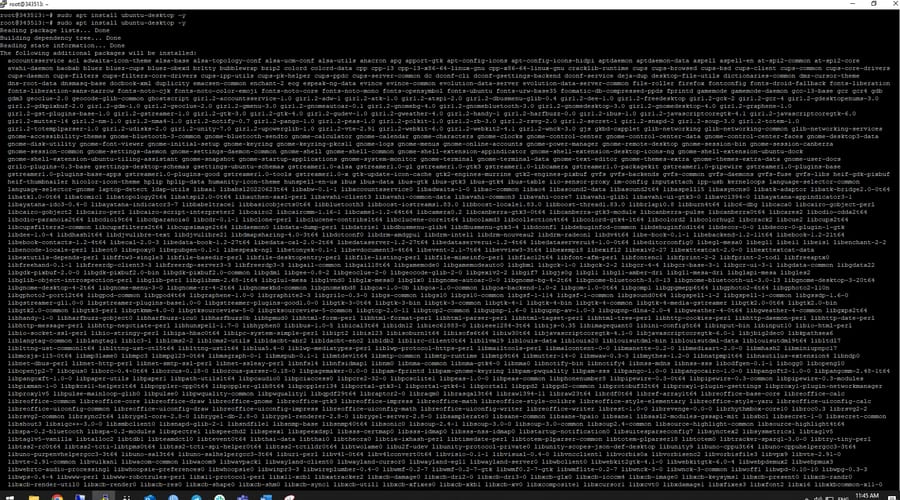
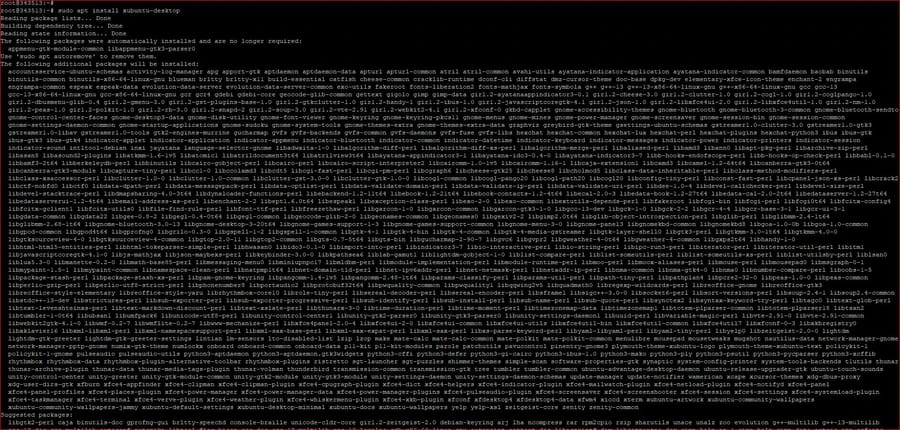
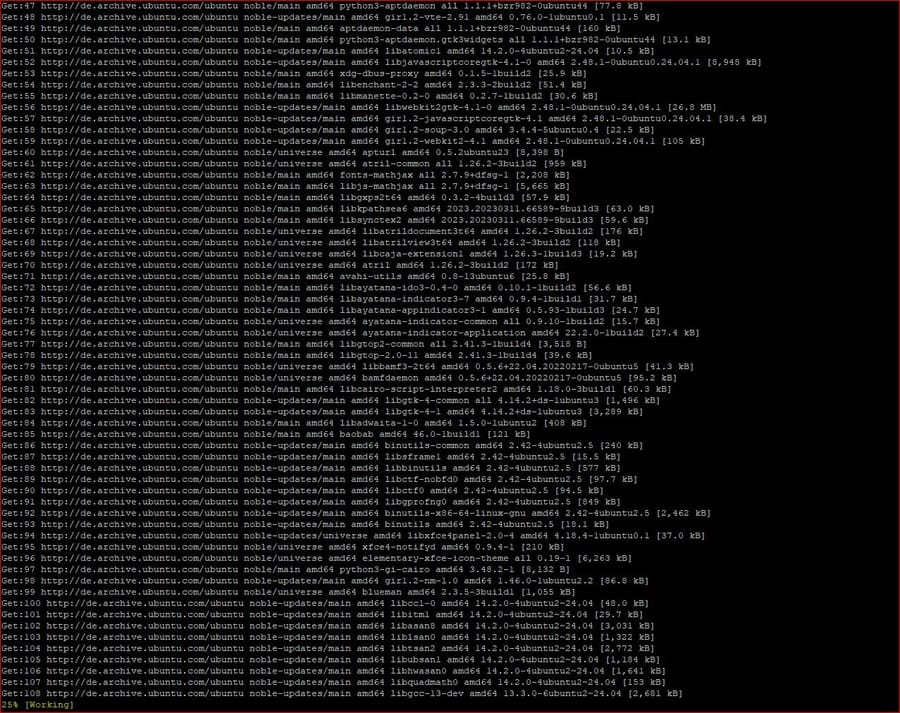
🟣 GNOME (Ubuntu Default)
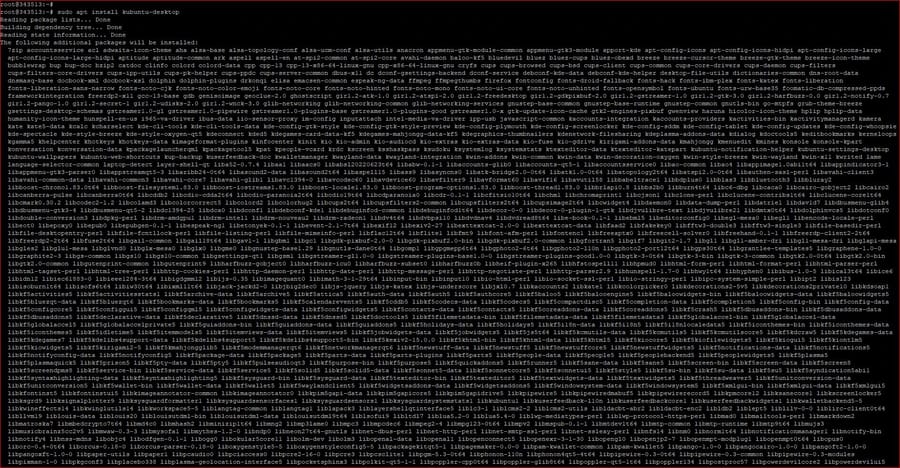
sudo apt install ubuntu-desktop

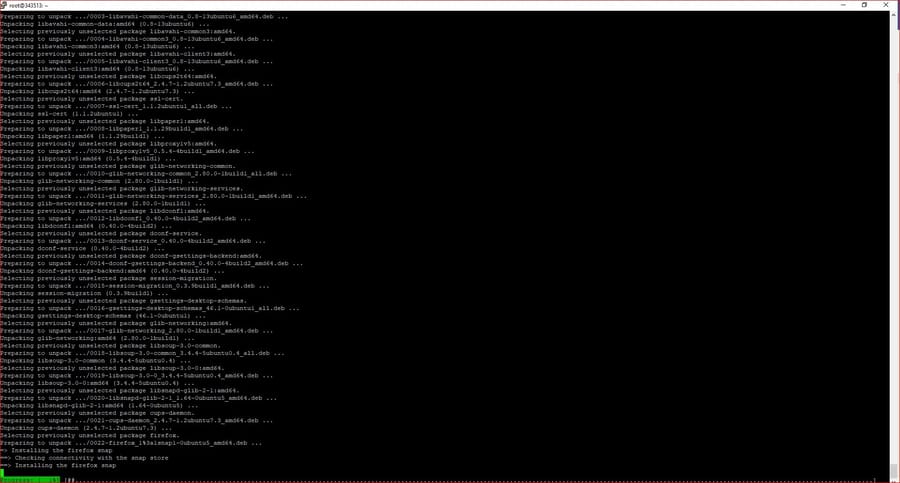
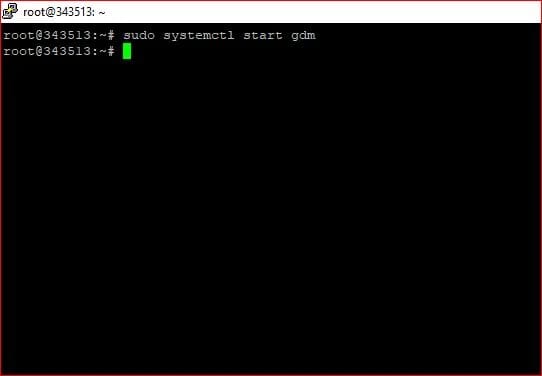
systemctl start gdm
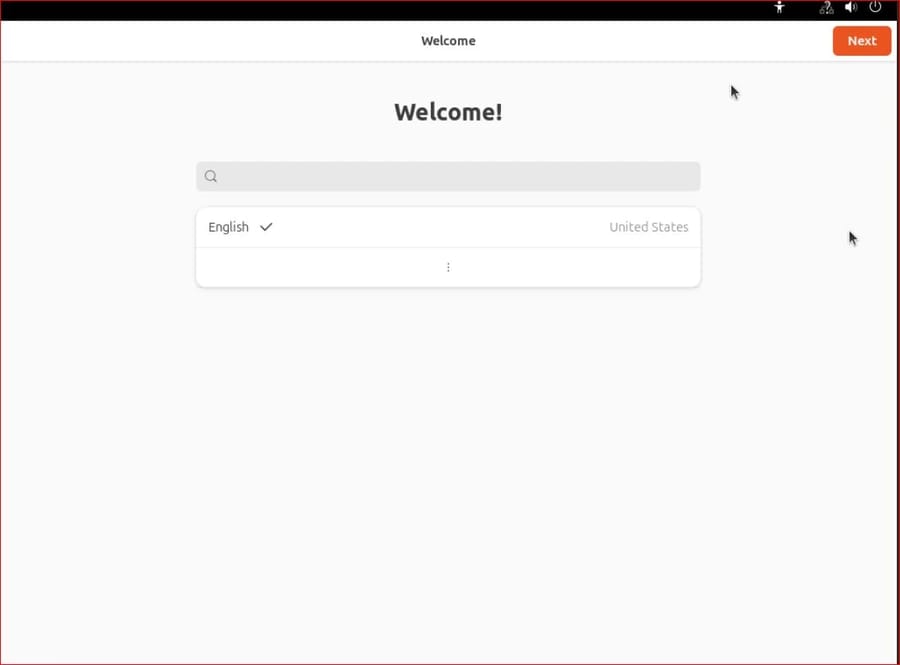
After installing GNOME and logging in for the first time, Ubuntu will launch the GNOME Initial Setup Wizard. This helps you configure some basic system preferences. Here's what to expect:
1. Welcome Screen
Description: A simple welcome message.
Action: Click Next to begin the setup.
2. Language Selection
Description: Choose the system language.
Action: Select your preferred language from the list, then click Next.
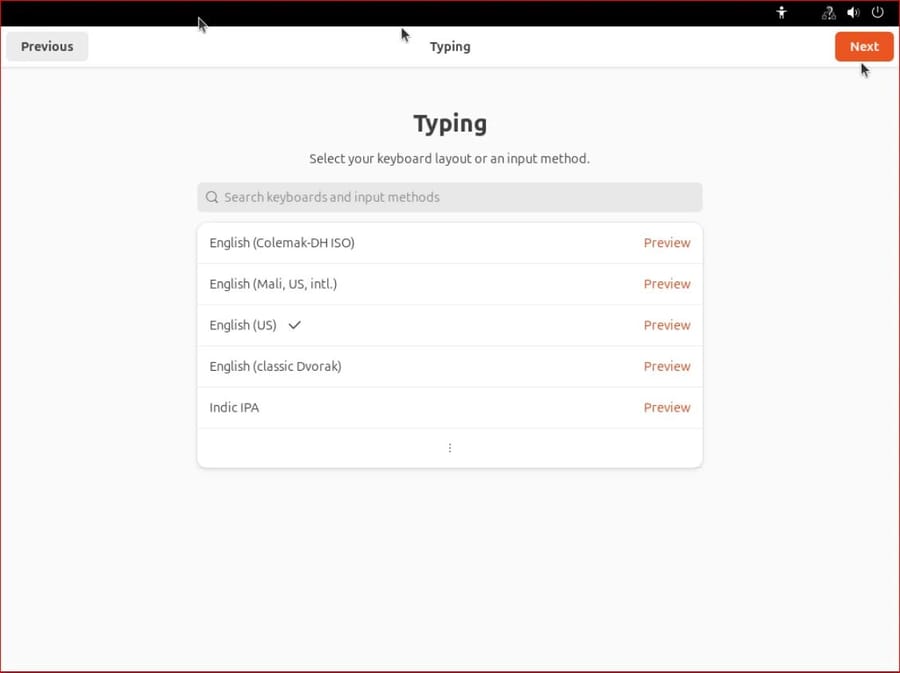
3. Keyboard Layout
Description: Choose your keyboard layout (e.g., English (US), Persian, etc.).
Action: Test your layout if needed, then click Next.
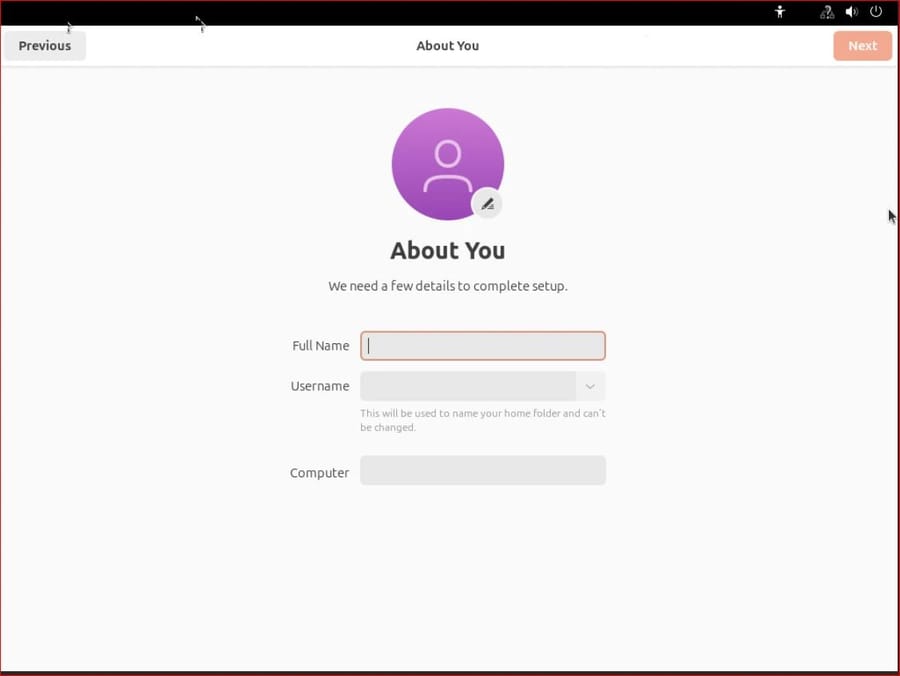
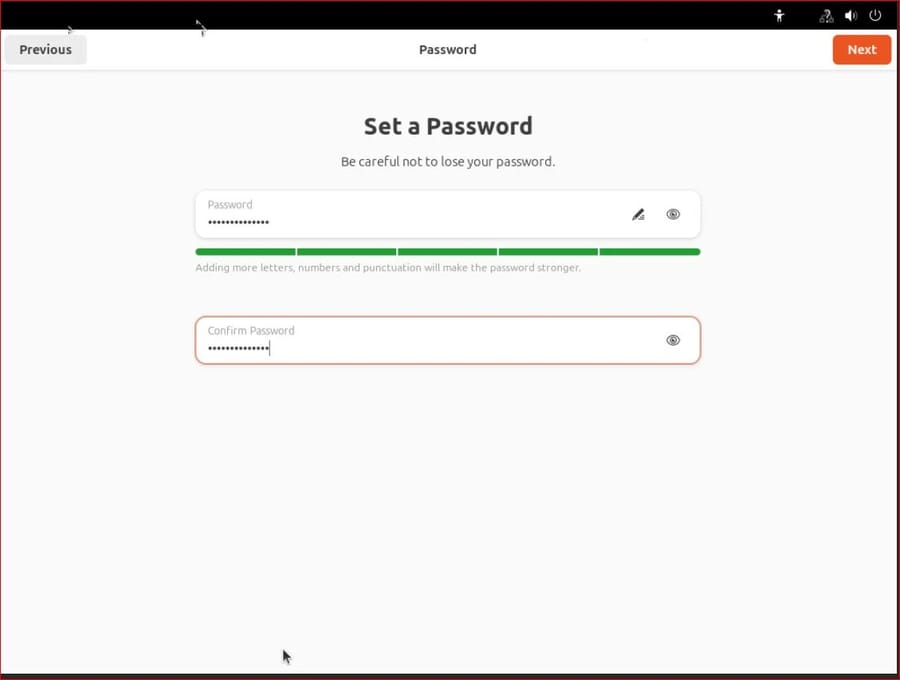
4. User Account Setup
Description: Create your personal user account.
Action:
Enter your Full Name
Choose a Username
Set and confirm a Password
Optionally enable automatic login
Click Next
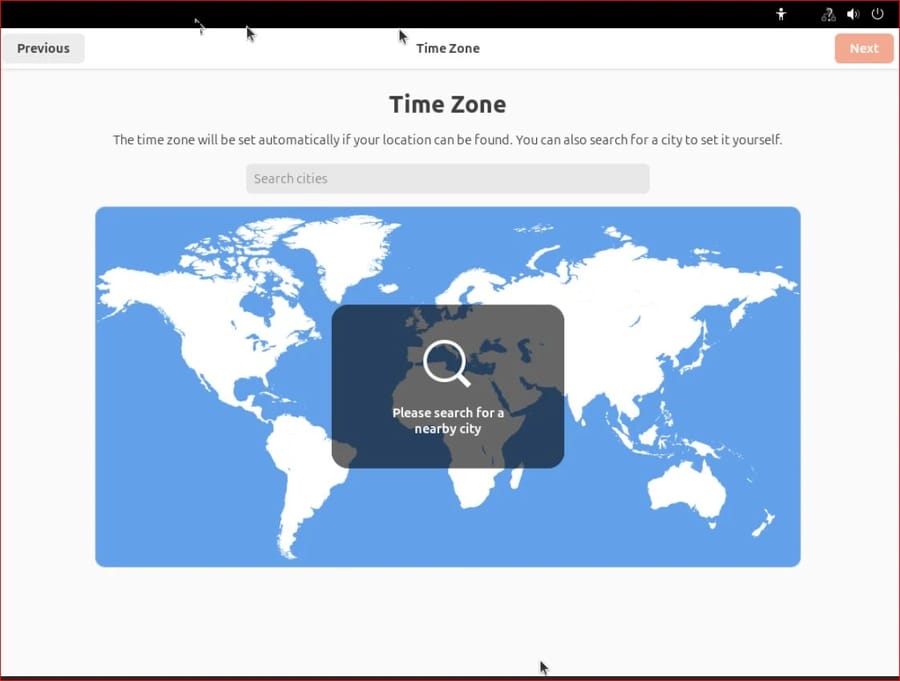
5. Time Zone Selection
- Description: Set your regional time zone.
- Action: Choose your location on the map or search by city, then click Next.
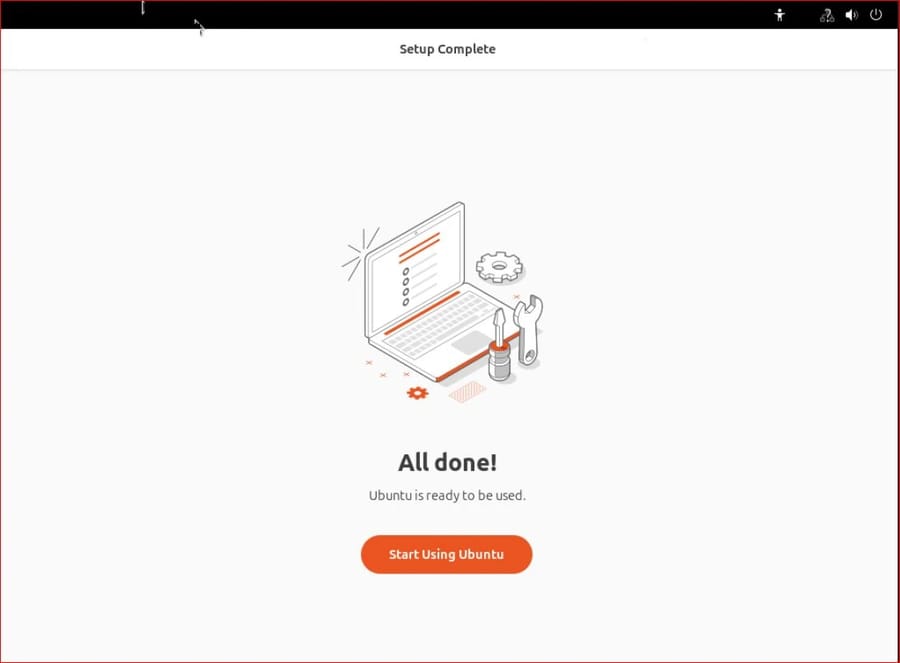
6. Finish Setup
- Description: Confirmation screen that setup is complete.
- Action: Click Start Using Ubuntu to enter the GNOME desktop environment.
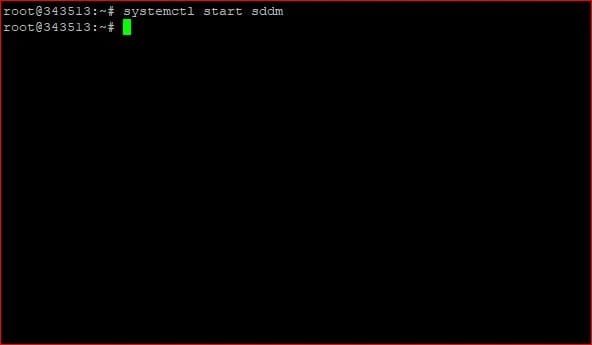
🔵 KDE Plasma (Feature-rich, modern look)
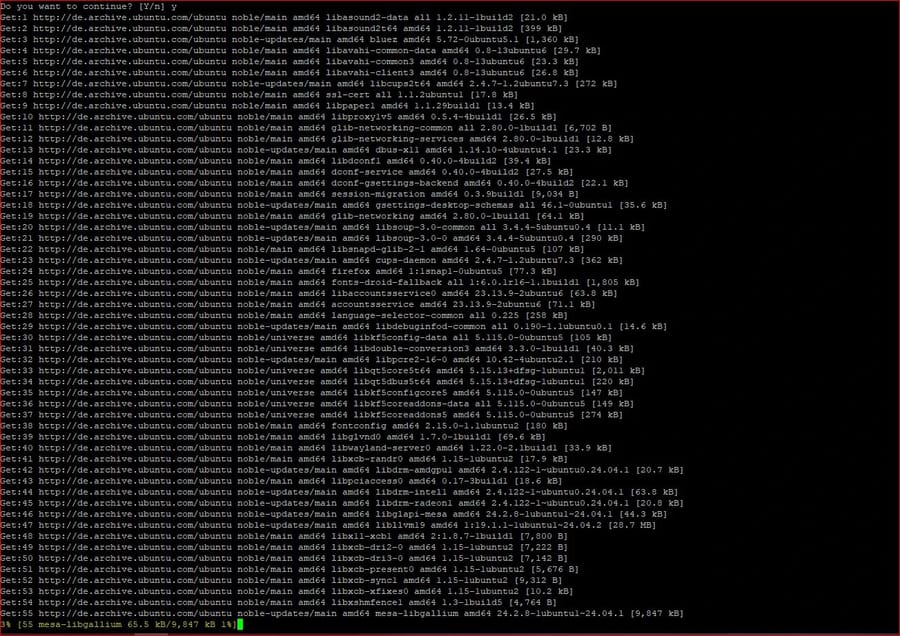
sudo apt install kubuntu-desktop

systemctl start sddm
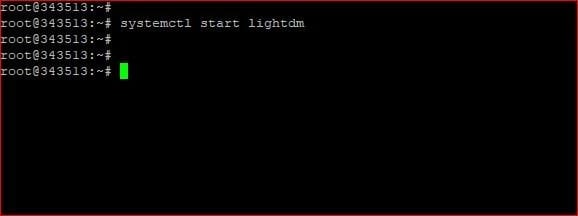
🟢 XFCE (Lightweight and fast)
sudo apt install xubuntu-desktop

systemctl start lightdm
🟡 MATE (Classic, lightweight)
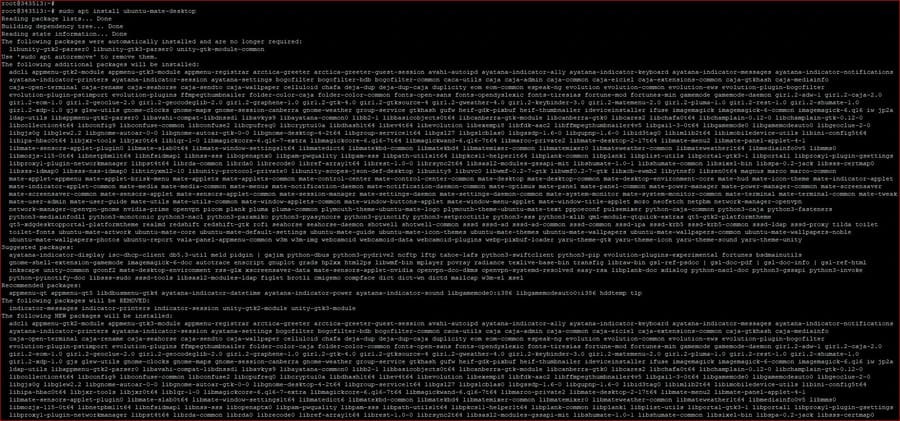
sudo apt install ubuntu-mate-desktop
systemctl start lightdm
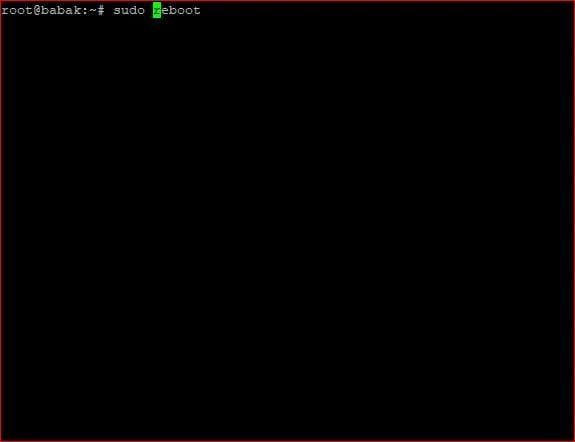
🔹 Step 4: Reboot the System
Once the installation is done, reboot your machine:
sudo reboot
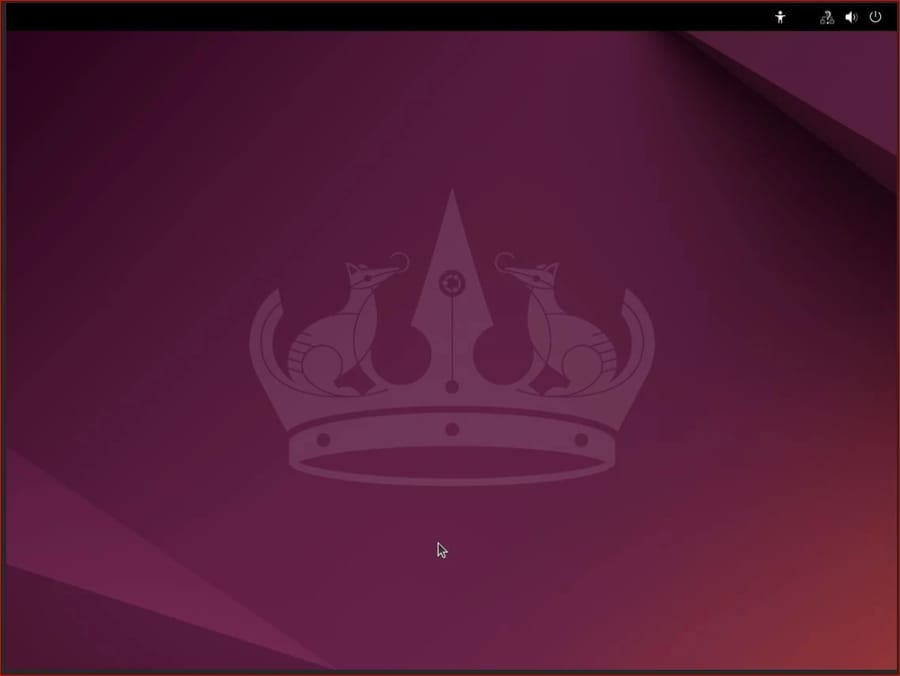
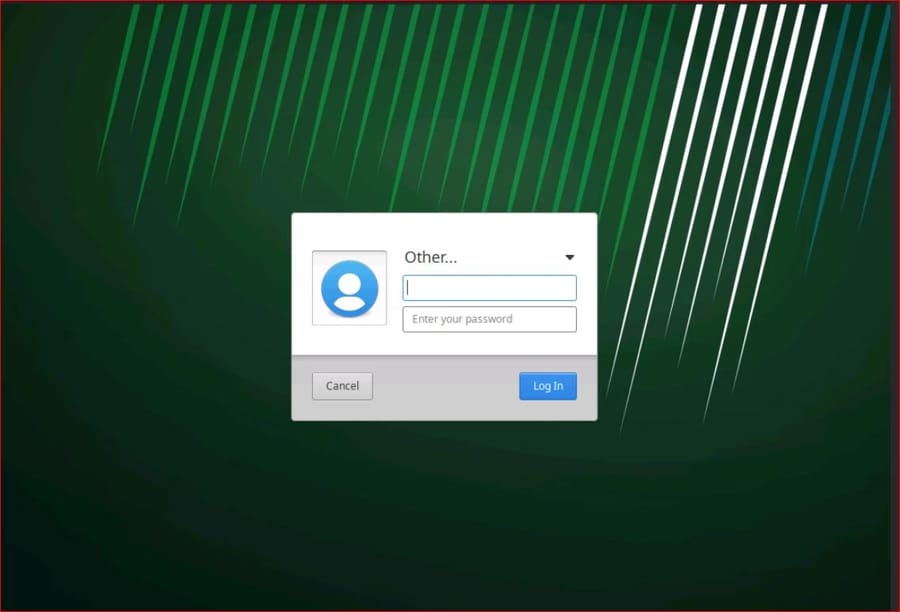
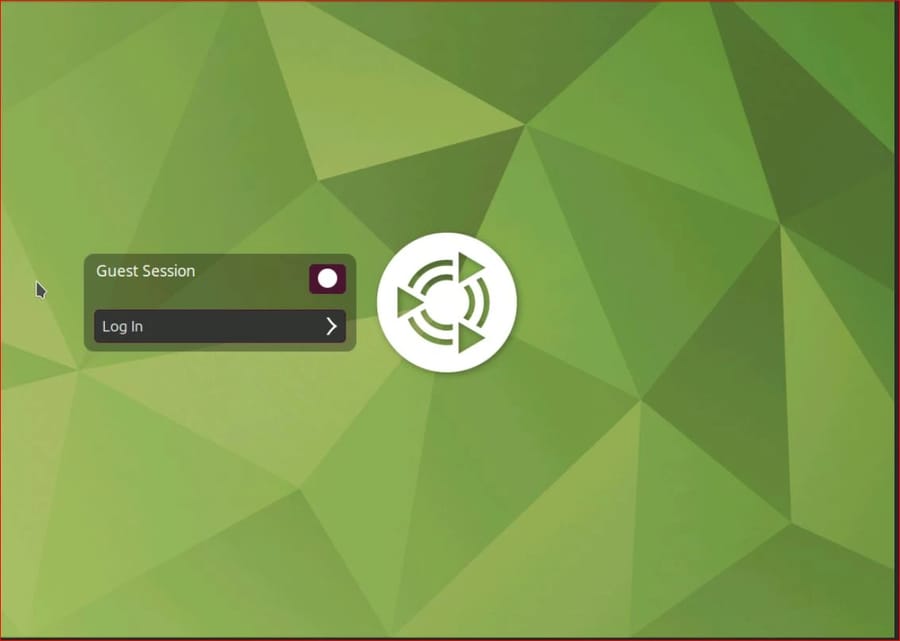
After rebooting, you should be greeted with a graphical login screen. Log in and enjoy your new desktop environment.
🧼 Optional: Remove a Desktop Environment
If you want to uninstall a desktop:
sudo apt remove [desktop-package]
sudo apt autoremove
Example:
sudo apt remove xubuntu-desktop
Choosing the Right Desktop Environment:
Ubuntu Server offers a variety of desktop environments, each catering to different preferences and system requirements. Now that you know how to install a desktop (GUI) on an Ubuntu server, let's explore the available options and discuss factors to consider when selecting the most suitable desktop environment for your Ubuntu Server.
|
Desktop Environment |
Resource Usage |
User Interface Style |
Suitable For |
|
GNOME |
High |
Modern |
General Purpose |
|
KDE Plasma |
Moderate |
Highly Customizable |
Power Users |
|
XFCE |
Low |
Simple |
Low-resource Systems |
|
MATE |
Moderate |
Traditional |
Users preferring GNOME 2 style |
GNOME:
-
GNOME is the default desktop environment for standard Ubuntu installations.
-
It features dynamic workspaces and a powerful activities overview, making it easy to navigate and manage tasks. You can check our article on How To Install Gnome GUI on CentOS 7, if you’re interested.
KDE Plasma:
-
KDE Plasma is another popular desktop environment known for its unique design and advanced customization options.
-
It offers numerous window effects and shortcuts, allowing users to tailor their desktop experience to their preferences.
MATE:
-
MATE provides an intuitive and attractive desktop experience reminiscent of traditional operating systems like Microsoft Windows or Apple's macOS.
-
It is lightweight and suitable for machines with limited resources, making it ideal for older hardware.
Xfce:
-
Xfce is a lightweight, stable, and configurable desktop environment, perfect for servers with modest resources.
-
It works efficiently on older hardware and is well-suited for everyday tasks, offering stability and ease of use.
Factors to consider when selecting the best GUI for Ubuntu Server:
You read all about how to install a desktop GUI on an Ubuntu server Windows, but how can we choose the best GUI for Ubuntu server?
-
Resource Efficiency: Evaluate the system requirements of each desktop environment and choose one that aligns with the resources available on your server.
-
Ease of Use: Consider the user-friendliness and intuitiveness of the desktop environment, especially if you are new to server administration.
-
Customization Options: When you learn how to install desktop GUI on Ubuntu server 20.04, determine the level of customization you require and choose a desktop environment that offers the flexibility to tailor the interface to your preferences.
-
Stability and Updates: Assess the stability and frequency of updates for each desktop environment to ensure a reliable and secure server environment.
If you’re interested, you can check out list of 10 Best Desktop Environment for Linux.
Troubleshooting and Common Issues
You probably know how to install a desktop (GUI) on an Ubuntu server. But you should also know that installing a desktop environment on Ubuntu Server may encounter several challenges. Here, we address potential issues users may encounter during the installation process and provide solutions to common problems:
1. Dependency Errors:
Problem: Dependency errors may occur when installing the desktop environment due to missing or incompatible packages.
Solution: Resolve dependency issues by updating the package index and ensuring all necessary dependencies are installed before proceeding with the desktop environment installation.
2. Installation Failures:
Problem: Installation failures can occur if there are conflicts with existing packages or if the installation process is interrupted.
Solution: Ensure that the system is up to date and resolve any conflicts with existing packages before attempting to install the desktop environment again. If the installation fails, check the system logs for errors and troubleshoot accordingly.
3. Performance Degradation:
Problem: When you install GUI on Ubuntu server, it may lead to performance degradation, especially on servers with limited resources.
Solution: Optimize system performance by using lightweight desktop environments or minimizing resource-intensive processes running in the background.
4. Network Configuration Issues:
Problem: You might know how to install a desktop GUI on an Ubuntu server Mac, but Network configuration issues may prevent remote access to the server or inhibit the download of necessary packages during installation.
Solution: Double-check network settings and ensure that the server has internet access. If remote access is required, configure the firewall to allow incoming connections.
5. Display Manager Configuration Problems:
Problem: When you install a desktop on Ubuntu server, configuring the display manager incorrectly may result in login screen errors or failure to start the desktop environment.
Solution: Verify the display manager configuration settings and ensure that they match the requirements of the installed desktop environment. Refer to the desktop environment documentation for guidance on configuring the display manager correctly.
For further system management, you may also want to explore how to list users on your Ubuntu VPS. Check out our detailed guide on how to list users in Ubuntu Linux VPS for more insights.
6. Graphic Card Compatibility Issues:
Problem: When you install a desktop environment on Ubuntu server, some desktop environments may not support certain graphics cards, leading to display errors or system instability.
Solution: Check the compatibility of your graphics card with the chosen desktop environment and install appropriate drivers if necessary. When you install a GUI on Ubuntu server, consider using a desktop environment known for better compatibility with a wider range of graphics hardware.
Conclusion
In this article, we've explored the process of installing a desktop environment on Ubuntu Server, offering a comprehensive guide on how to install a desktop (GUI) on an Ubuntu server. Whether you're setting up an Ubuntu VPS for remote management or simply prefer a graphical interface for your server tasks, this guide provides the essential steps to get you started.
By following the steps outlined in this guide and applying the troubleshooting tips provided, readers can successfully integrate a desktop environment into their Ubuntu Server setup, enhancing their server management experience. This is especially beneficial when accessing your server remotely through Ubuntu Server RDP (Remote Desktop Protocol), allowing for a more intuitive and visual approach to managing server operations.
We encourage readers who search for Ubuntu server with GUI Download to explore and experiment with different desktop environments to find the one that best suits their needs and preferences. This flexibility ensures that you can tailor your Ubuntu server environment to your specific use case, whether for development, administration, or other server-based tasks.

Leave A Comment