
This tutorial will go through the process of installing Webmin on Ubuntu 20.04. The process is the same for Ubuntu 18.04. Webmin is a modern-day web control panel that allows you to administer your Linux server through a browser-based interface. You won’t have to manage the web server with the Linux command line. You can do all that through Webmin.
Webmin lets you:
- Manage user accounts
- Configure DNS settings
- Change settings for common packages
- Changing user passwords
- Installing, updating and removing software packages
- Configuring firewall
- Creating virtual hosts
And much more.
Prerequisites
To install Webmin, you will need:
- A Ubuntu 20.04 server
- Basic understanding of Linux commands
- A root user or a user with Sudo privileges
Update and install requisites packages
Before we go ahead with the Webmin installation, we will update the system.
sudo apt update
Now let’s go ahead and add some prerequisites packages using the following command:
sudo apt install wget apt-transport-https software-properties-common
Perfect! Let’s go to the next part.
Import Webmin repository key
We’re ready with an updated system and the needed packages installed. Now we will append the Webmin GPG key using the following command:
wget -q http://www.webmin.com/jcameron-key.asc -O- | sudo apt-key add –
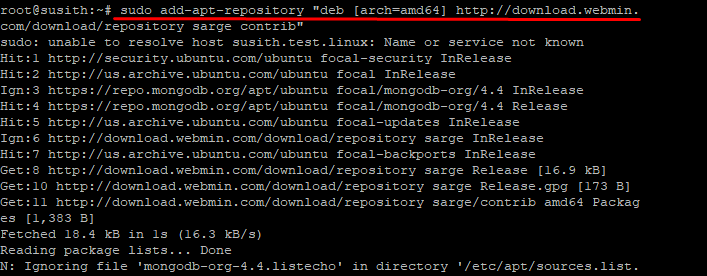
No, we will add the Webmin repository to the sources list file. The following command will do that and will run another update on the system packages.
sudo add-apt-repository "deb [arch=amd64] http://download.webmin.com/download/repository sarge contrib"
Install Webmin in Ubuntu
Now everything is set to get Webmin installed. We will use the APT package manager to install Webmin by running the following:
sudo apt install webmin
Here you will be prompted to continue. Press Y to continue.
Once Webmin is installed, it will automatically start. To check this, you can run the following command.
sudo systemctl status webmin
If you see an output similar to this, your Webmin service is active and ready to use.
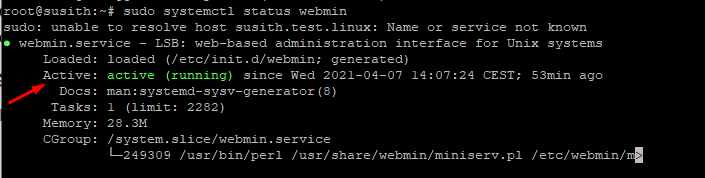
If you see an output similar to this, your Webmin service is active and ready to use. For enhanced security, consider updating your Ubuntu system password. Follow our guide on how to change the password in Ubuntu to ensure your system remains secure.
Open security ports for Webmin
By default, Webmin listens on TCP port 10000. However, if the UFW firewall is enabled, you should open the port manually. Don’t worry, and it's fairly simple.
Enter the following command:
sudo ufw allow 10000/tcp
Now reload the firewall. Once the firewall is reloaded, your system will be ready to listen to Webmin commands through port 10000.
sudo ufw reload
Access Webmin through the browser
Your server is set in place; let’s go ahead and access Webmin by launching your browser. Enter the following command on your browser. Be sure to change the “your-IP” with the server IP address.
https:// “your IP”:10000/
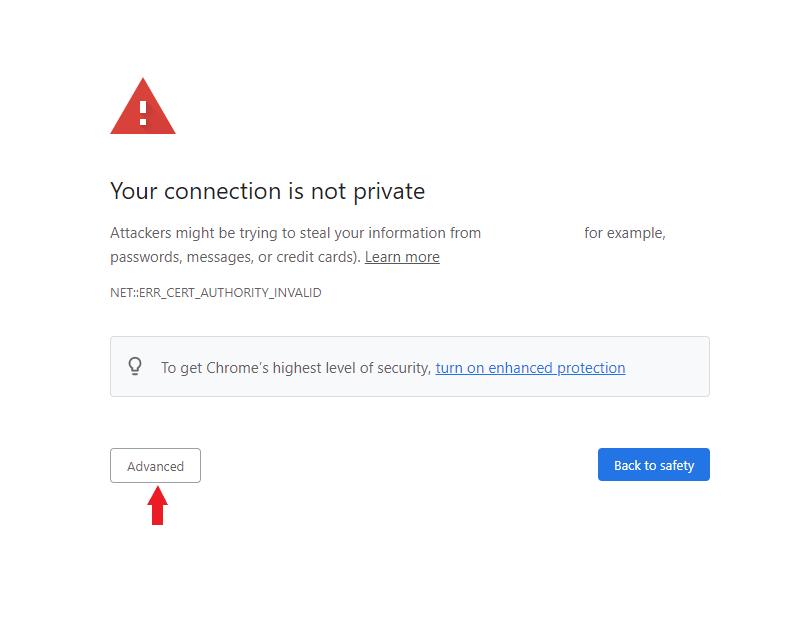
You will encounter a warning message when you enter this and proceed further. It will say that your connection is not secure but worry not. This message comes because Webmin comes with a self-signed SSL certificate not validated by a CA (certificate authority).
To bypass this security warning, click on Advanced.
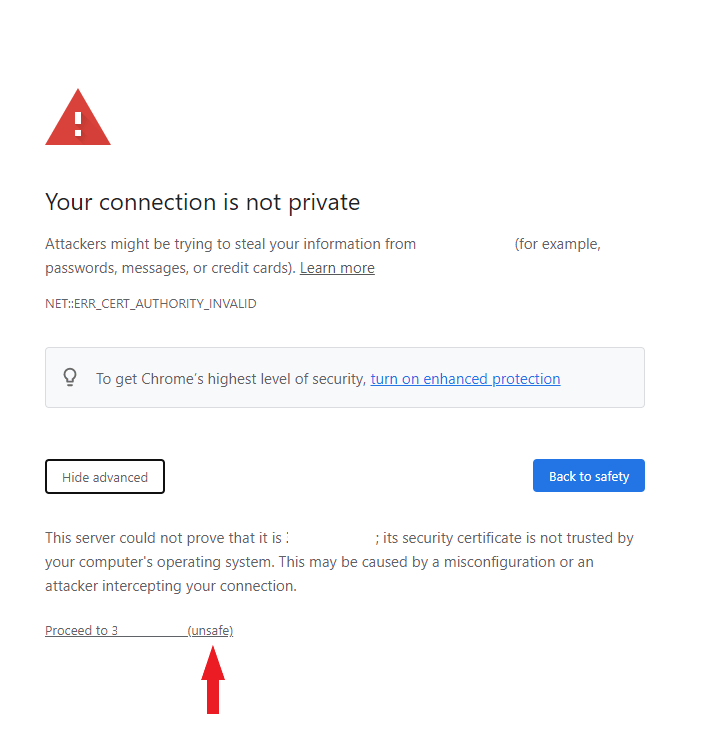
Now you will see a link at the bottom that says “proceed to <IP Address> (unsafe)”. Click on this link to enter your Webmin console.
Now You will see a window where you need to enter the username and password. Here you can enter your credentials used for accessing the server. It can be through the root account or a user account. Enter your credentials and click on Sign in.
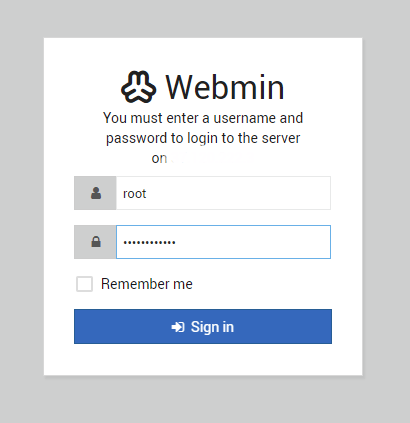
You will see your brand new Webmin dashboard!
You will be presented with a dashboard, as seen above, that gives an overview of key system metrics such as CPU & RAM utilization. It also provides other system details such as hostname, Operating system, system uptime, etc.
You can enhance your Ubuntu server's capabilities further by setting up a robust LEMP stack. Check out our comprehensive guide on how to install LEMP on Ubuntu to optimize your server for web hosting and development.
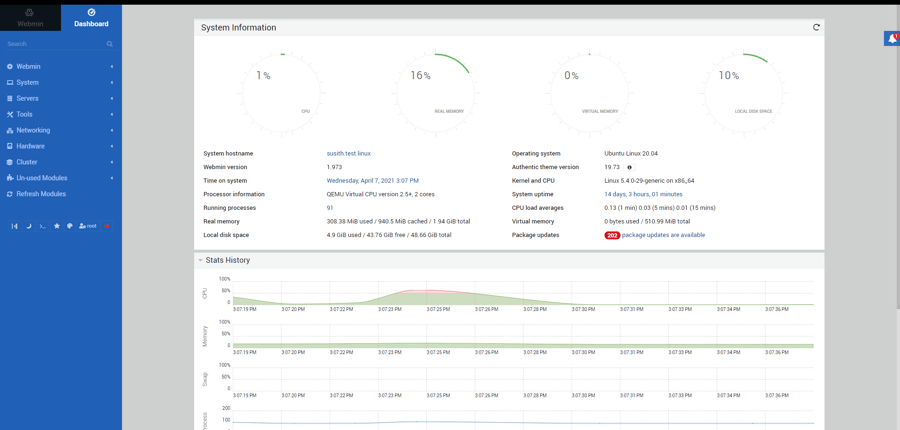
On the left pane is a list of options that give you access to various server functionalities. You can perform a list of system administration tasks as discussed earlier in the introduction.
The Webmin panel can be used to manage the Linux system. The panel on the left includes the following:
- Webmin
- System
- Servers
- Tools
- Networking
- Hardware
- Cluster
- Un-used Modules
- Refresh Modules
- Other configurations
You have complete control over the server through this panel. Click on any of the panels, which will open up several options.
Uninstalling Webmin
In the case that you wish to remove Webmin from your system, issue the following command in Terminal (server):
sudo apt remove webmin
Wrapping up
Webmin is an incredibly simple and easy tool with loads of options to manage your server and tasks. In this tutorial, we went through the steps of installing Webmin on your Ubuntu VPS server and making the right configurations. We also covered the part where we can access the server through the web browser.
If you encounter any problems through the mentioned process, do let us know via the comments below.
For remote access to your Ubuntu server, consider setting up an Ubuntu RDP server. This can simplify server management and enhance accessibility.
People also read:
Leave A Comment