
Perl has long been one of the most versatile and reliable programming languages, particularly for text processing, system administration, and web development. If you're working on a Linux system—especially Ubuntu—you may be wondering how to install Perl on Ubuntu properly and efficiently. Whether you’re using Ubuntu 18.04, 20.04, or the latest 22.04 version, this guide will walk you through each method, including installing modules and packages, troubleshooting common issues, and even upgrading your Perl version.
What is Perl in Ubuntu?
Perl (short for Practical Extraction and Report Language) is a dynamic, high-level, interpreted programming language that was originally designed for text processing but has since evolved into a powerful tool used across various domains—ranging from web development and system administration to network programming and bioinformatics.
On Ubuntu, Perl is often pre-installed with the operating system, primarily because it's essential for many internal scripts and software packages. However, the pre-installed version may be outdated or minimal in functionality, lacking access to the latest features or CPAN modules required by developers. For those who intend to build or run modern applications using Perl, or who want more control over module management, it becomes necessary to learn how to install Perl on Ubuntu or upgrade the existing version.
Why Install Perl on Ubuntu?
Here are a few reasons you might need to install or update Perl on Ubuntu:
-
You’re running custom scripts or applications that require newer Perl versions.
-
You want access to CPAN (Comprehensive Perl Archive Network) modules.
-
You need Perl for specific server monitoring tools like Net-SNMP.
-
You're using Ubuntu-based Linux VPS environments.
If you're looking for a reliable hosting environment, consider checking our Linux VPS Hosting solutions optimized for developers and sysadmins.
How to Check If Perl Is Already Installed on Ubuntu
Before installing Perl, it's a good idea to check if it’s already installed on your system and what version you have:
perl -v
You’ll likely see something like:
This is perl 5, version 30, subversion 0 (v5.30.0)
If it's outdated or not found, read on to learn how to install Perl in Ubuntu properly.
How to Install Perl on Ubuntu 20.04 and 22.04
Installing Perl on Ubuntu 20.04 or 22.04 is straightforward using the APT package manager.
Step 1: Update Your Package List
sudo apt update
Step 2: Install Perl Ubuntu 22
sudo apt install perl
Step 3: Confirm Installation
perl -v
That’s it! You’ve successfully completed the basic Perl installation on Ubuntu Linux.
💡 Want to learn how to install other web stack components? Don’t miss our tutorial on How to Install LAMP on Ubuntu.
How to Install Perl on Ubuntu 18.04
Ubuntu 18.04 is still widely used, especially in enterprise environments. Here’s how you can install Perl on it:
sudo apt update
sudo apt install perl
The same process applies, and it installs the default version available in the Ubuntu 18.04 repositories.
How to Install Perl Modules on Ubuntu
Perl modules significantly expand the functionality of Perl, enabling developers to implement everything from database connectivity to web automation. Installing these modules on Ubuntu can be done through multiple methods depending on where the module is sourced from.
Using APT
APT is Ubuntu’s native package manager. If the Perl module is available in the official repositories, this is the most straightforward method.
Open your terminal and run:
sudo apt install libmodule-name-perl
Replace libmodule-name-perl with the actual name of the module.
For example, to install a popular Perl web module:
sudo apt install libwww-perl
This method is quick, safe, and recommended for beginners or for installing commonly-used modules.
Using CPAN
For modules not available through APT, the Comprehensive Perl Archive Network (CPAN) is the go-to solution. It hosts thousands of Perl libraries.
1. First, install the CPAN module manager:
sudo apt install cpanminus
2. Then use it to install any module:
sudo cpanm Module::Name
Replace Module::Name with the name of the desired module. This method is ideal for developers who want the latest versions directly from the Perl community.
🔧 CPAN installs modules globally and may prompt for some configuration on the first run. If you're working in a team or on a shared server, consider using local::lib to install modules in a personal directory.
How to Install CPAN Perl Modules in Ubuntu
CPAN is a rich repository of Perl modules. Installing modules from CPAN allows developers to access the latest tools and libraries for their projects.
Here's a step-by-step guide:
1. Install CPAN Minus (cpanm)
This lightweight tool simplifies module installation from CPAN:
sudo apt install cpanminus
2. Install your desired Perl module
Use the command below, replacing Module::Name with your specific module:
sudo cpanm JSON
3. Verify the installation
After installation, you can test it with a simple Perl script or by running:
perl -MJSON -e 1
Using CPAN ensures that you're always getting the most up-to-date version of a module, which is crucial for maintaining security and compatibility in modern projects.
How to Install Net SNMP Perl Module on Ubuntu
The Net-SNMP Perl module is particularly useful for system administrators managing network performance monitoring and SNMP-based operations.
To install it on Ubuntu, follow these steps:
-
Install from APT repository:
sudo apt install libsnmp-perl
-
If additional functionality is needed, such as Net::SNMP from CPAN, use:
sudo apt install libnet-snmp-perl
-
Ensure required dependencies are installed. In some cases, you may need to install additional libraries or Perl packages to support advanced SNMP features.
This module integrates seamlessly with monitoring tools and can be scripted to automate network management tasks.
How to Install Perl-doc Package in Ubuntu
For offline documentation and learning resources, install the Perl-doc package:
sudo apt install perl-doc
Then you can use:
perldoc -f print
This gives you access to function-level documentation directly in the terminal.
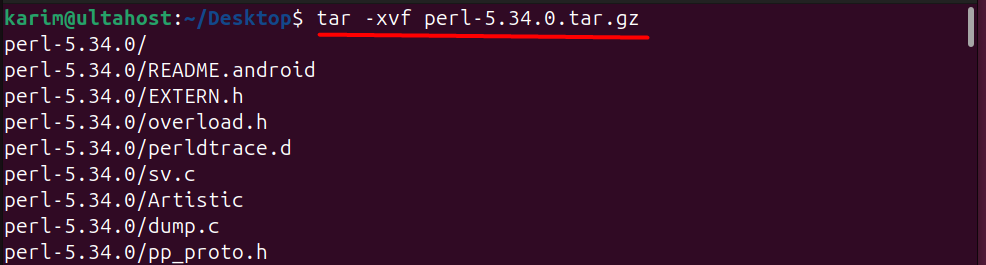
How to Install Perl Modules in Linux Manually
Sometimes, especially in restricted environments, you may need to manually install Perl packages:
-
Download the module from CPAN.
-
Extract the package:
tar -xvzf Module-Name.tar.gz
cd Module-Name
-
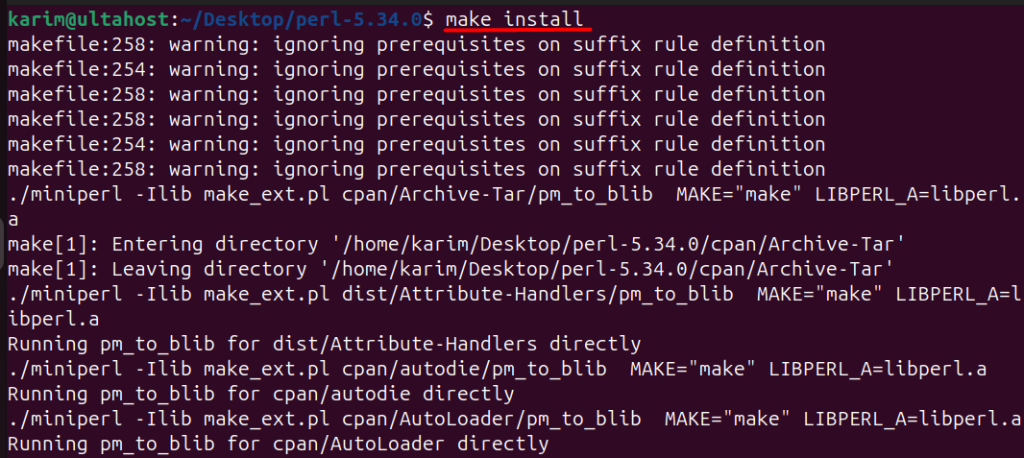
Run:
perl Makefile.PL
make
make test
sudo make install

This method works on Ubuntu, CentOS 7, and other Linux distributions.
How to Install Perl on Ubuntu CentOS 7 and macOS
On CentOS 7:
sudo yum install perl
How to Install Perl on macOS (via Homebrew):
brew install perl
This helps developers who work in mixed environments.
Install Perl Linux Command Line
For command-line installation:
sudo apt install perl
This applies to all versions including Ubuntu 22, Ubuntu 20.04, and even older versions like Ubuntu 18.04.
How to Update Perl in Ubuntu
Ubuntu package managers may not have the latest Perl versions. To update Perl manually:
Step 1: Install dependencies
sudo apt install build-essential

Step 2: Download the latest Perl source
wget https://www.cpan.org/src/5.0/perl-5.36.0.tar.gz
Step 3: Extract and build
tar -xzf perl-5.36.0.tar.gz
cd perl-5.36.0
./Configure -des -Dprefix=$HOME/localperl
make
make test
make install
Step 4: Update PATH
echo 'export PATH=$HOME/localperl/bin:$PATH' >> ~/.bashrc
source ~/.bashrc
You now have the latest Perl version installed on your Ubuntu system.
Perl Download Options
You can download Perl in multiple formats:
-
Source Code: From CPAN
-
Binary Packages: Using APT, Yum, or Brew
-
Pre-installed: On most Linux distributions including Ubuntu
Always prefer using official sources for security and compatibility.
Comparison of Perl Installation Methods on Ubuntu
Here’s a breakdown of the most common methods to install Perl on Ubuntu:
-
APT Method
-
Recommended For: Beginners, quick and simple setups.
-
Command:
sudo apt install perl
-
Pros: Fast, easy, and uses the official Ubuntu repositories.
-
Cons: You might not get the latest Perl version.
-
CPAN Method
-
Recommended For: Developers who need to install or manage multiple Perl modules.
-
Command:
sudo apt install cpanminus
sudo cpanm Module::Name
-
Pros: Access to a huge library of up-to-date modules.
-
Cons: Requires initial setup and might install modules globally, affecting system-wide settings.
-
Source Code Method
-
Recommended For: Advanced users needing custom configurations or the latest stable release of Perl.
-
Command Flow:
wget https://www.cpan.org/src/5.0/perl-5.36.0.tar.gz
tar -xzf perl-5.36.0.tar.gz
cd perl-5.36.0
./Configure -des -Dprefix=$HOME/localperl
make && make test && make install
-
Pros: Get the most recent Perl version and configure it as needed.
-
Cons: Time-consuming, requires compiling, and may cause compatibility issues with system packages if not managed properly.
Final Thoughts
Now that you know how to install Perl on Ubuntu—across versions 18.04, 20.04, and 22.04—you can begin working on your scripts, applications, and modules with ease. Whether you're managing network tools, building automation scripts, or learning the language for the first time, this guide gives you everything you need to get started.
If you're looking for a powerful and flexible hosting solution to run your Perl-based projects, check out our Linux VPS plans tailored for developers like you.

Leave A Comment