
vCenter is a VM running Photon OS, referred to as hardened and optimized VMware Linux distribution.
Software Requirements:
- You must use the ESXi host with version 5.5 and higher.
- The minimum hosts connected as a part of the data center managed by VCSA 6.7 must be ESXi 6.0 and higher.
- You can check version compatibility with other VMware products to see the Product Interoperability Matrix.
Architecture:
Recommended VMware architecture
- vCenter Server and Platform Service Controller (PSC) within a single VM.
- The VCSA with embedded PSC requires the following hardware resources (disk can be thin provisioned)
- Tiny (up to 10 hosts, 100 VMs) – 2 CPUs, 10 GB RAM
- Small (up to 100 hosts, 1000 VMs) – 4 CPUs, 16 GB RAM.
- Medium (up to 400 hosts, 4000 VMs) – 8 CPUs, 24 GB RAM.
- Large (up to 1000 hosts, 10,000 VMs) – 16 CPUs, 32 GB RAM.
- X-Large (up to 2000 hosts, 35,000 VMs) – 24 CPUs, 48 GB RAM
- Configure proper DNS with forward and reverse records
- FQDN resolution should be in place when deploying vCenter Server.
Installation Steps
Installing the appliance is a two-stage process.
The first stage:
Deploy a new appliance to the target vCenter Server or ESXi host.
The second stage:
Finalize the setup of the deployed appliance.
Initiation of the process
First, mount the ISO and navigate to the folder that corresponds to the OS you have on your management workstation you're trying to install. You can use Windows, Linux, or MAC to install VMware VCSA.
- The folder is “vcsa-ui-installer," and inside, you have three different folders.
- If you're in Windows, chose the win32 folder.
- If you're on Linux, chose the "lin64," etc.
- Then launch the installer.exe (example under Windows).
- Install a New vCenter Server Appliance
We’ll do a Migrate in one of our future posts.
Just follow the assistant, which will walk you through.
Configure your DNS before continuing and make sure to check whether the resolution works.
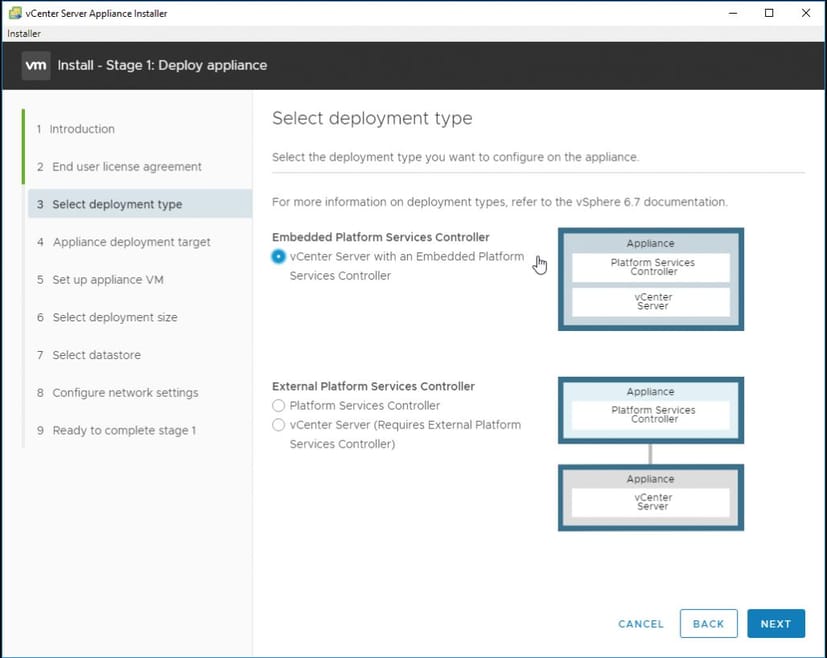
Use Embedded vCenter and PSC radio button option.
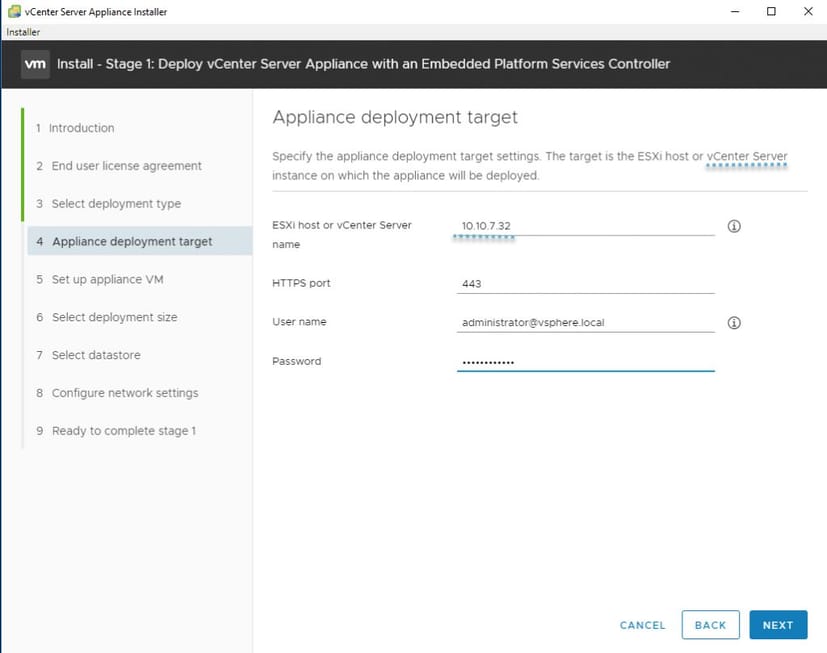
Specify deployment target
Click Next to continue.
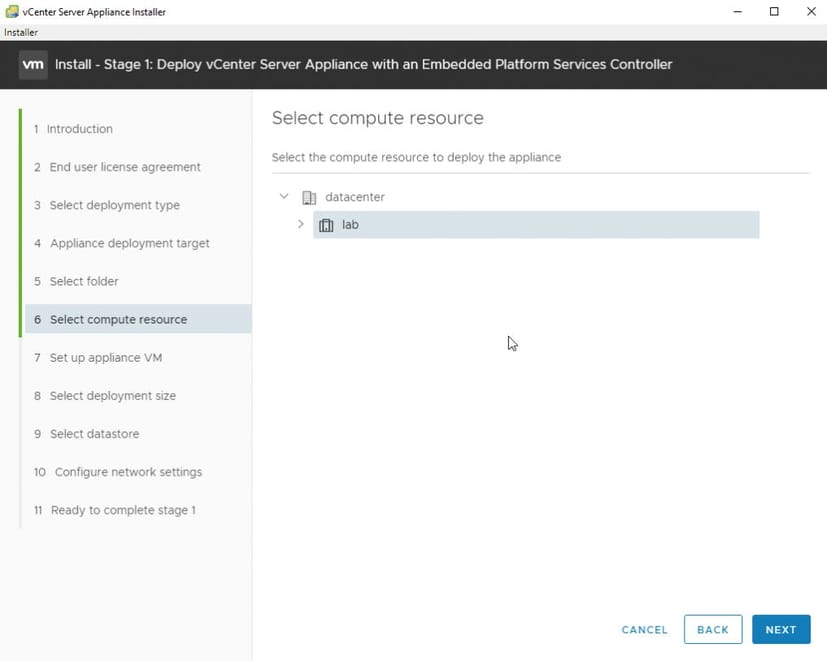
Select compute resource
Ensure that DRS is set to manual for the cluster temporarily so that the VMs for the source and the target do not get moved during the upgrade.
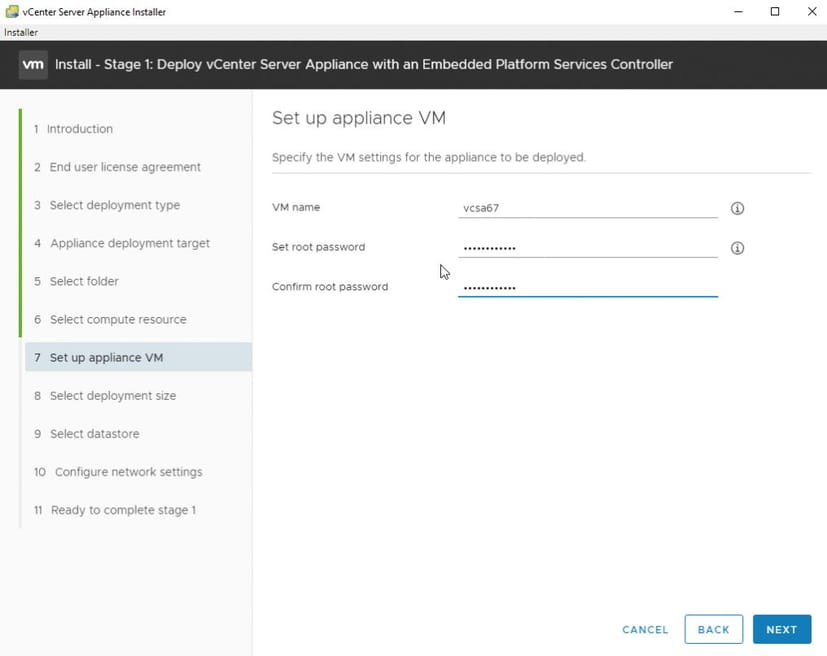
Provide VM name and root password
On the next screen, we'll choose a deployment size. We can choose between:
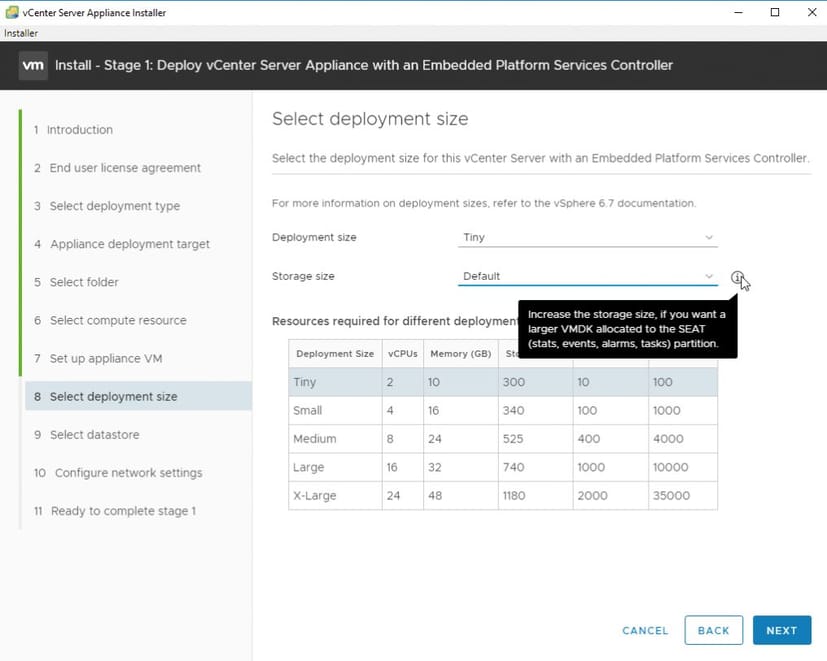
Choose storage size depending on your environment.

Select the datastore where those VMDKs will be stored.
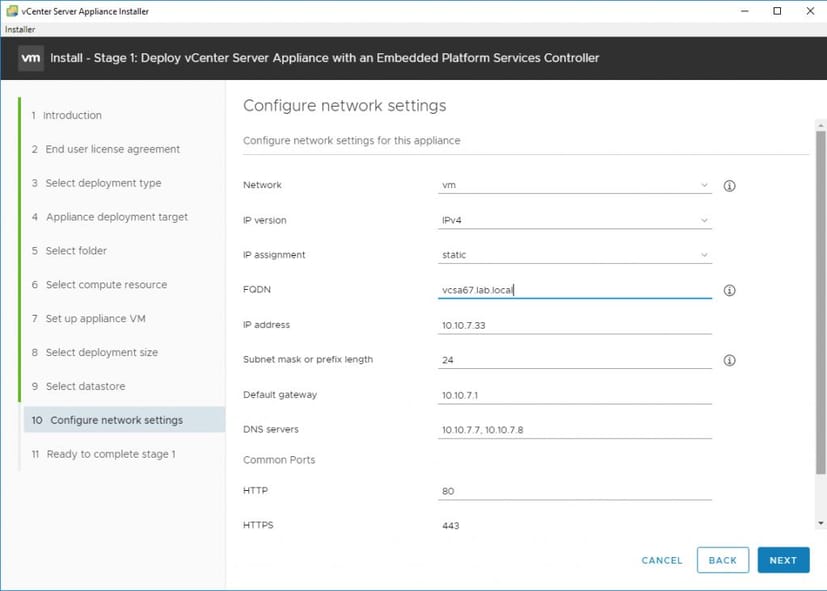
Configure network settings of your VCSA
After the recap screen, this closes stage 1. You’ll see the deployment process continue.
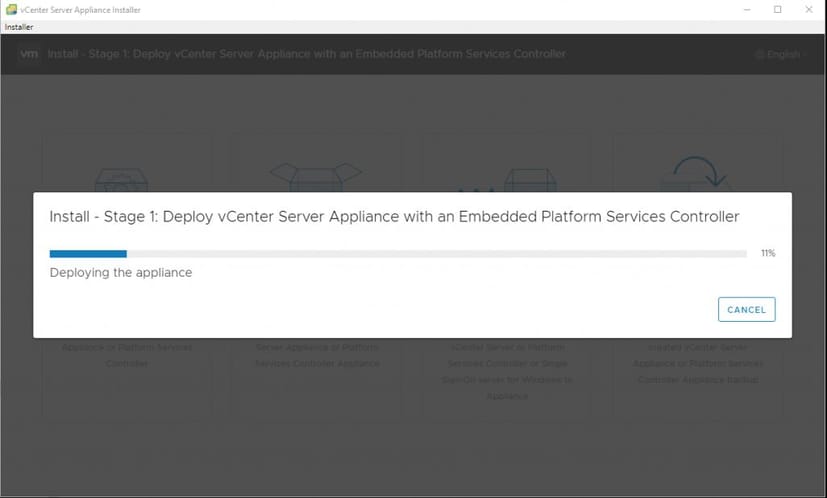
Stage 1 is deploying the VCSA appliance.
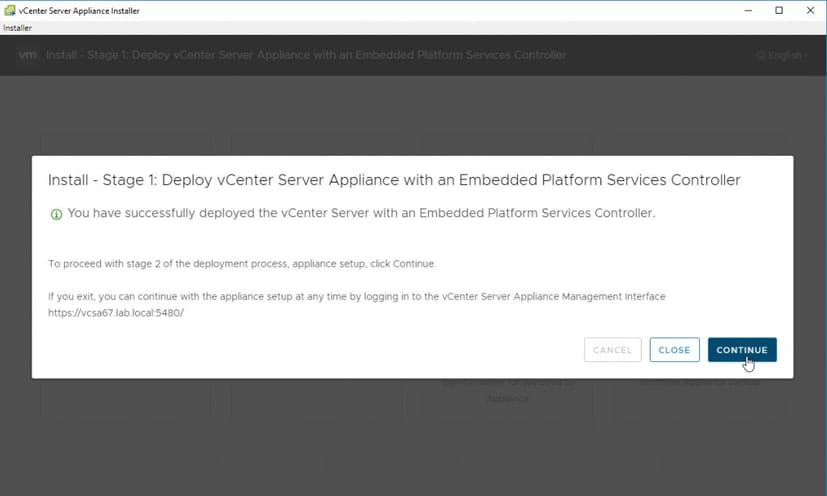
Then you can click Continue for the phase 2 configuration.
Continue with Stage 2
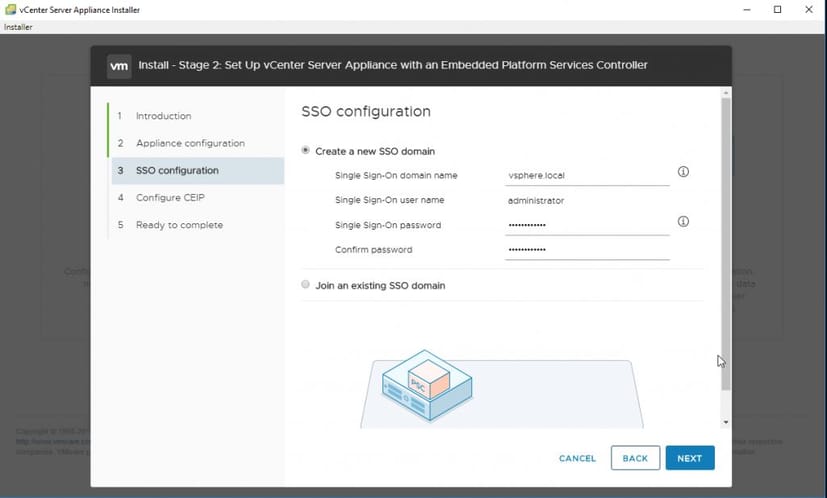
VMware SSO configuration
You can opt-in and join the VMware customer experience improvement program (CEIP), which helps VMware to improve its products and services, fix problems, and to advise you on how best to deploy and use their products.
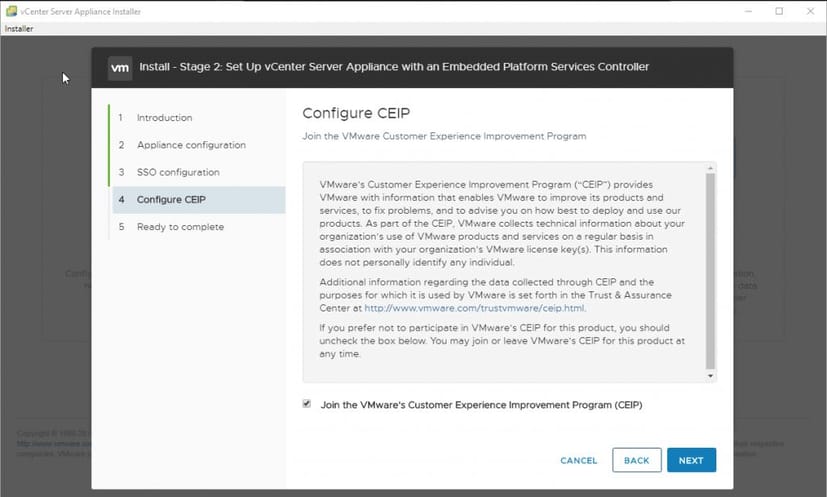
You can join VMware CEIP.
And the final screen looks like this.
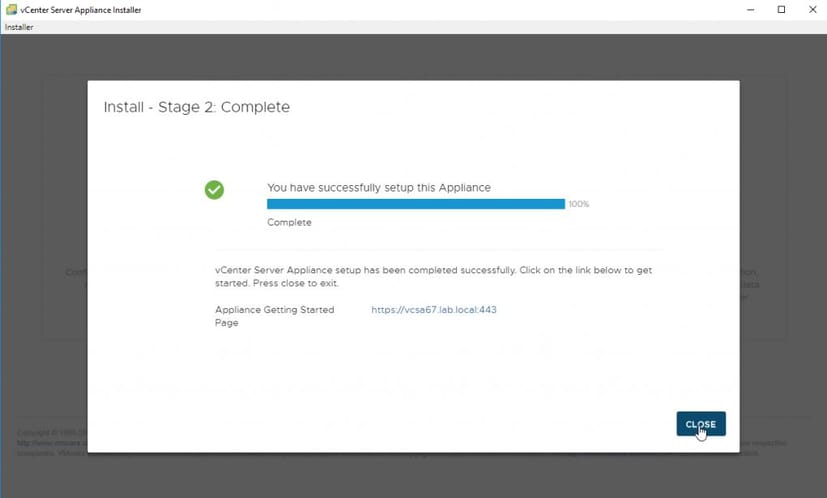
Stage 2 completed
And at the end, you can launch either the HTML 5 web client or the Flex-based web client.
Post-Installation
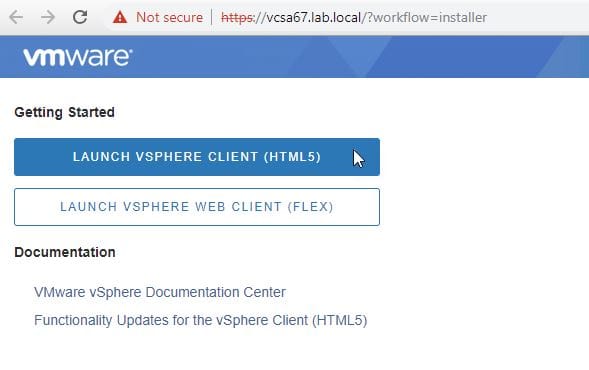
Launch vSphere HTML5 Web client
If it’s a fresh deployment, and if you have installed your hosts, you can now add them to your vCenter Server.
Even though it is a Linux appliance, the process is very straightforward and simple. VMware has done a good job of keeping things simple.

Leave A Comment